I’ve been looking forward to making the exhaust system since I saw how nice Mac’s ‘zorst’ was, bit of pipe jealousy, work of art and he knows it. He has name dropped ‘Wolfy’ for ages but as usual I had glossed over it and missed the obvious, my bad once again……
Ok, so it came to the day to buy some bits of exhaust from this mystical figure I have heard so much about, in my head and looking at the website this outfit was going to be something very professional and probably would not spare much time for an idiot like me that likes to make everything himself, turns out I was a little way from the truth.
He’s got a beard, thats a pretty good start, you know you can trust a chap with a beard, it’s a sign of honesty. The workshop was not as expected, I think the broom may have been stolen a while ago, just the sort of place I like! It turns out wolfy is actualy pretty keen to assist ‘wanna be’ bike builder such as myself and soon hooked my up with a few bends of stainless and was happy to share tig welder settings whilst stiring his cup of tea with a rusty spanner, classy.
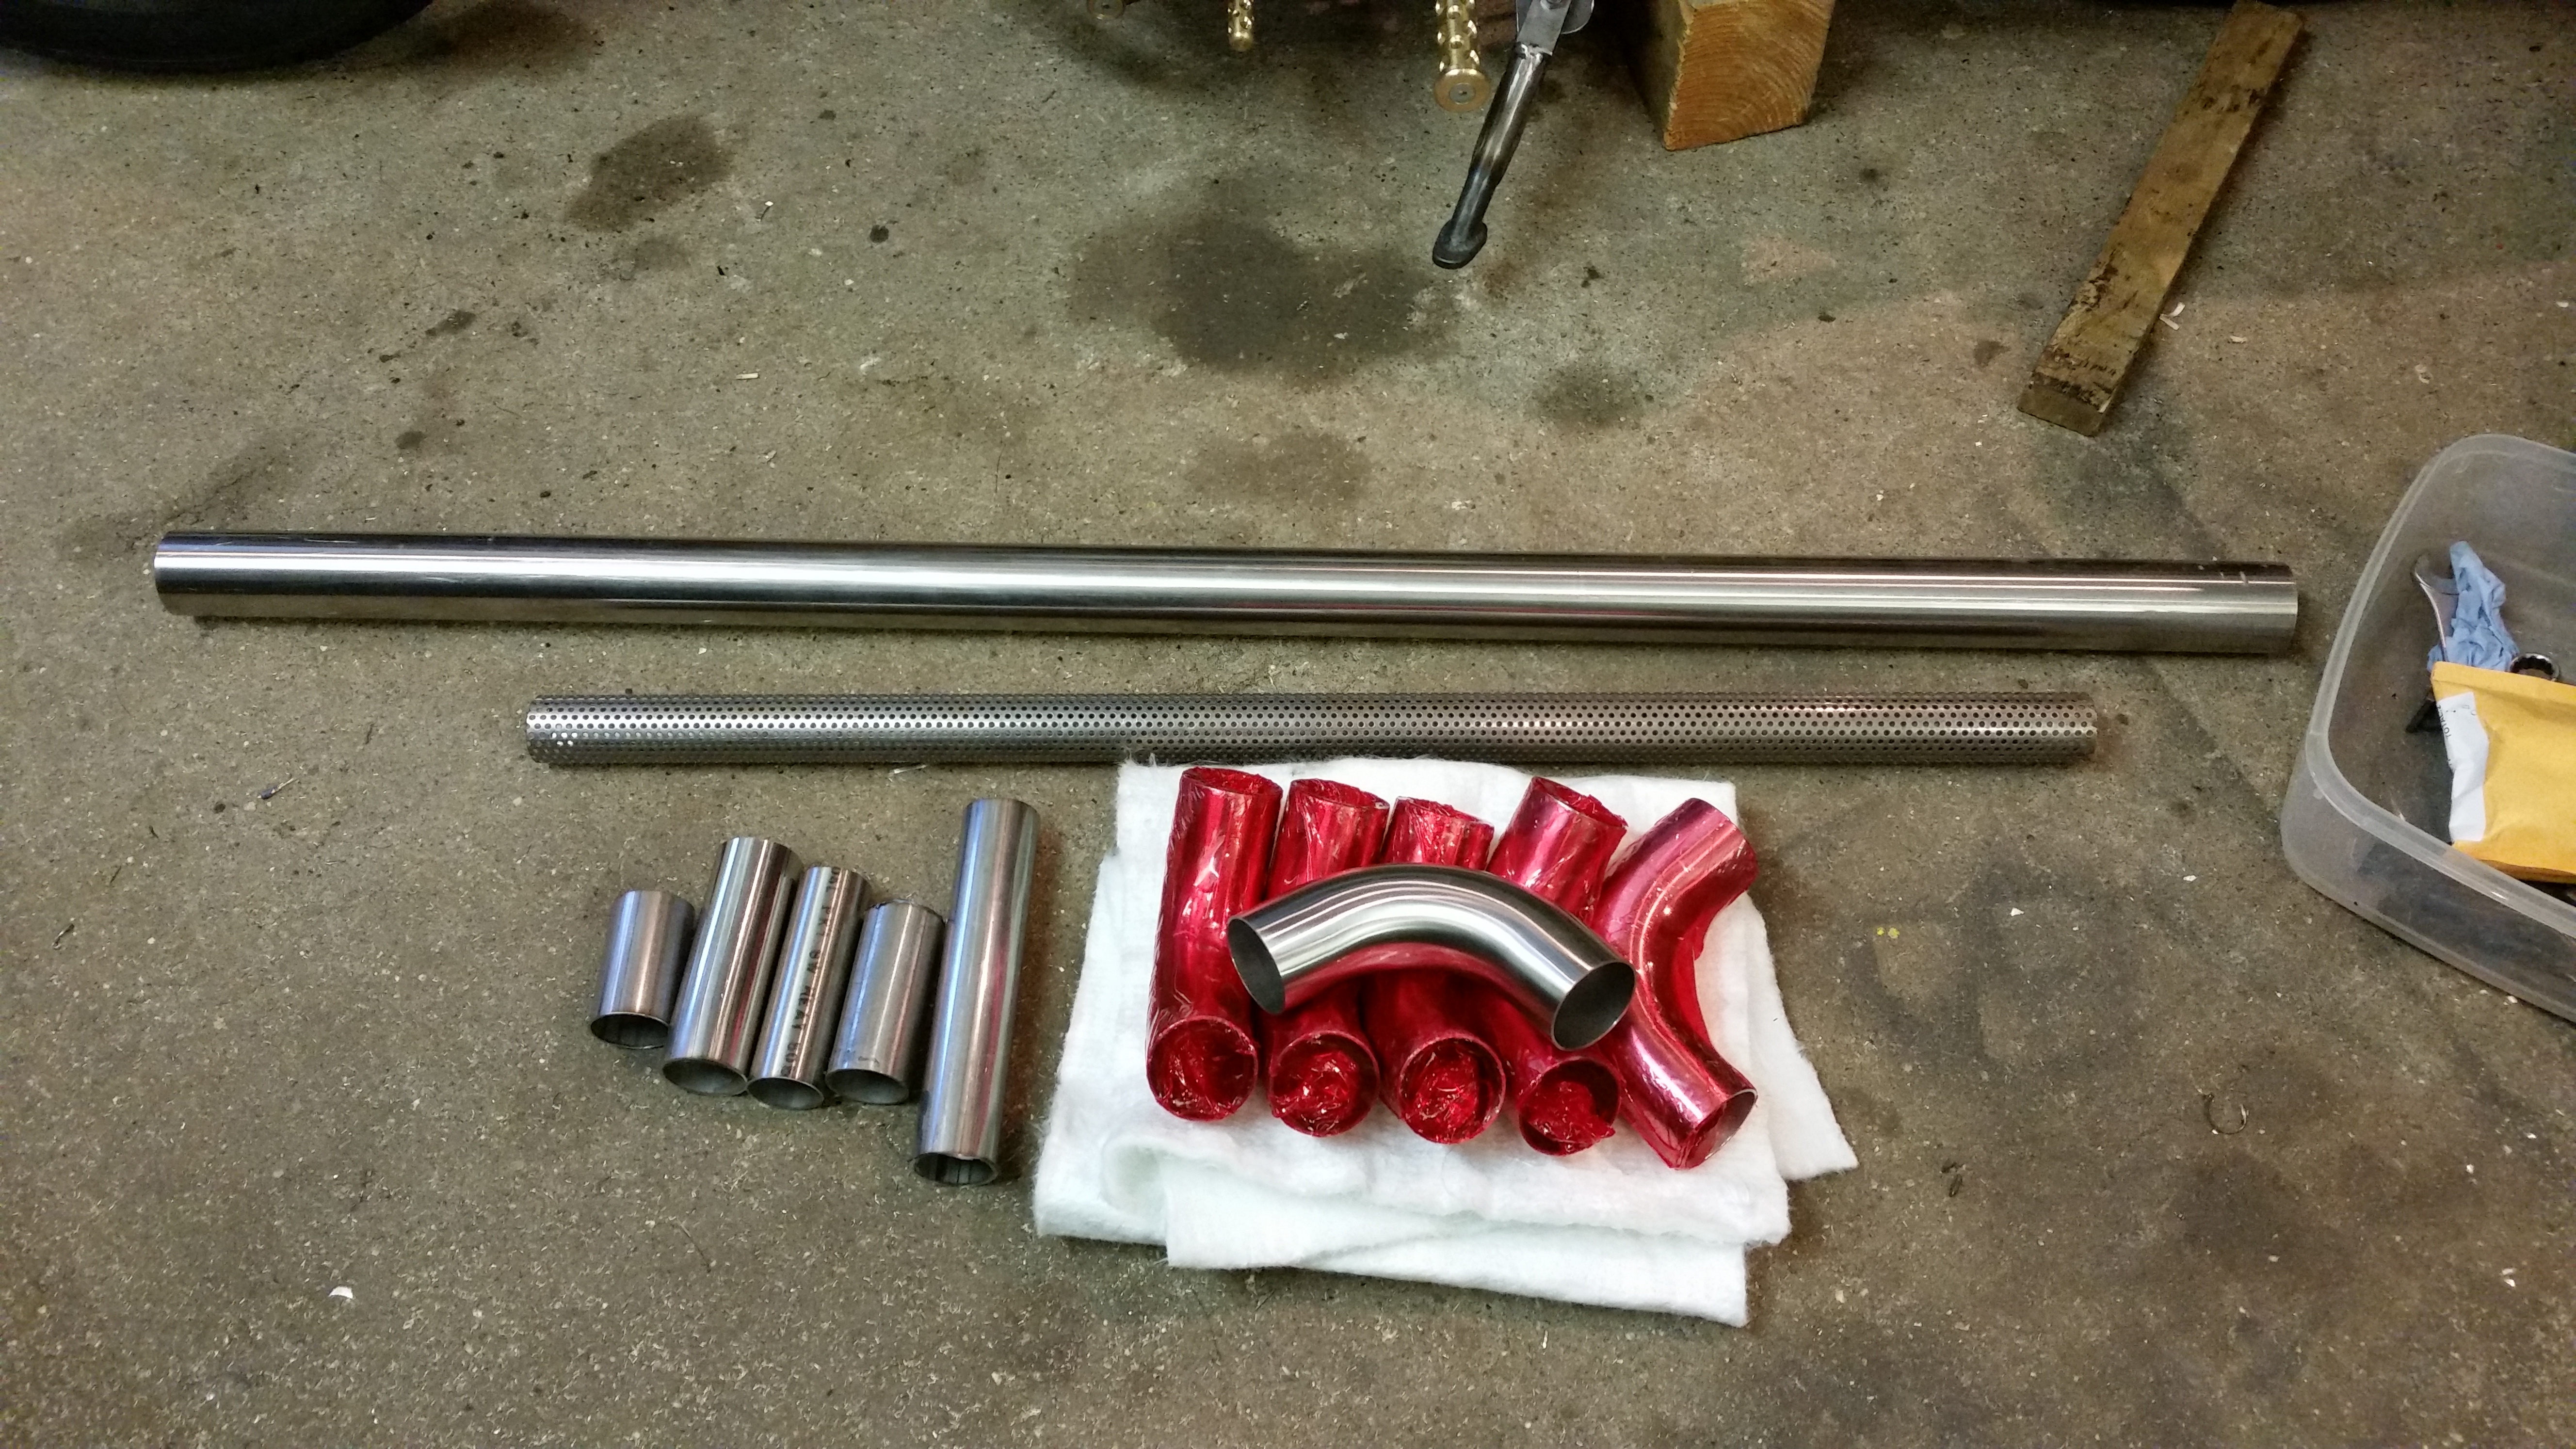
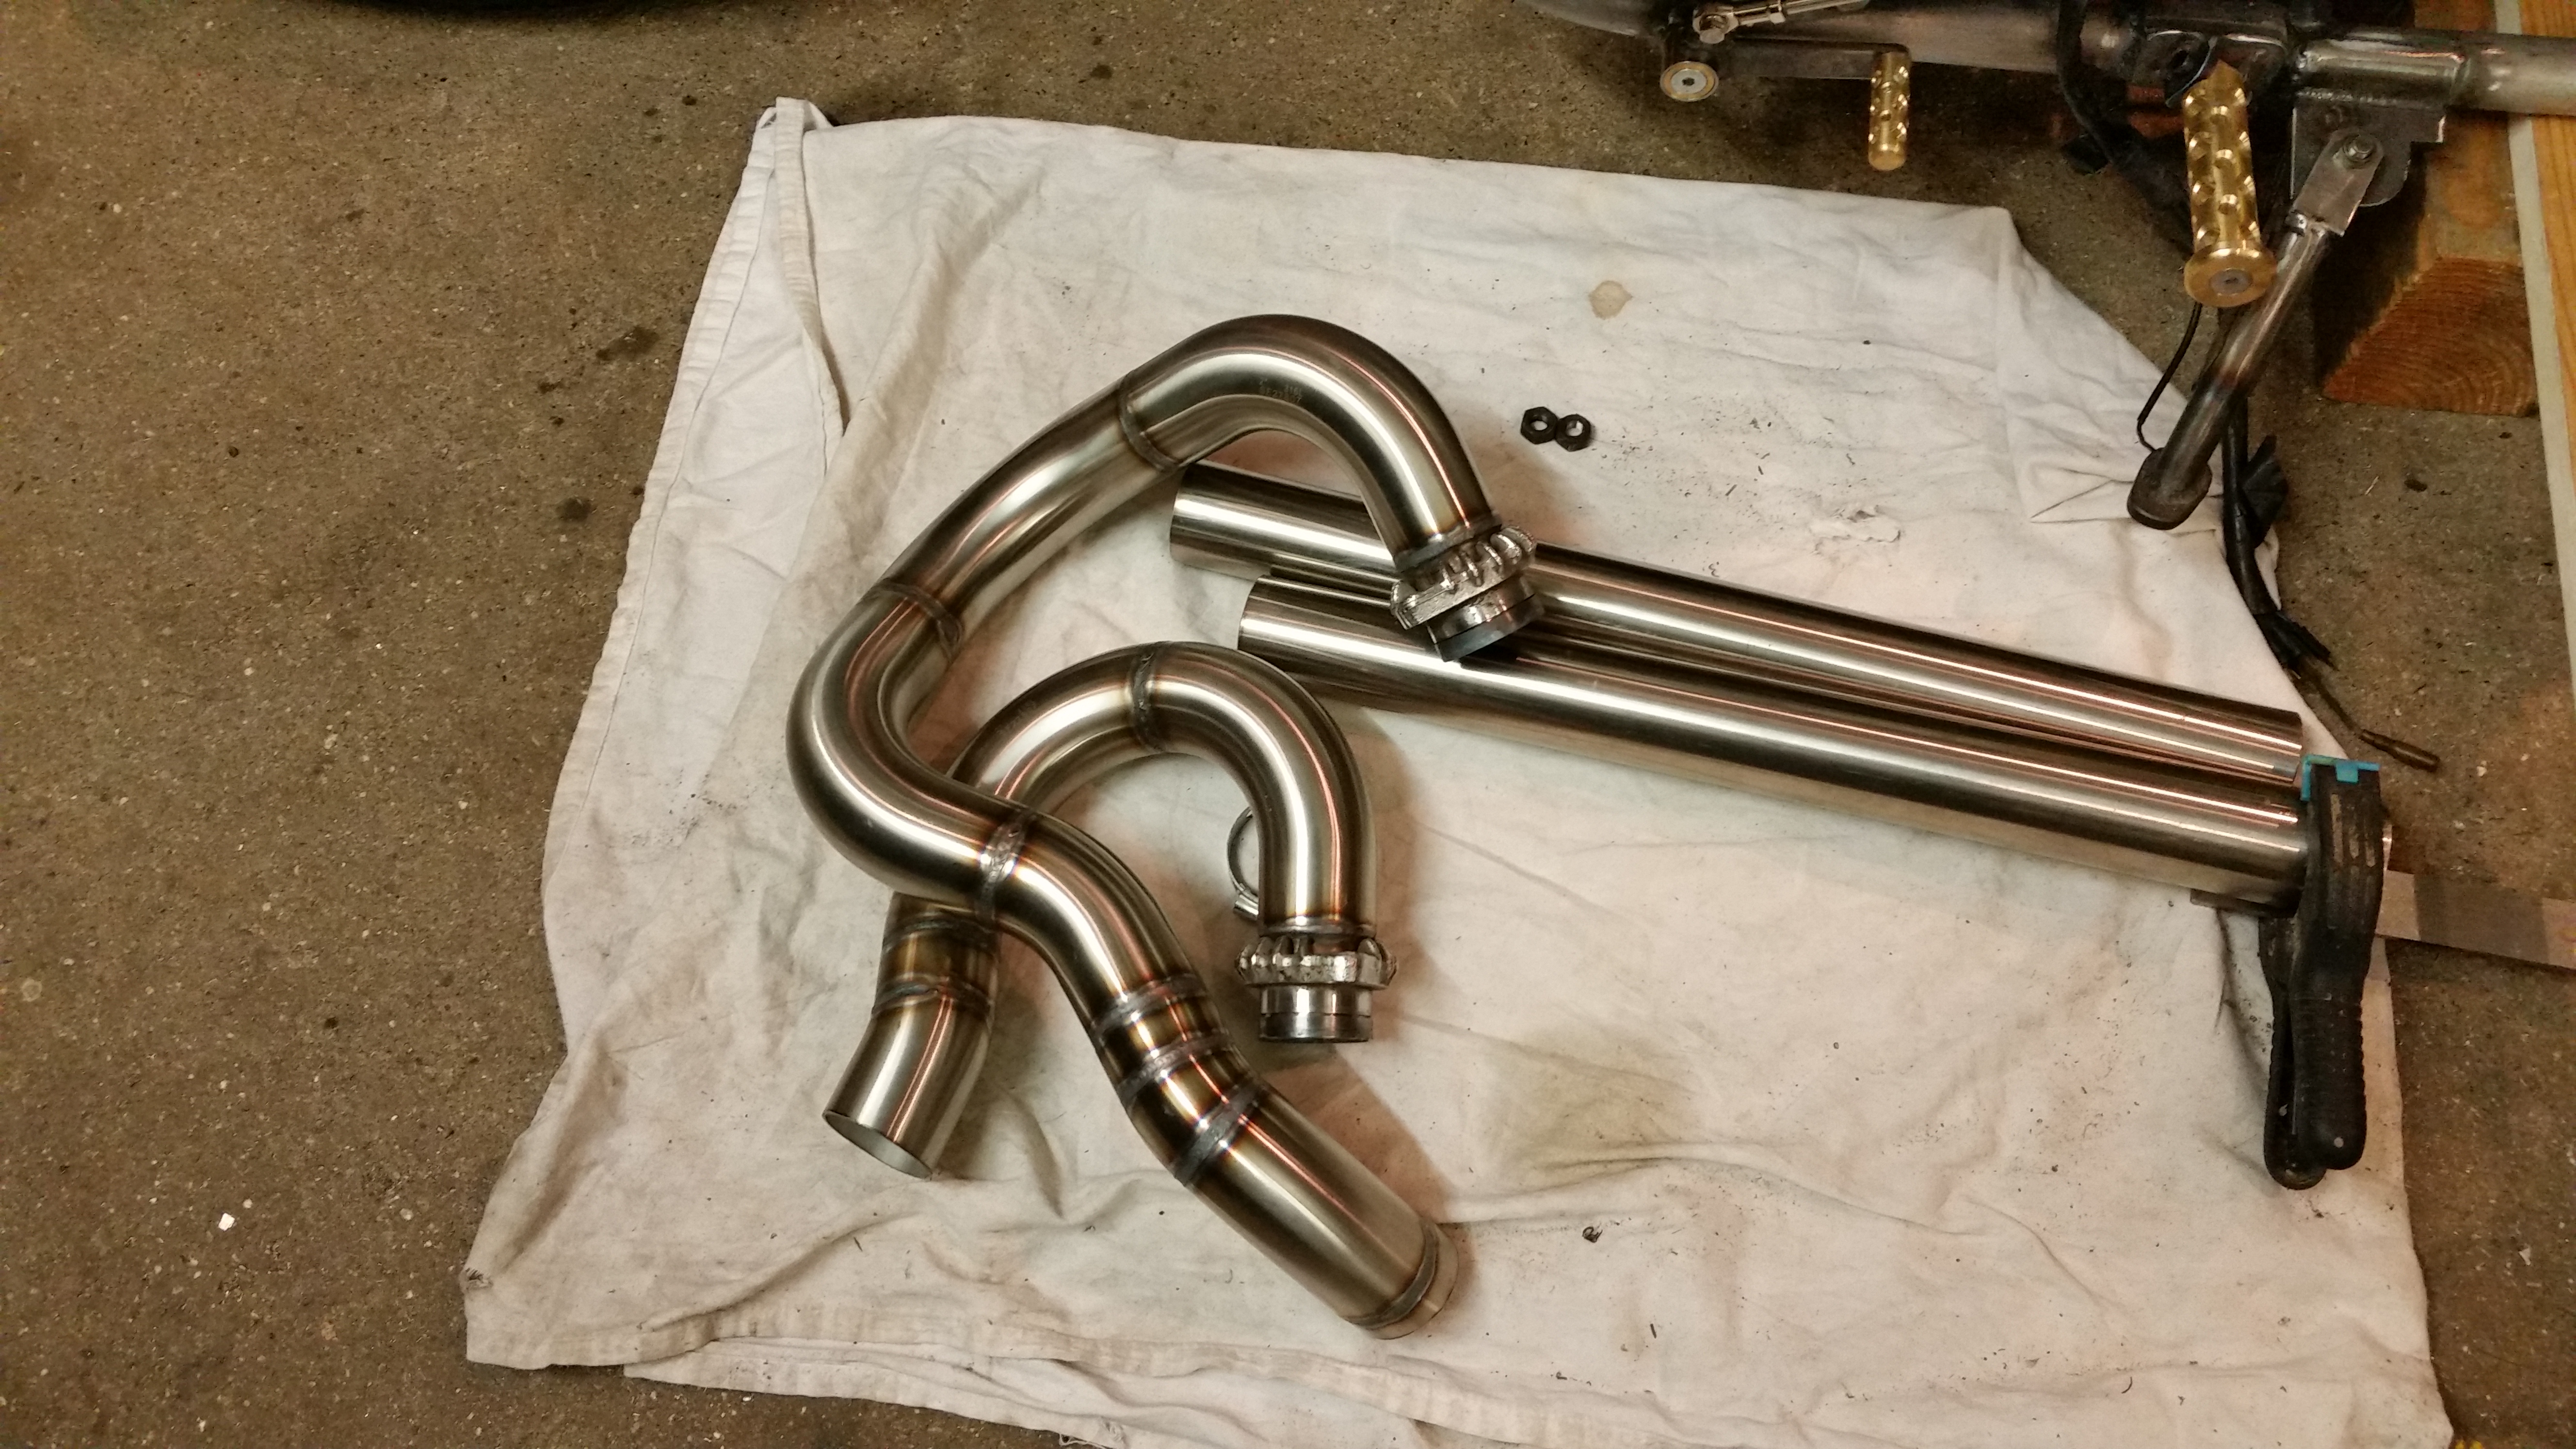
This is what I was sent away with, top quality bends that are mandrel bent so the diameter stays the same wherever you cut / join, reduces the chance of needing filler welds.
I started at the manifold and made up a couple of rings to push against the exhaust gaskets to make the seal so it diddn’t blow.
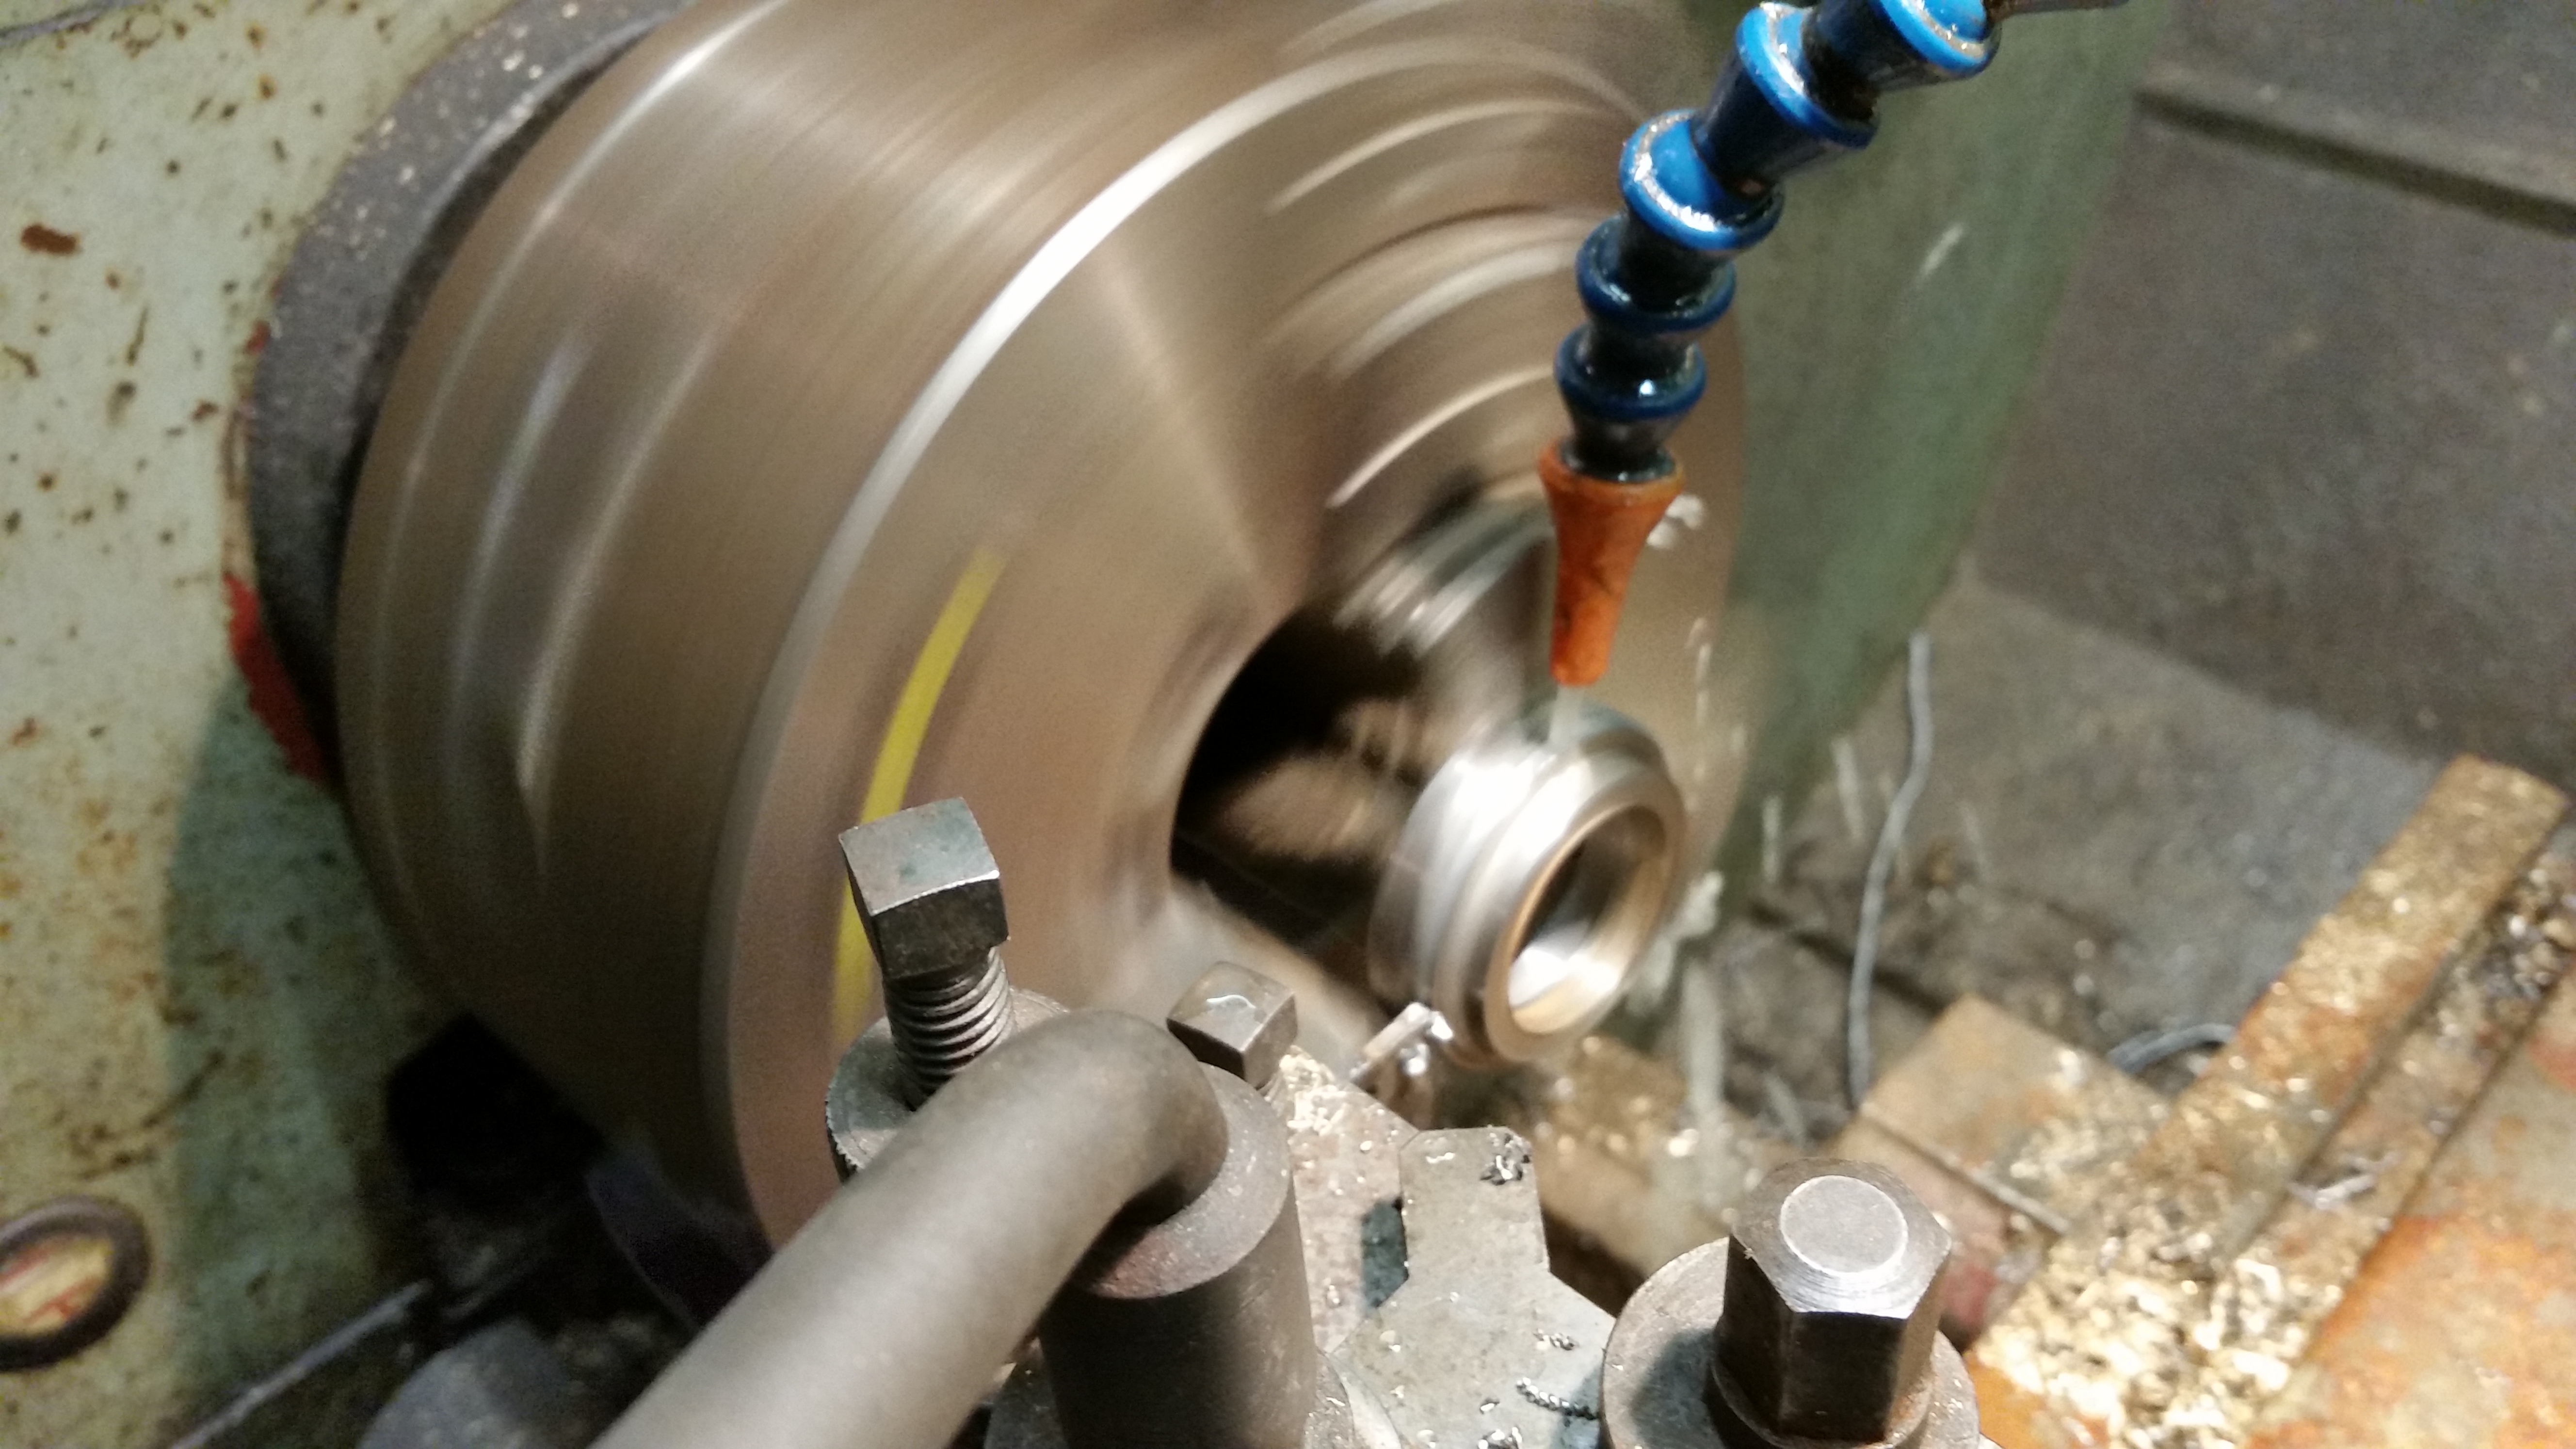
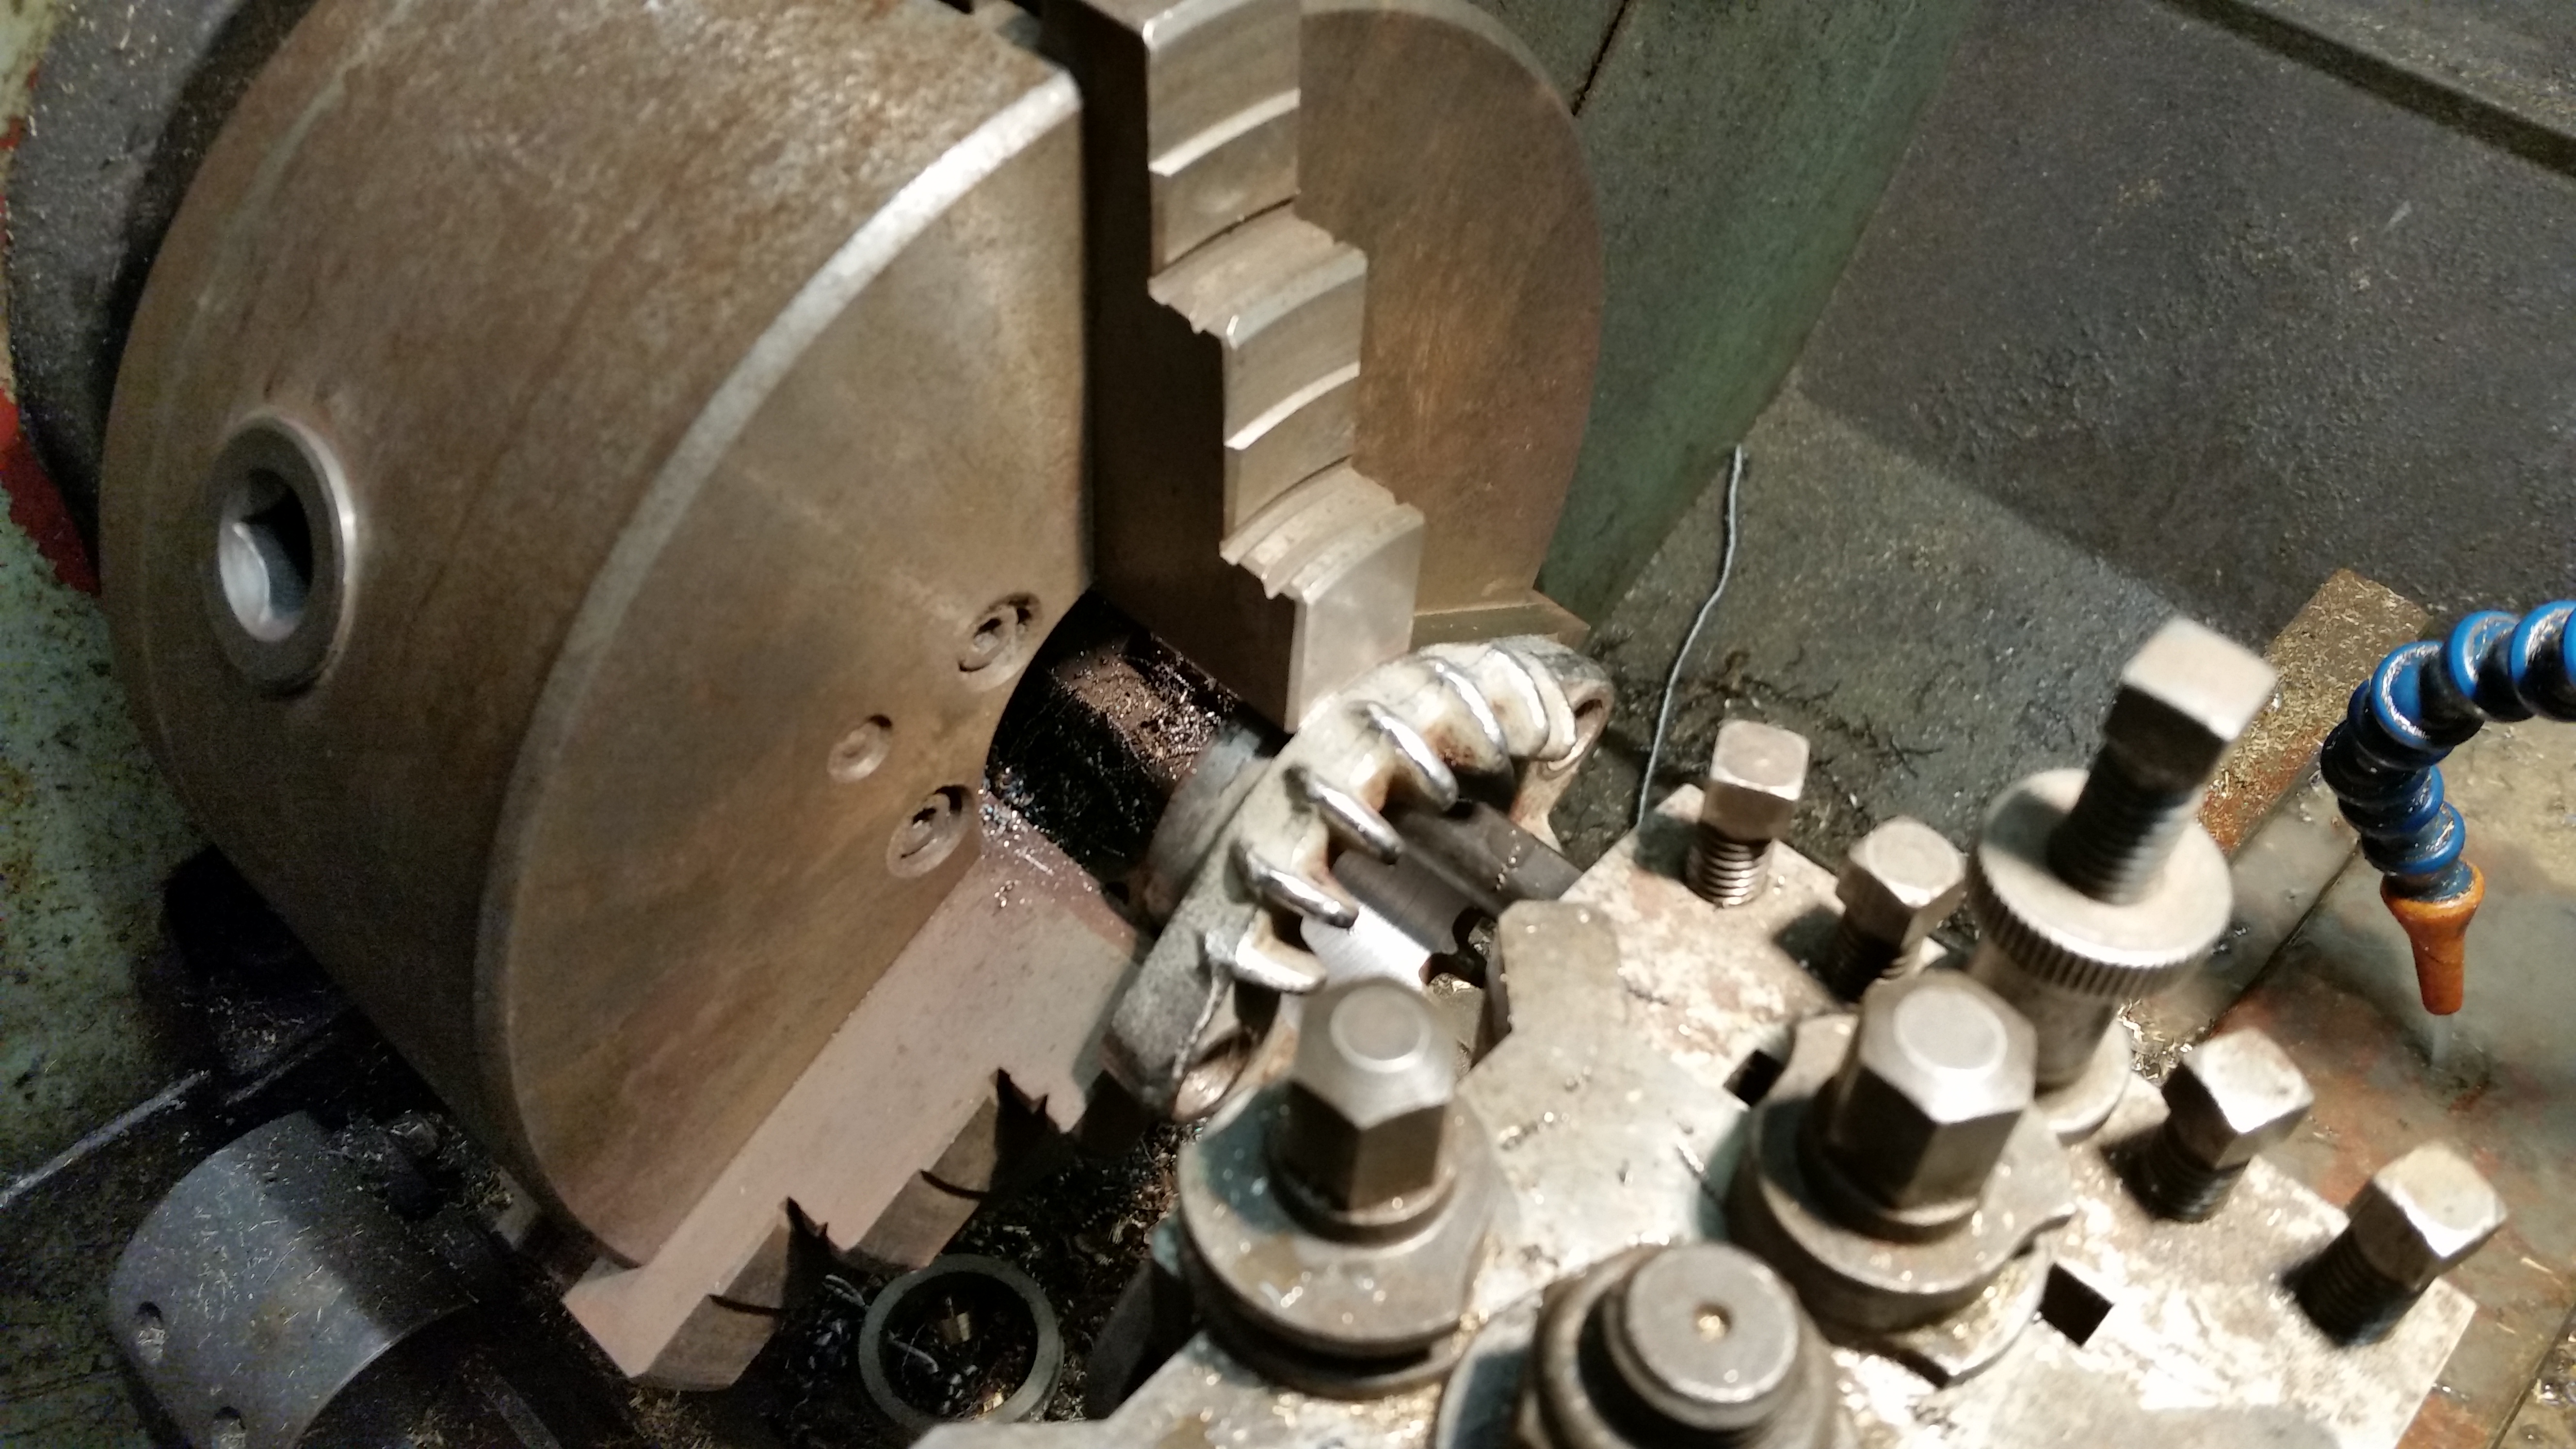
Next I machined out the flanges to accept the new tube, I’d be suprised if the judges didn’t mark me up a few points for a pair of freshly reamed tidy flanges. Fnar Fnar.
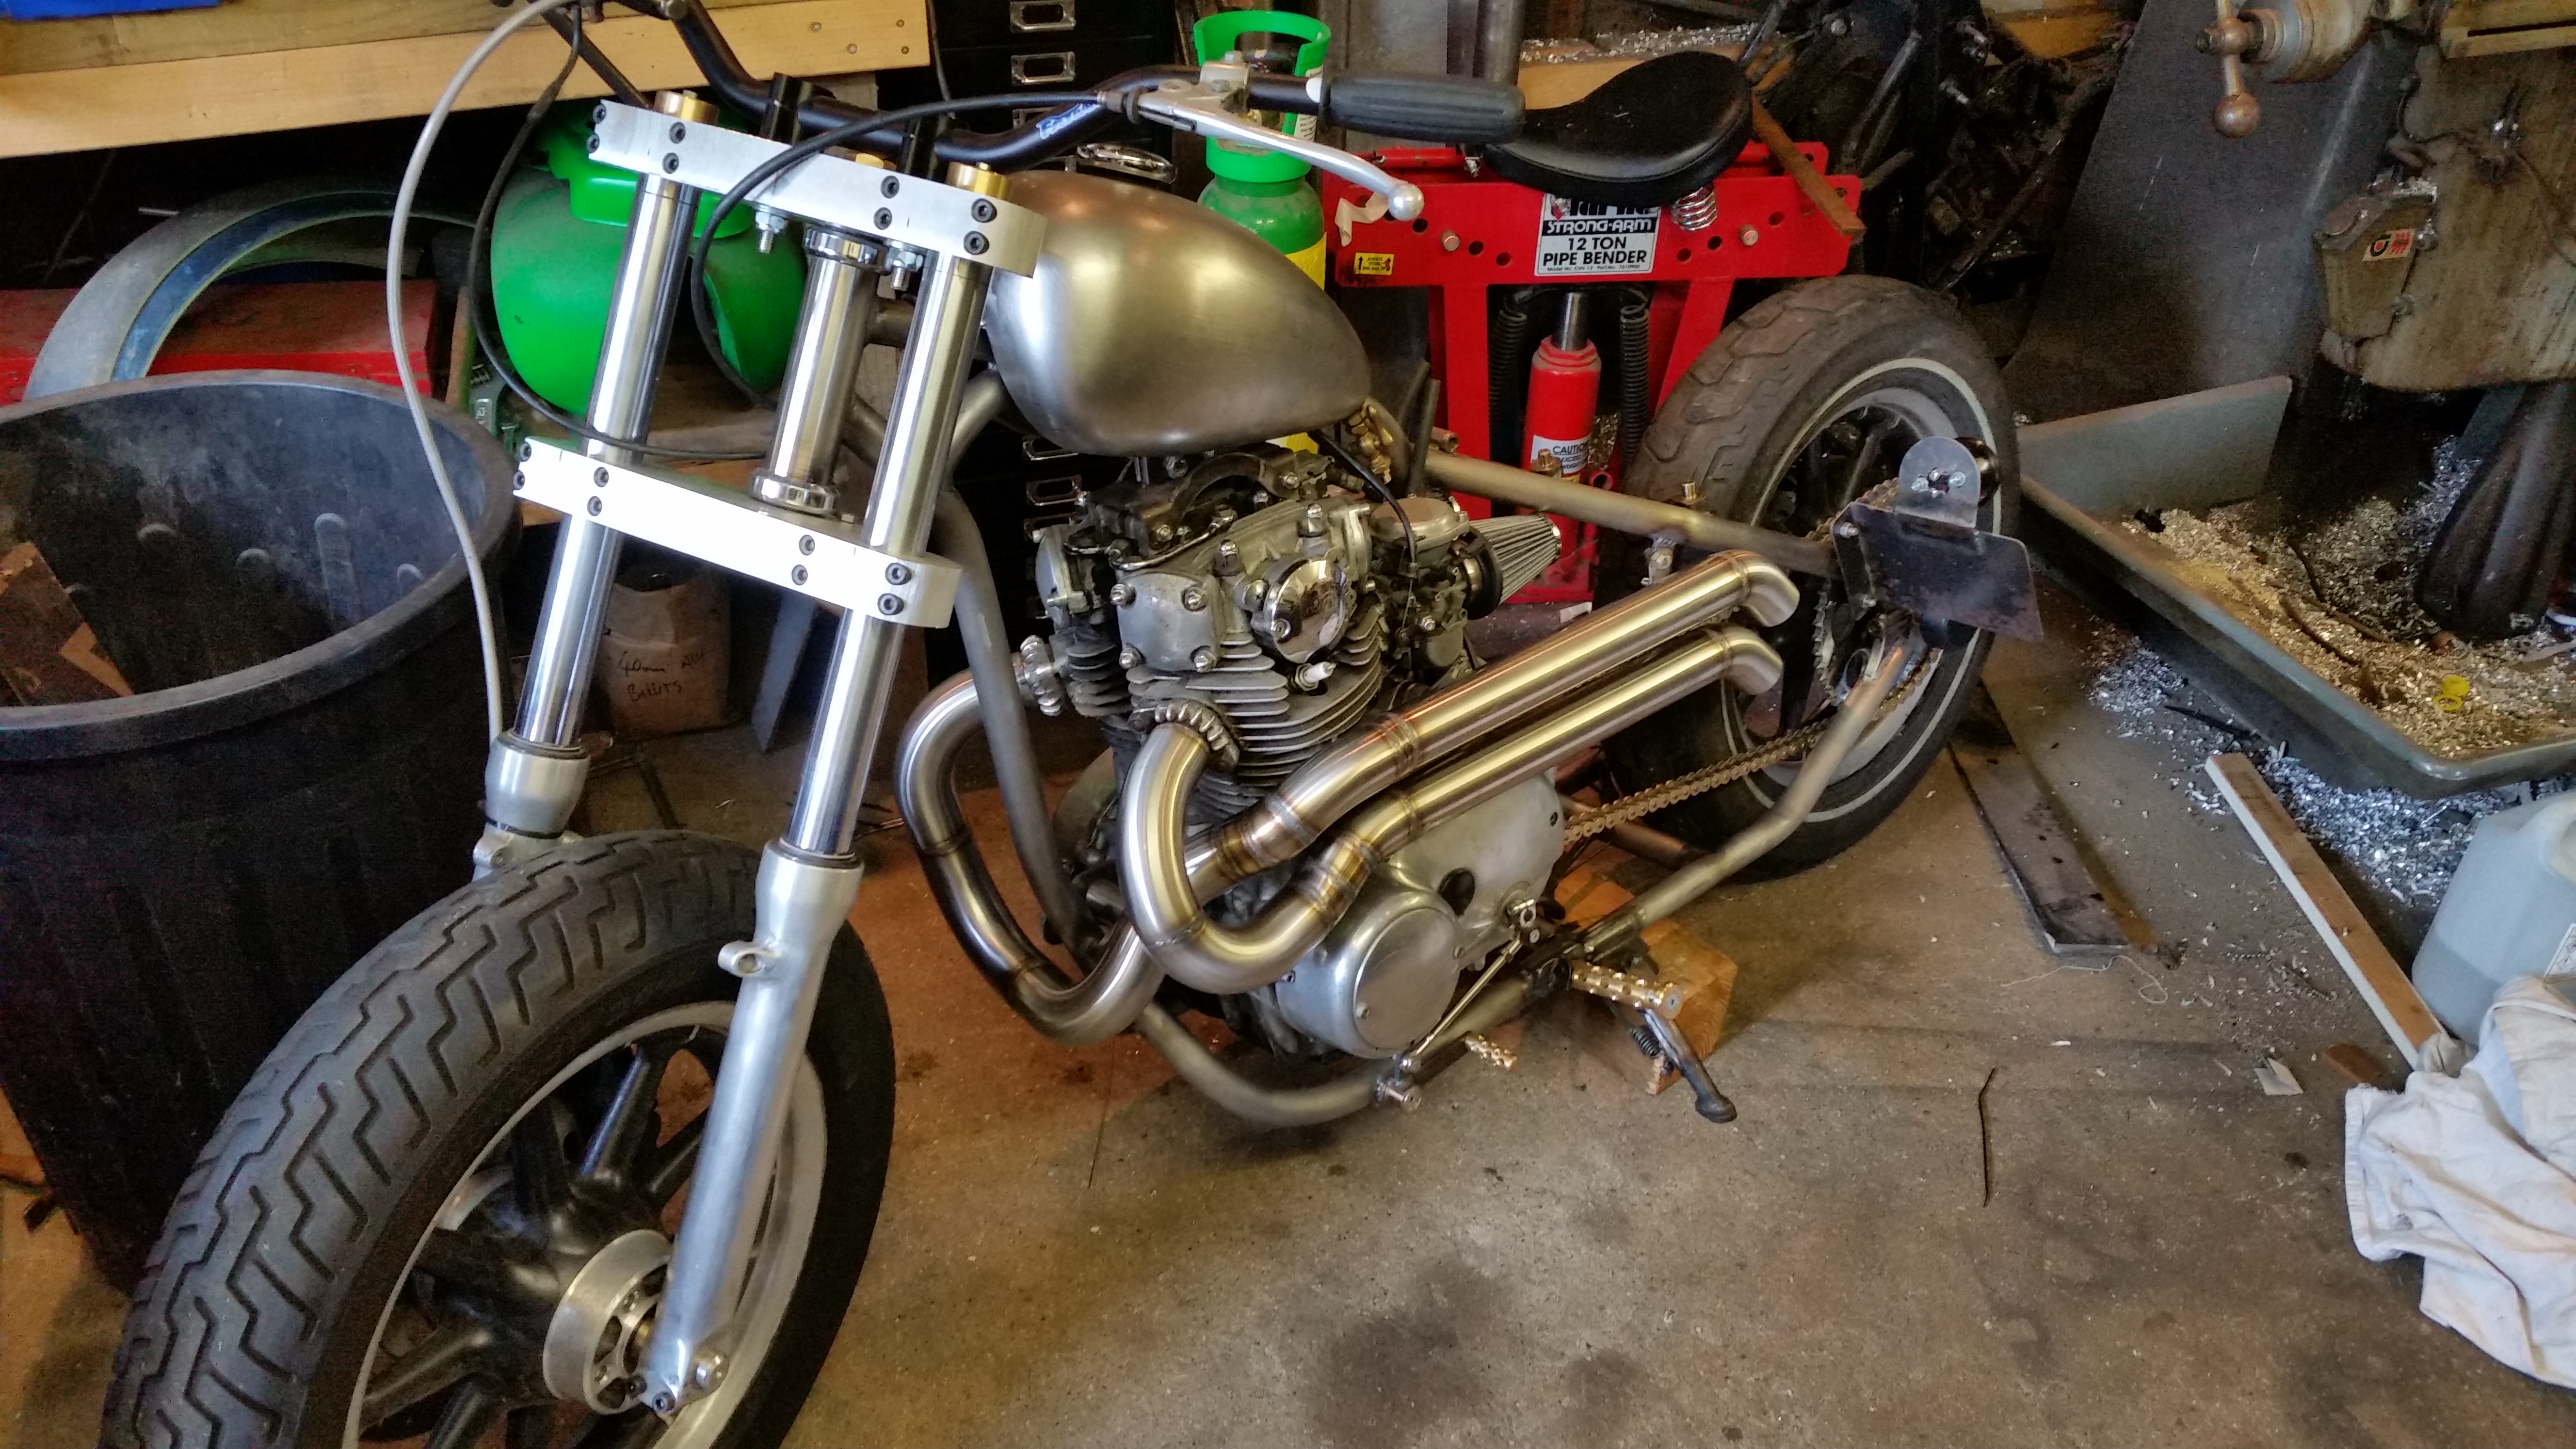
So I started to add a few bends together with some jubilee clips and get an idea of a posible route, first thoughts were to go for one pipe each side but I soon realised that the oil filler plug would be covered if I used the right side of the engine.
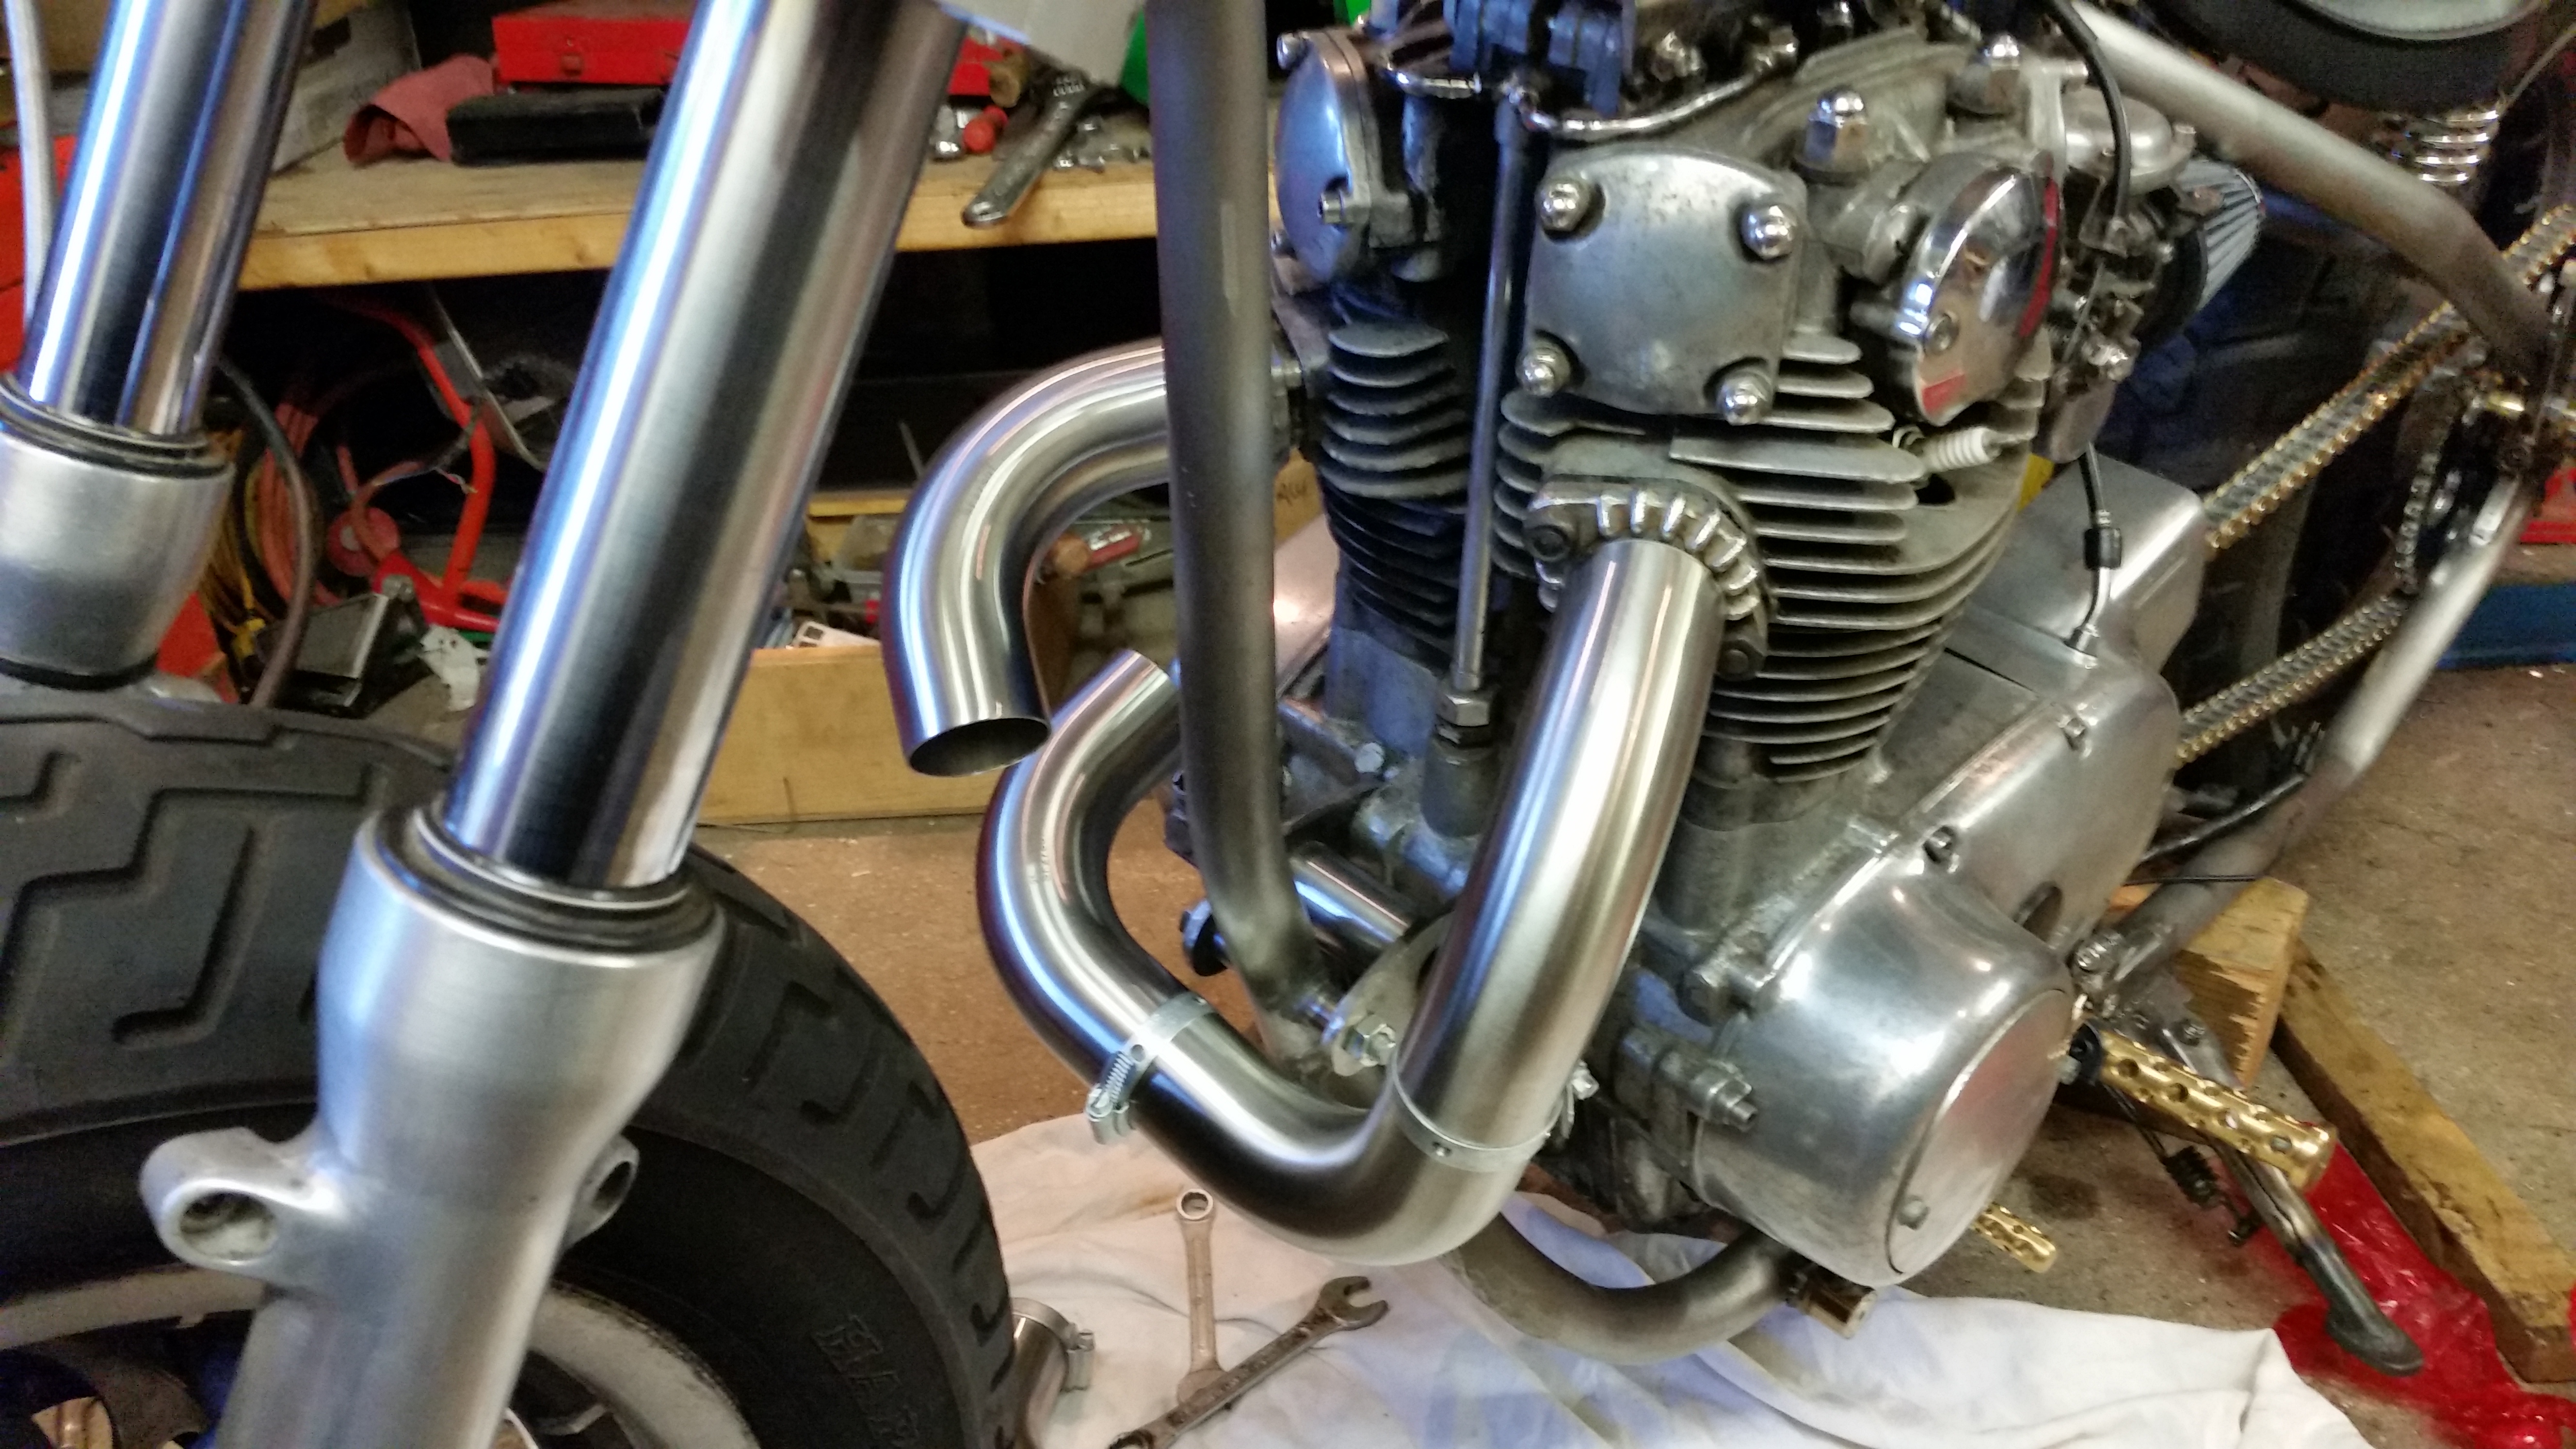
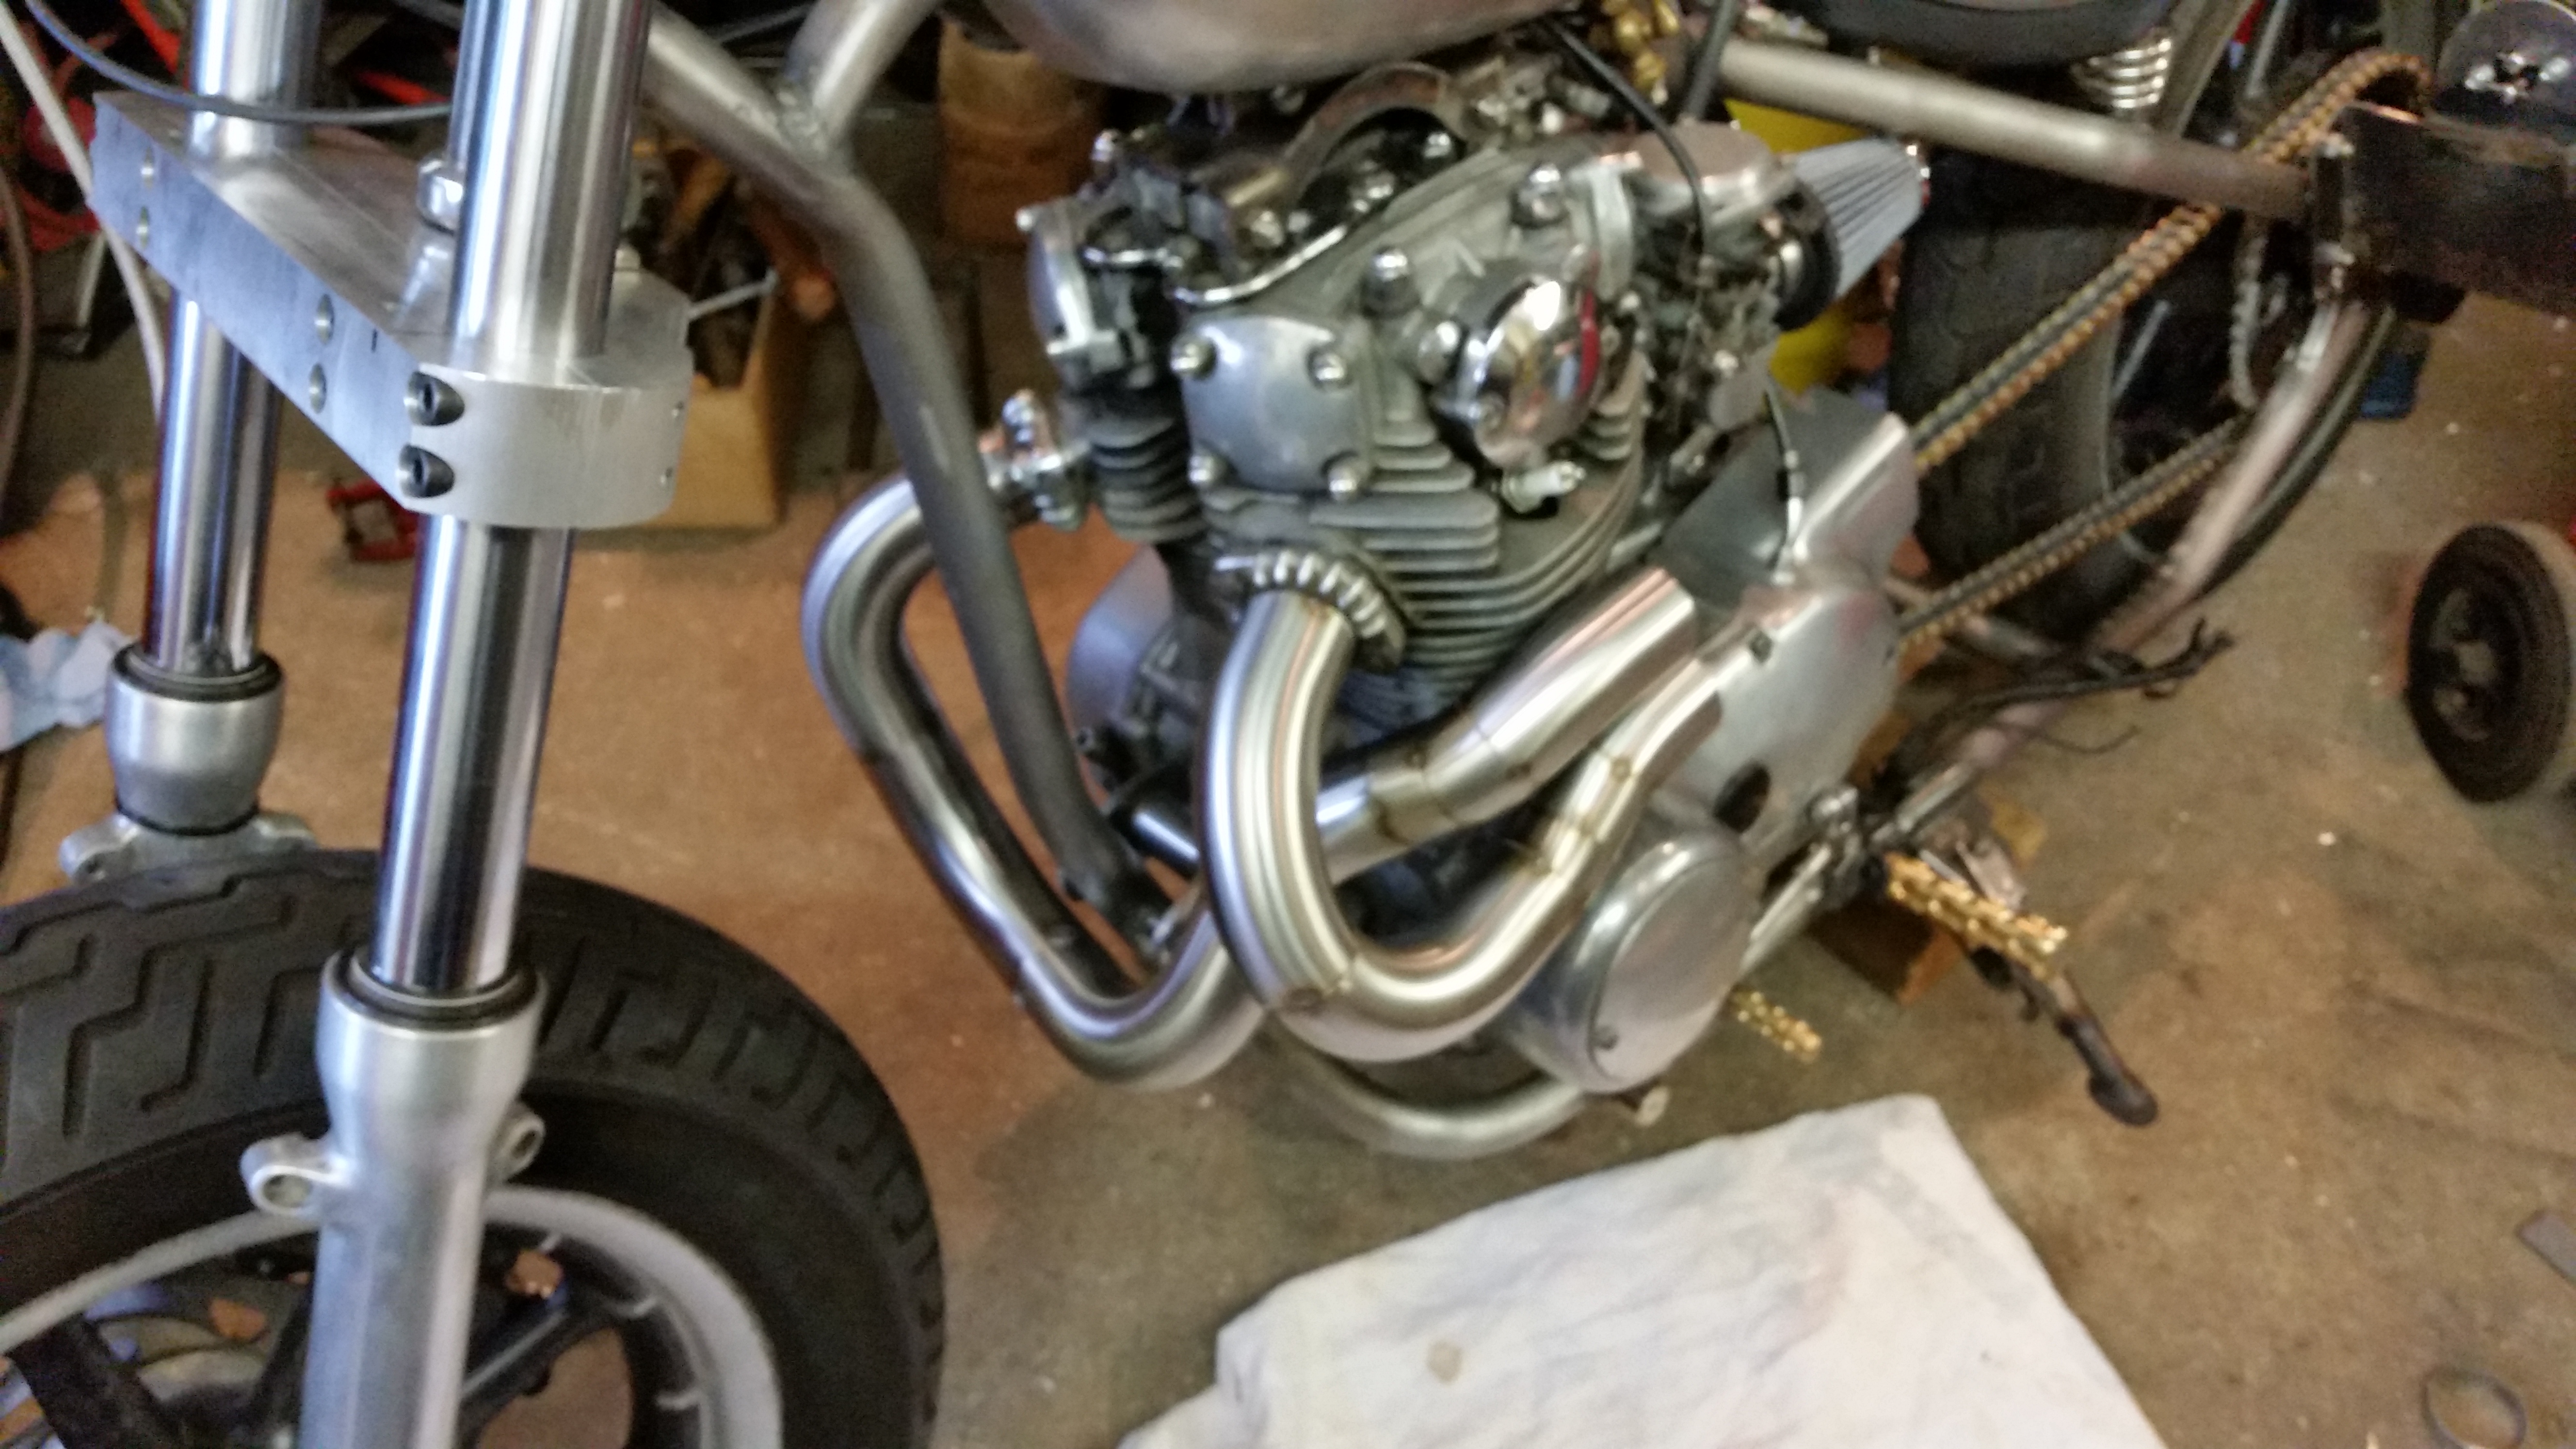
I now concentrated on bringing both pipes up the left side but soon realised it must be kept close to the frame or the front wheel will hit it when the suspension compresses, looks easy but theres actualy not much room.
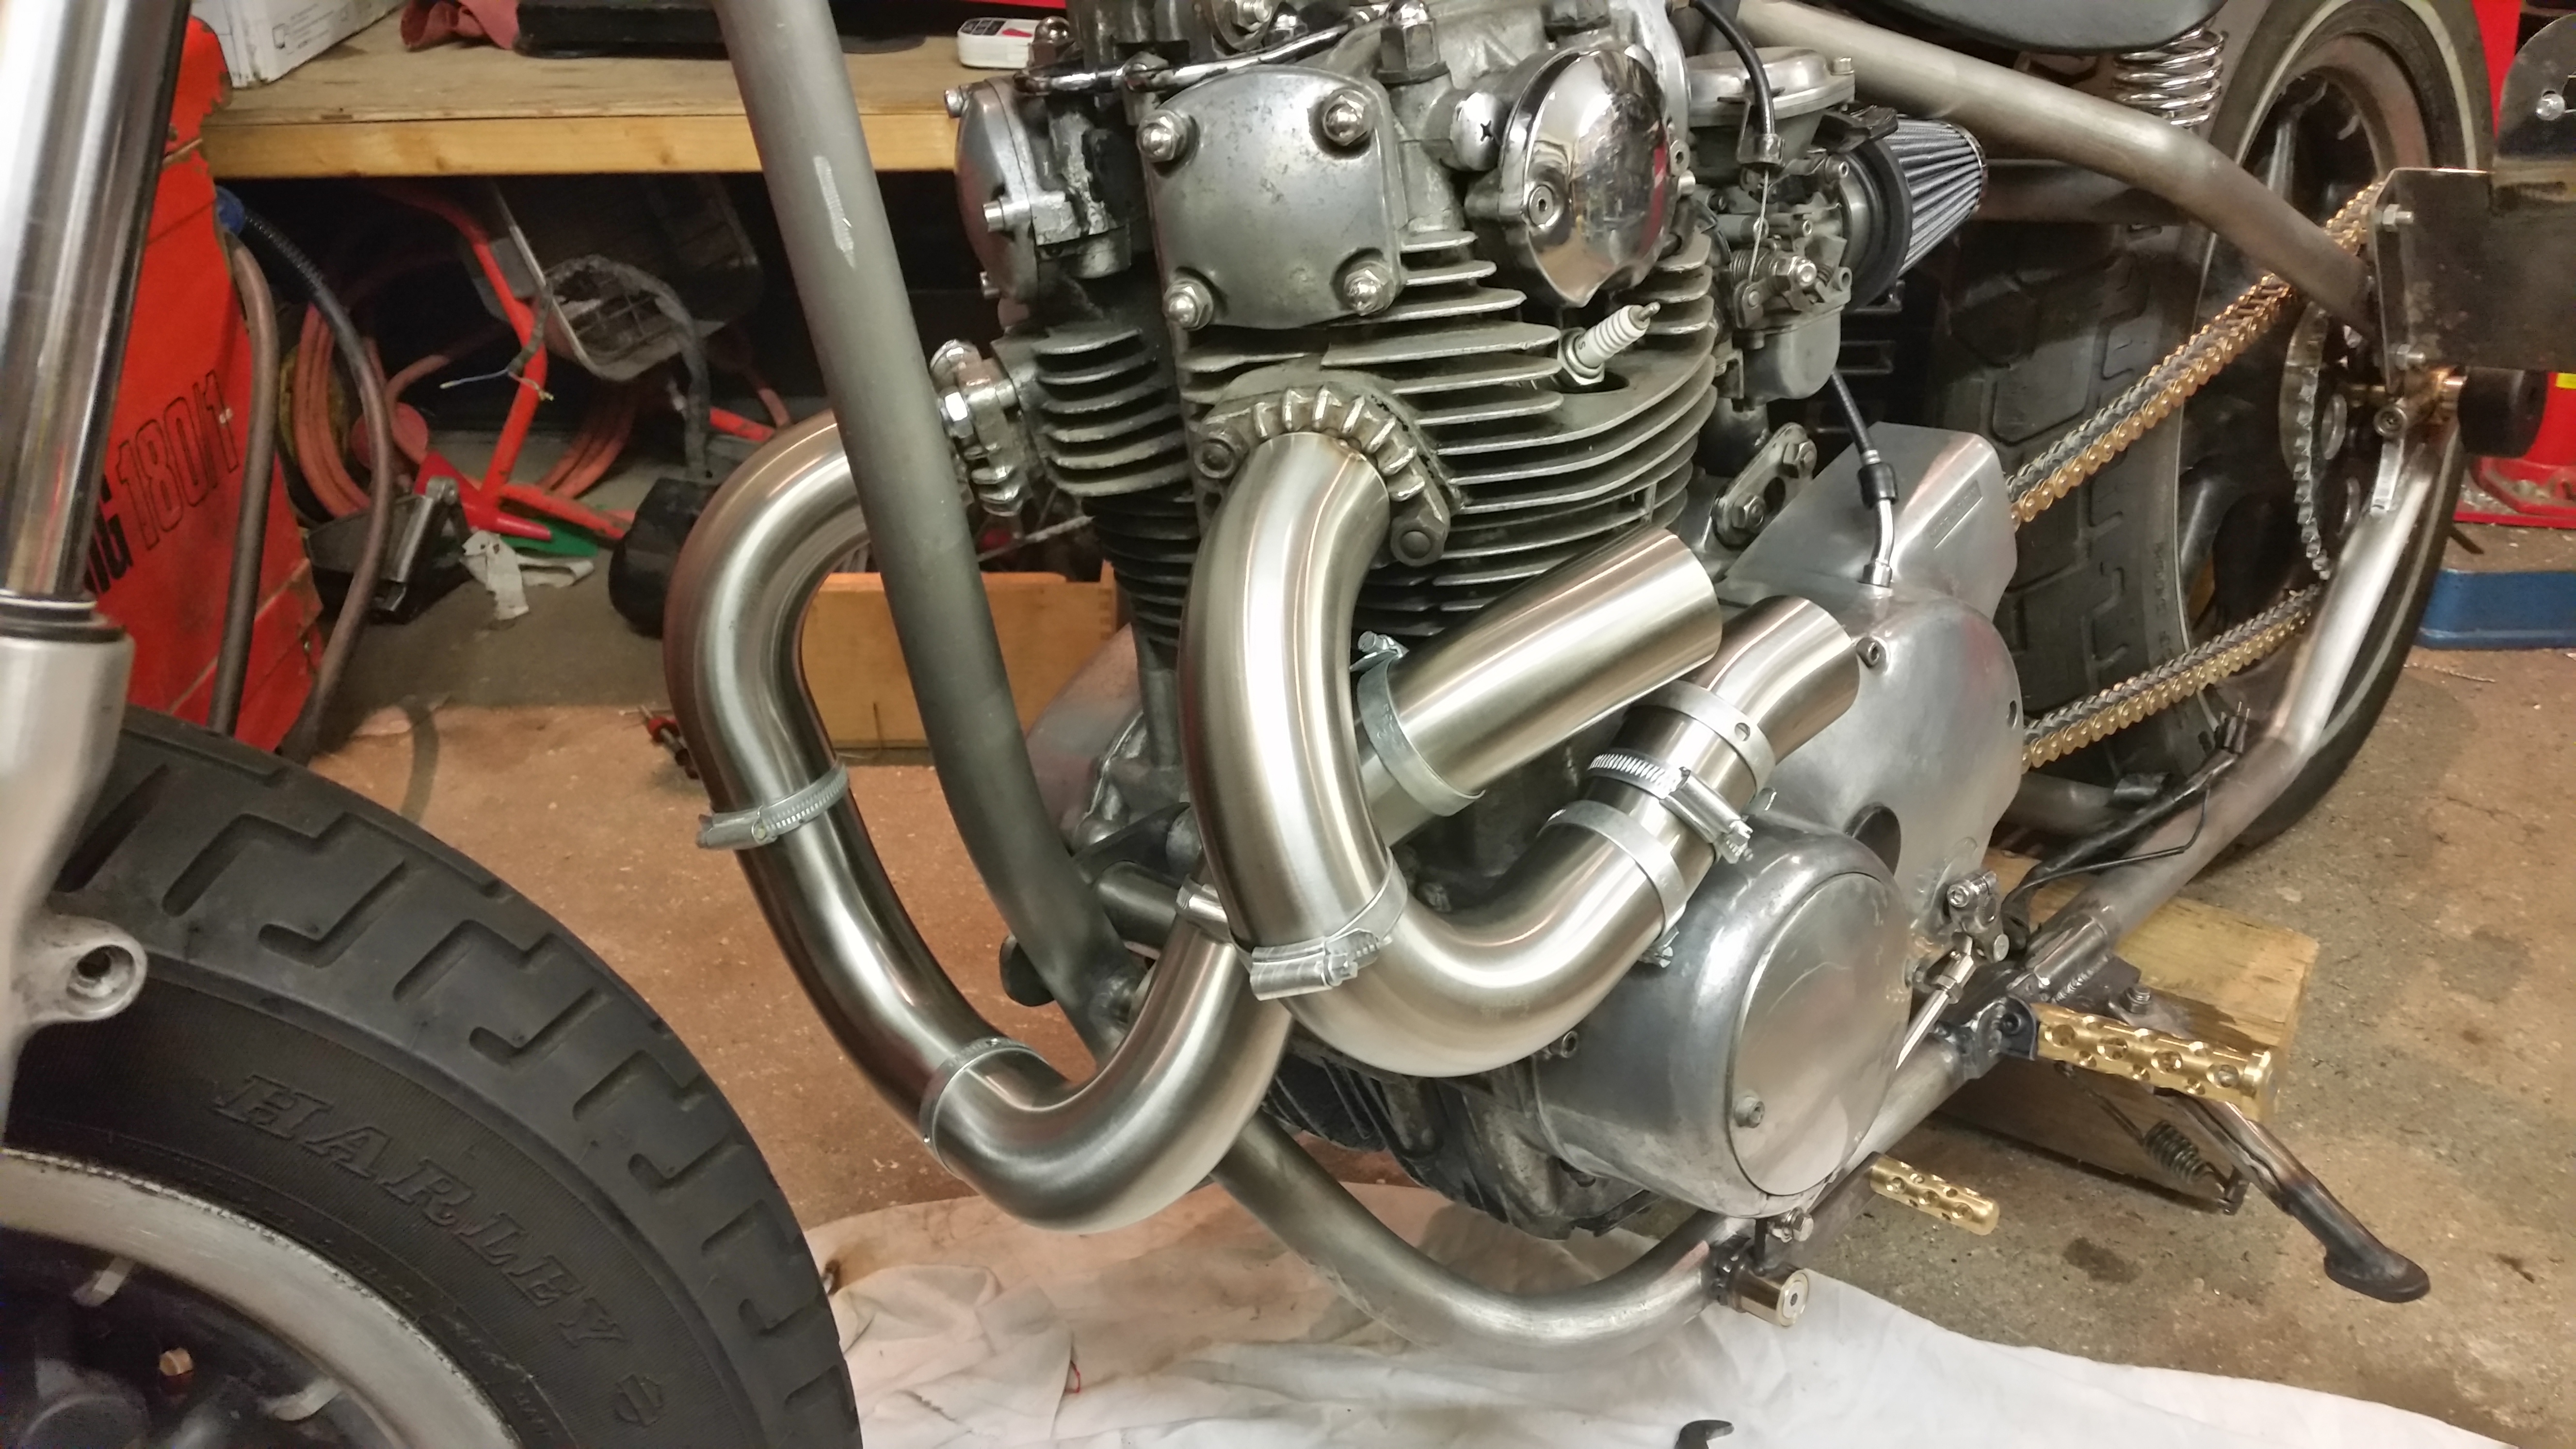
Reasonably happy with progress I decided to tack weld the tubes, as long as the two exits were pointing roughly right I was confident I could finish.
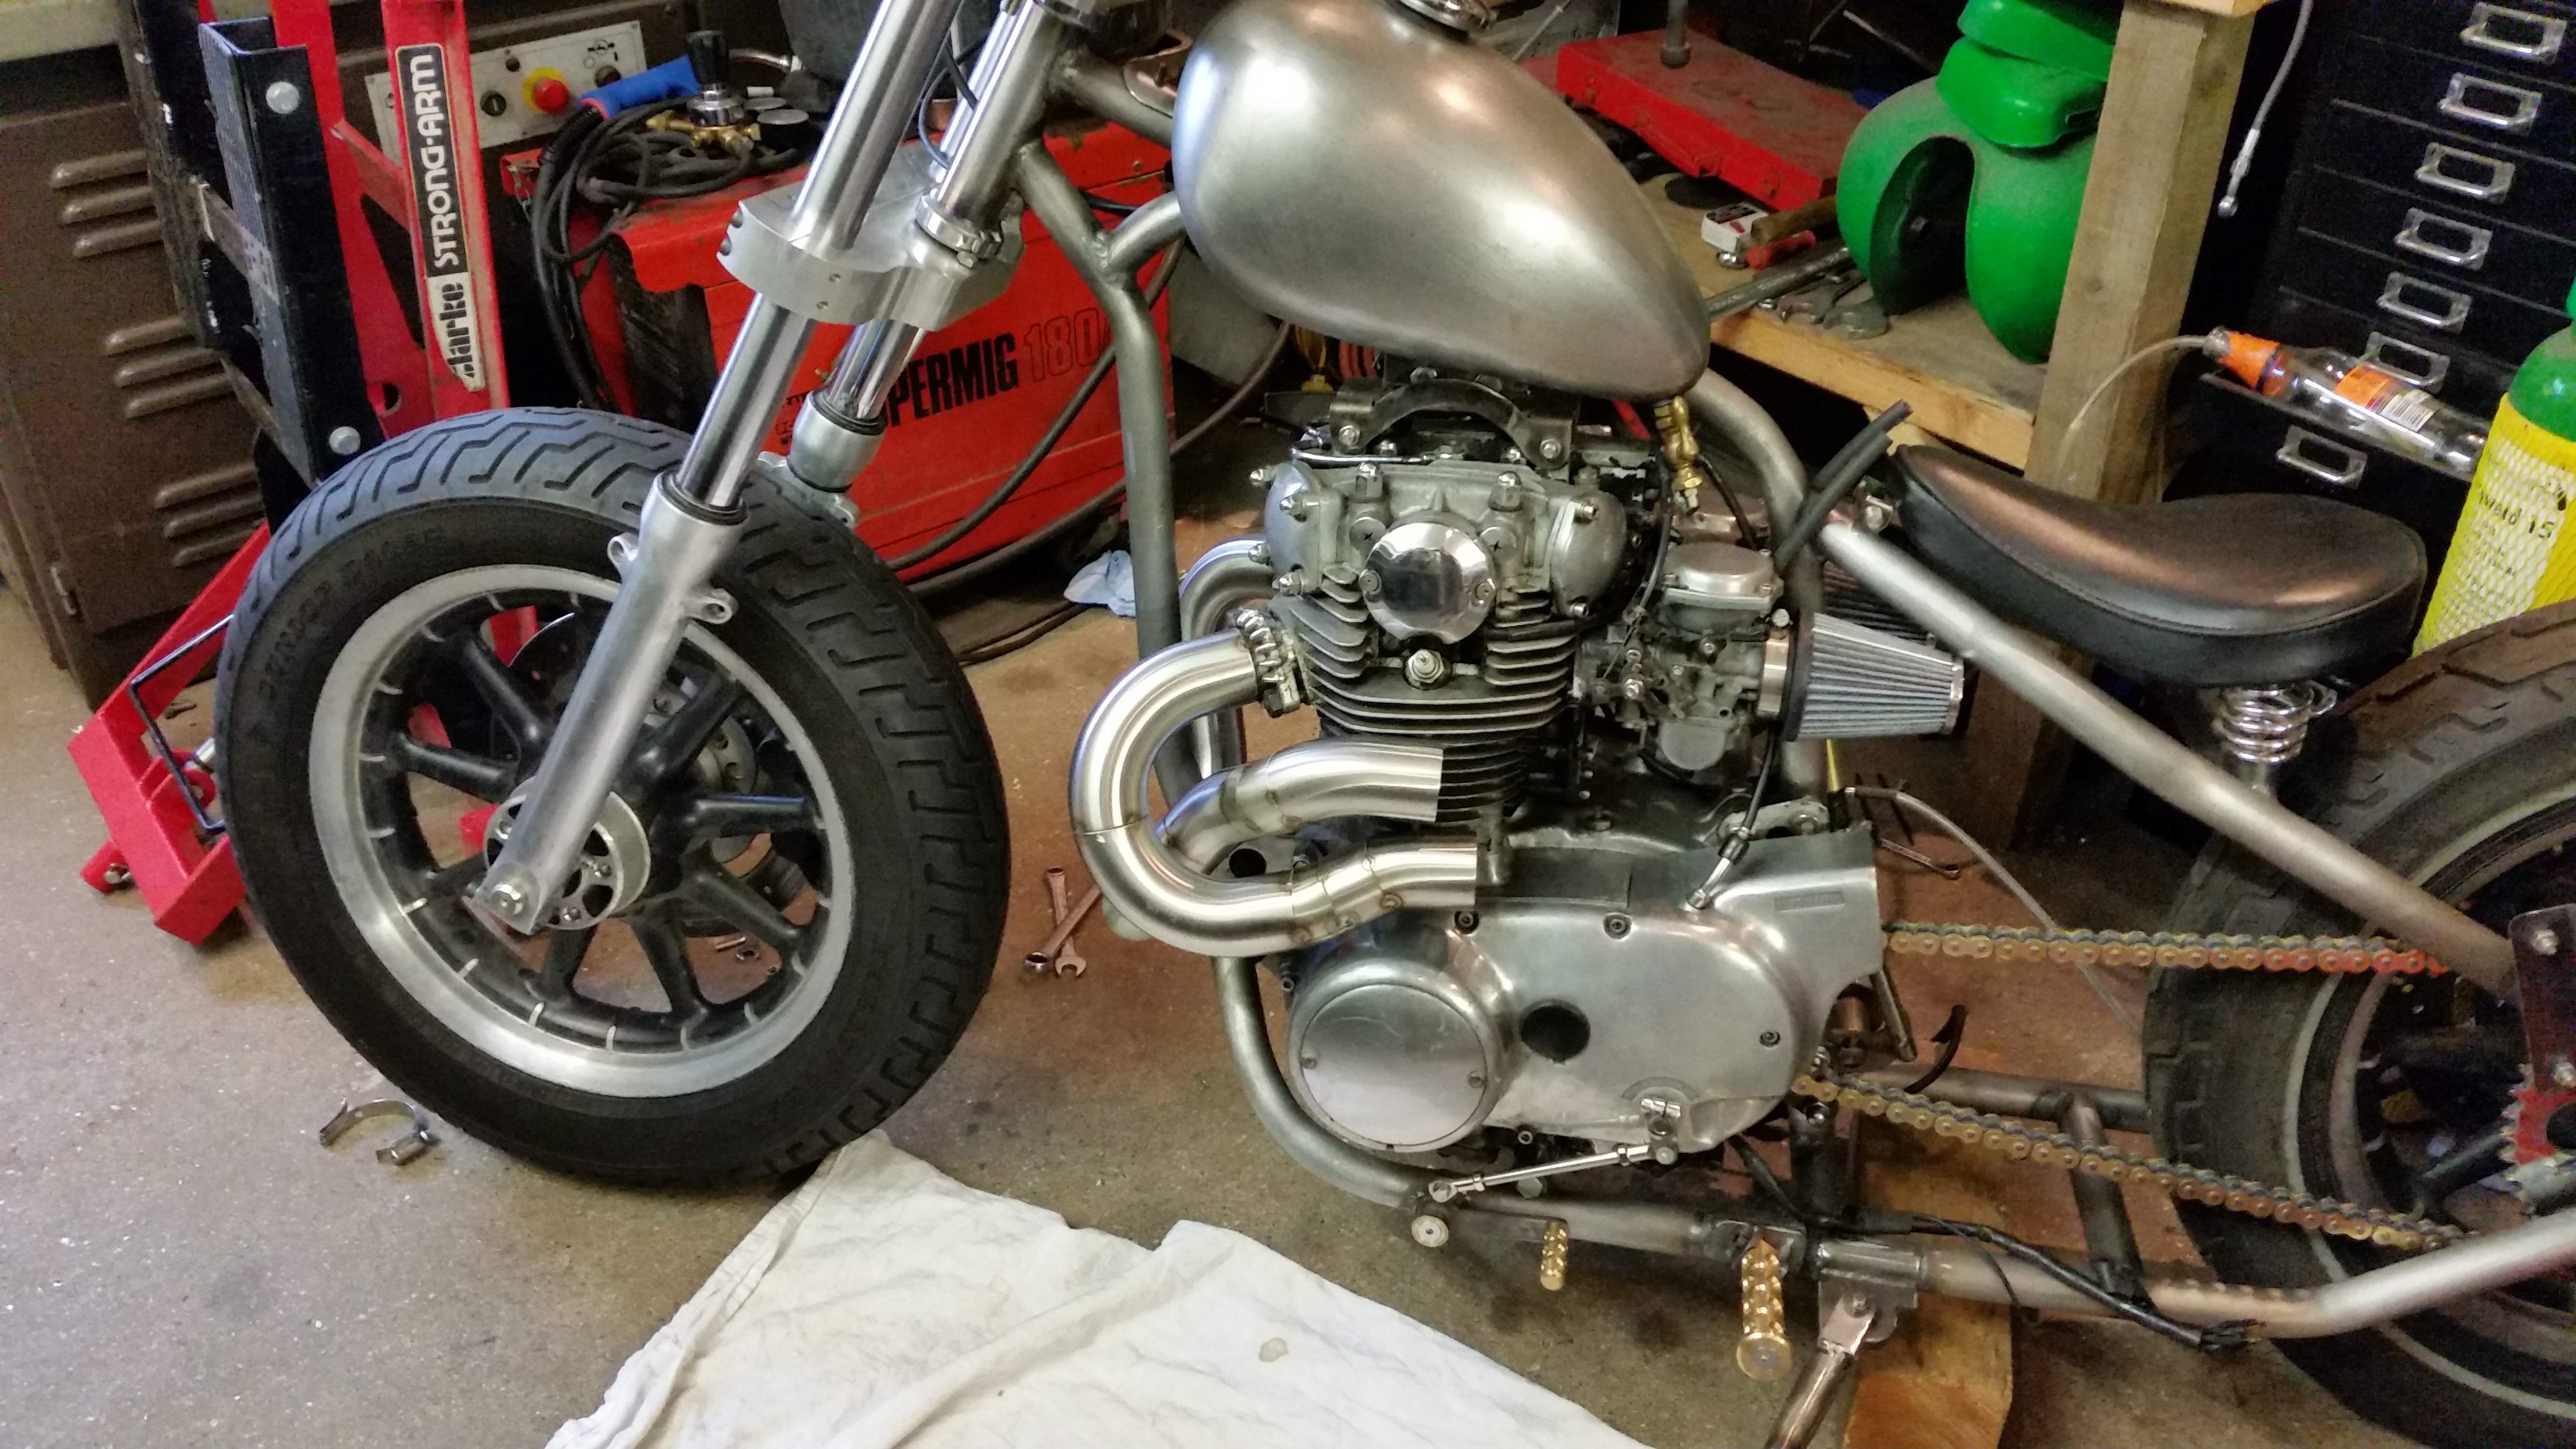
Fairly happy so far so I decided to seam weld the tubes.
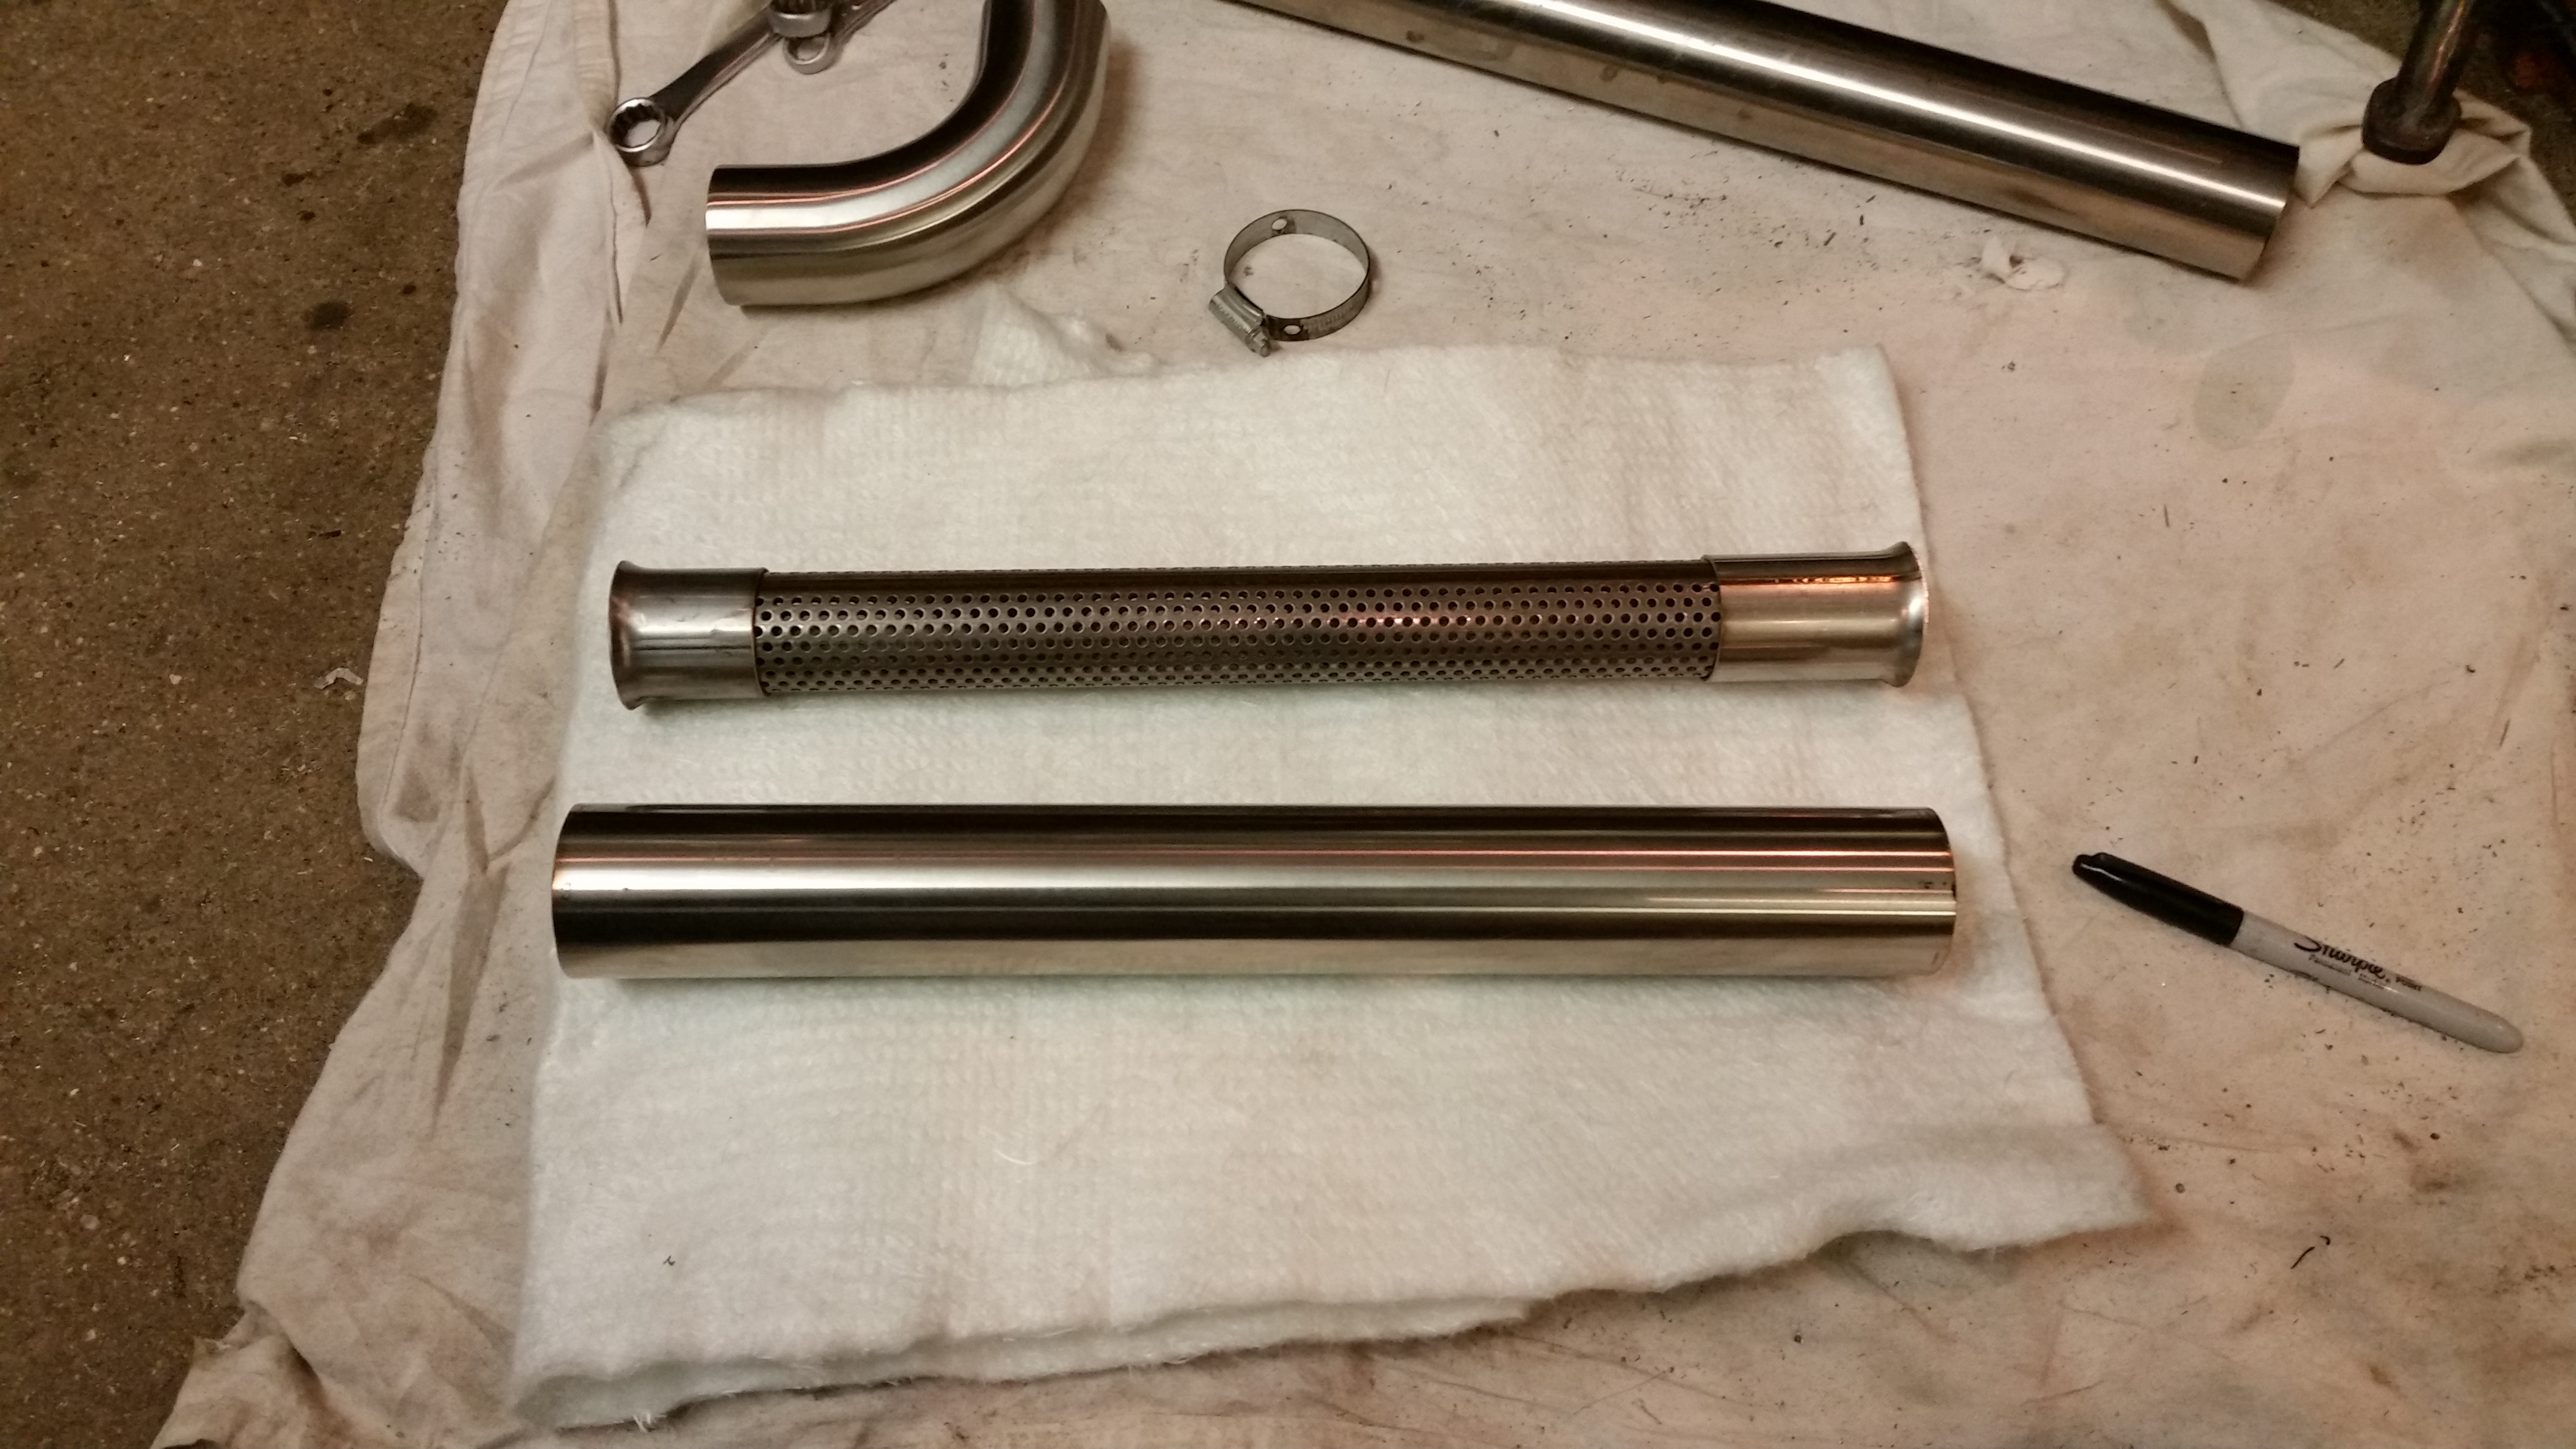
I now need to concentrate on the muffler construction, all pretty simple, flared tubes to seal each end and perforated tube with fiberglass matting.
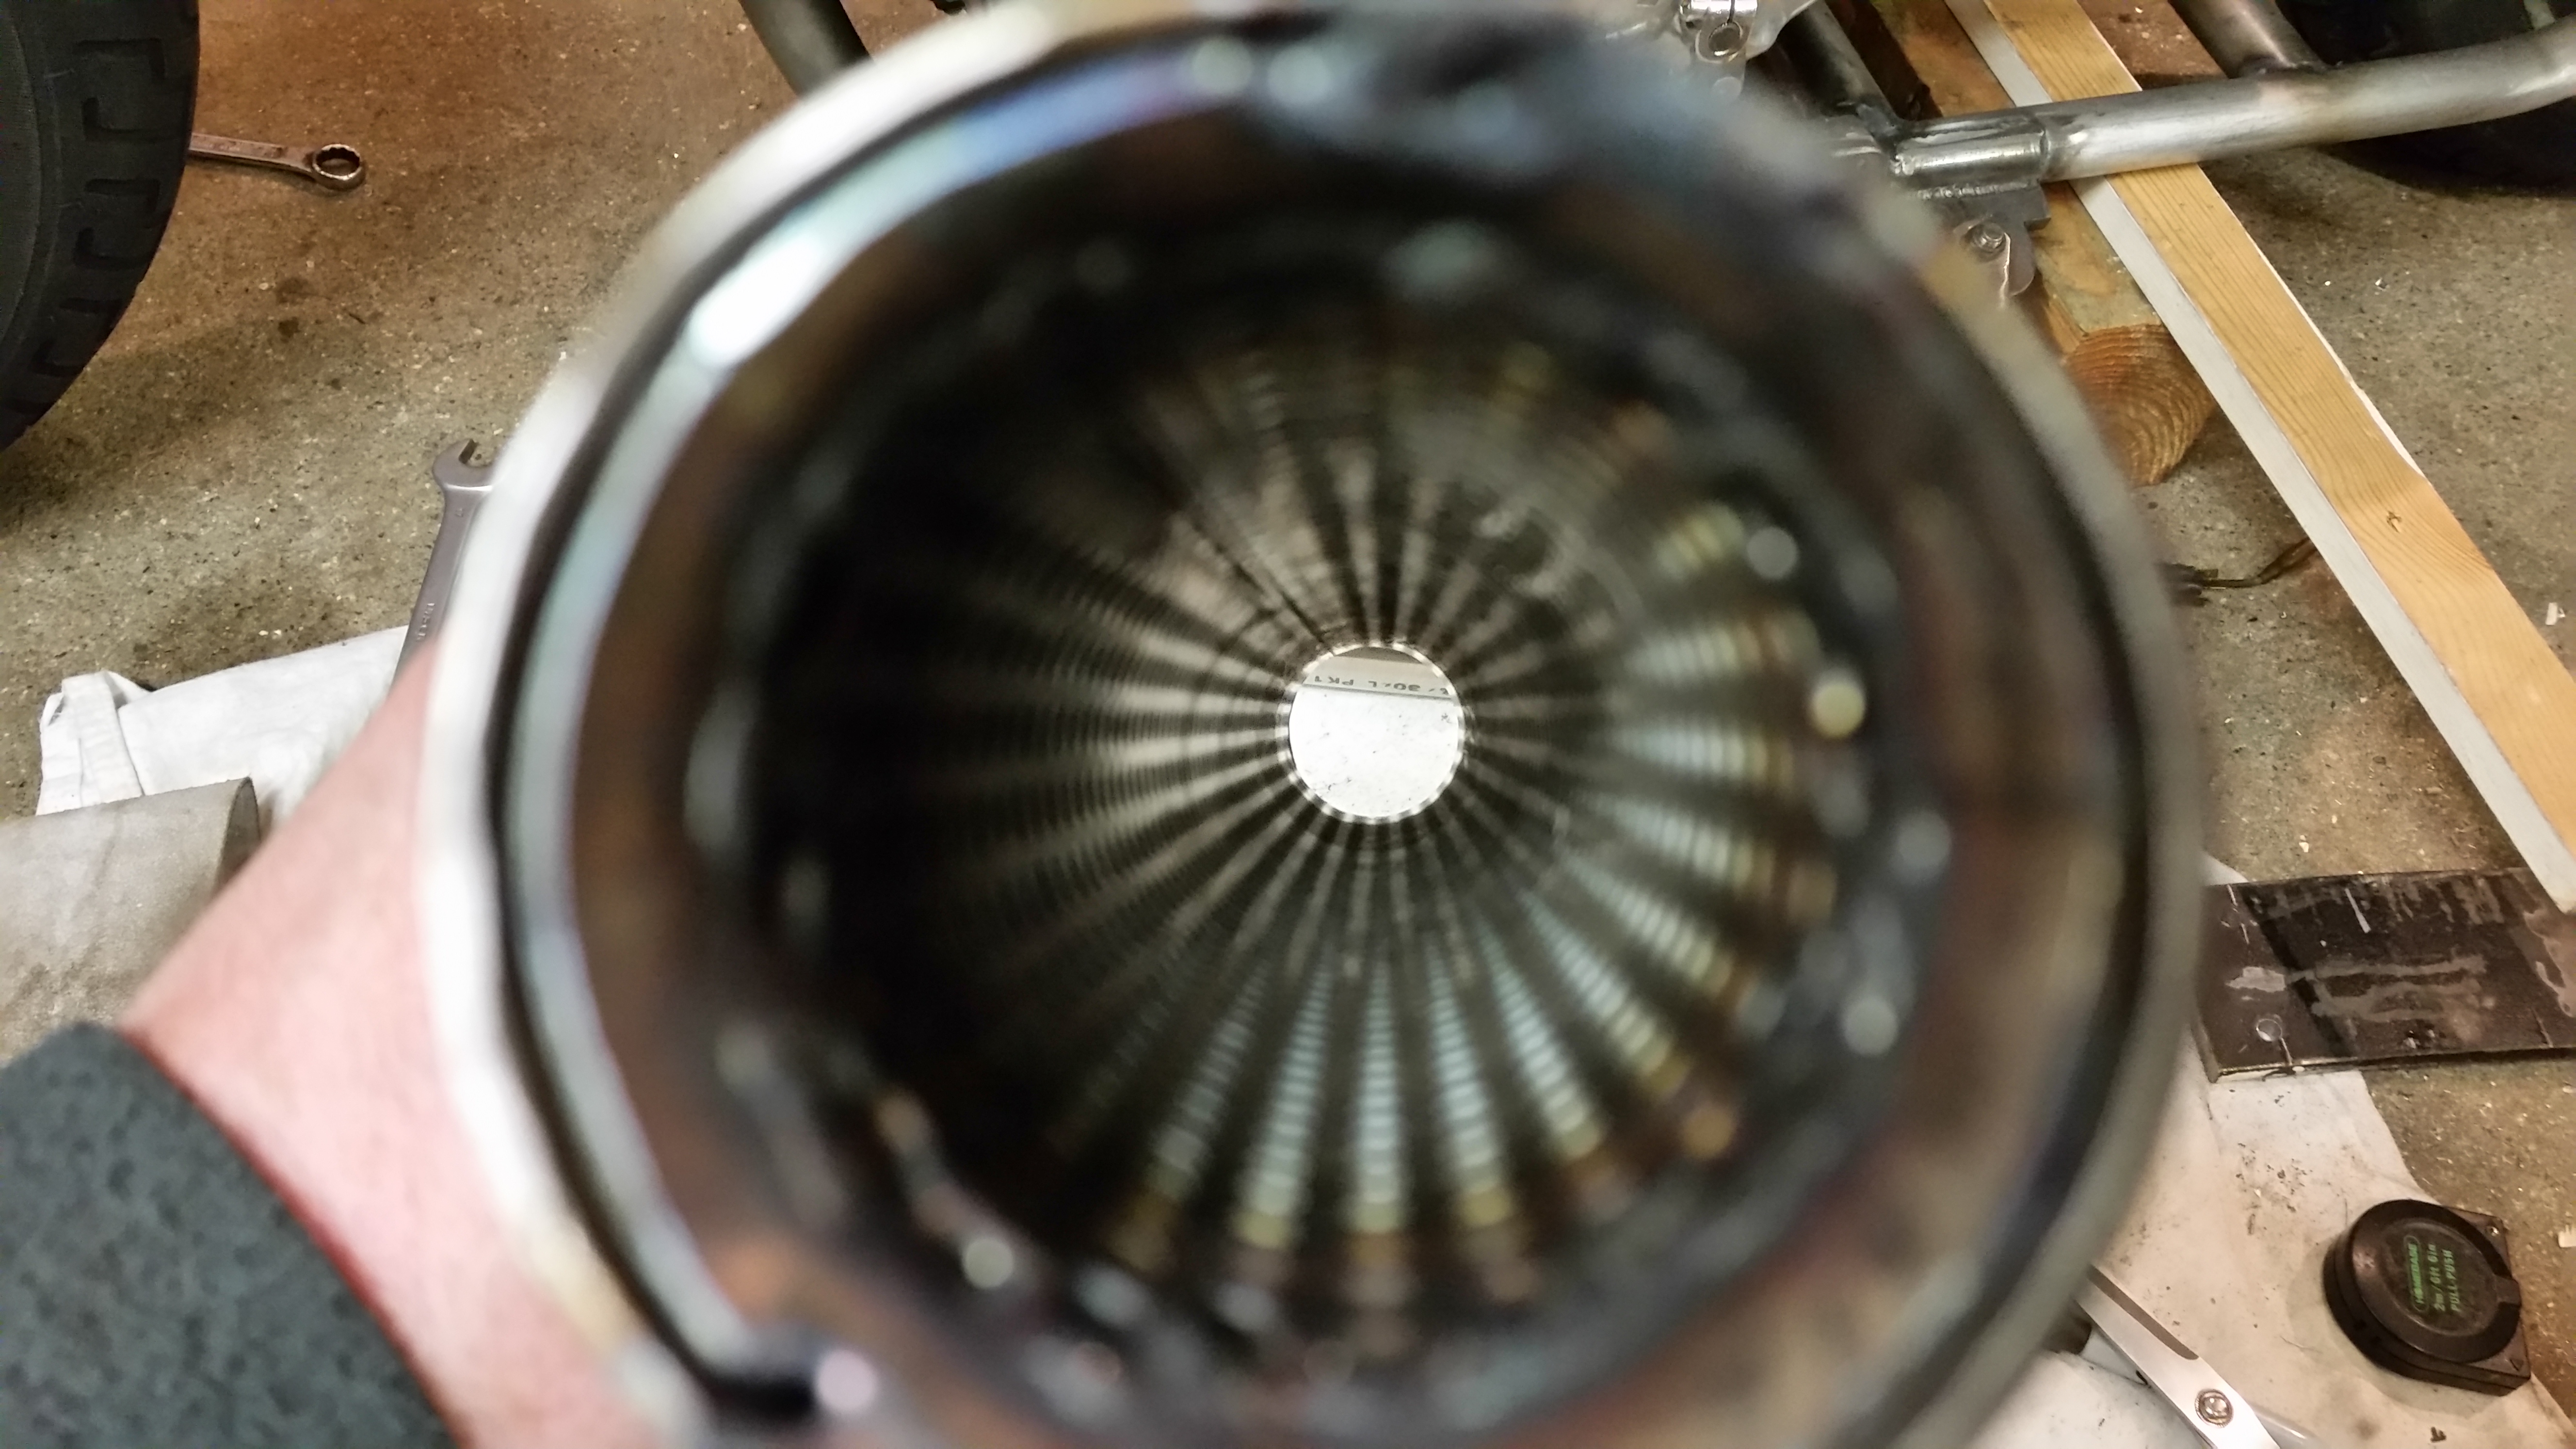
An arty look down the new muffler.
A mock up of how I want the tube to sit, nice and flat so I used the digital protractor, pretty happy so I welded it.
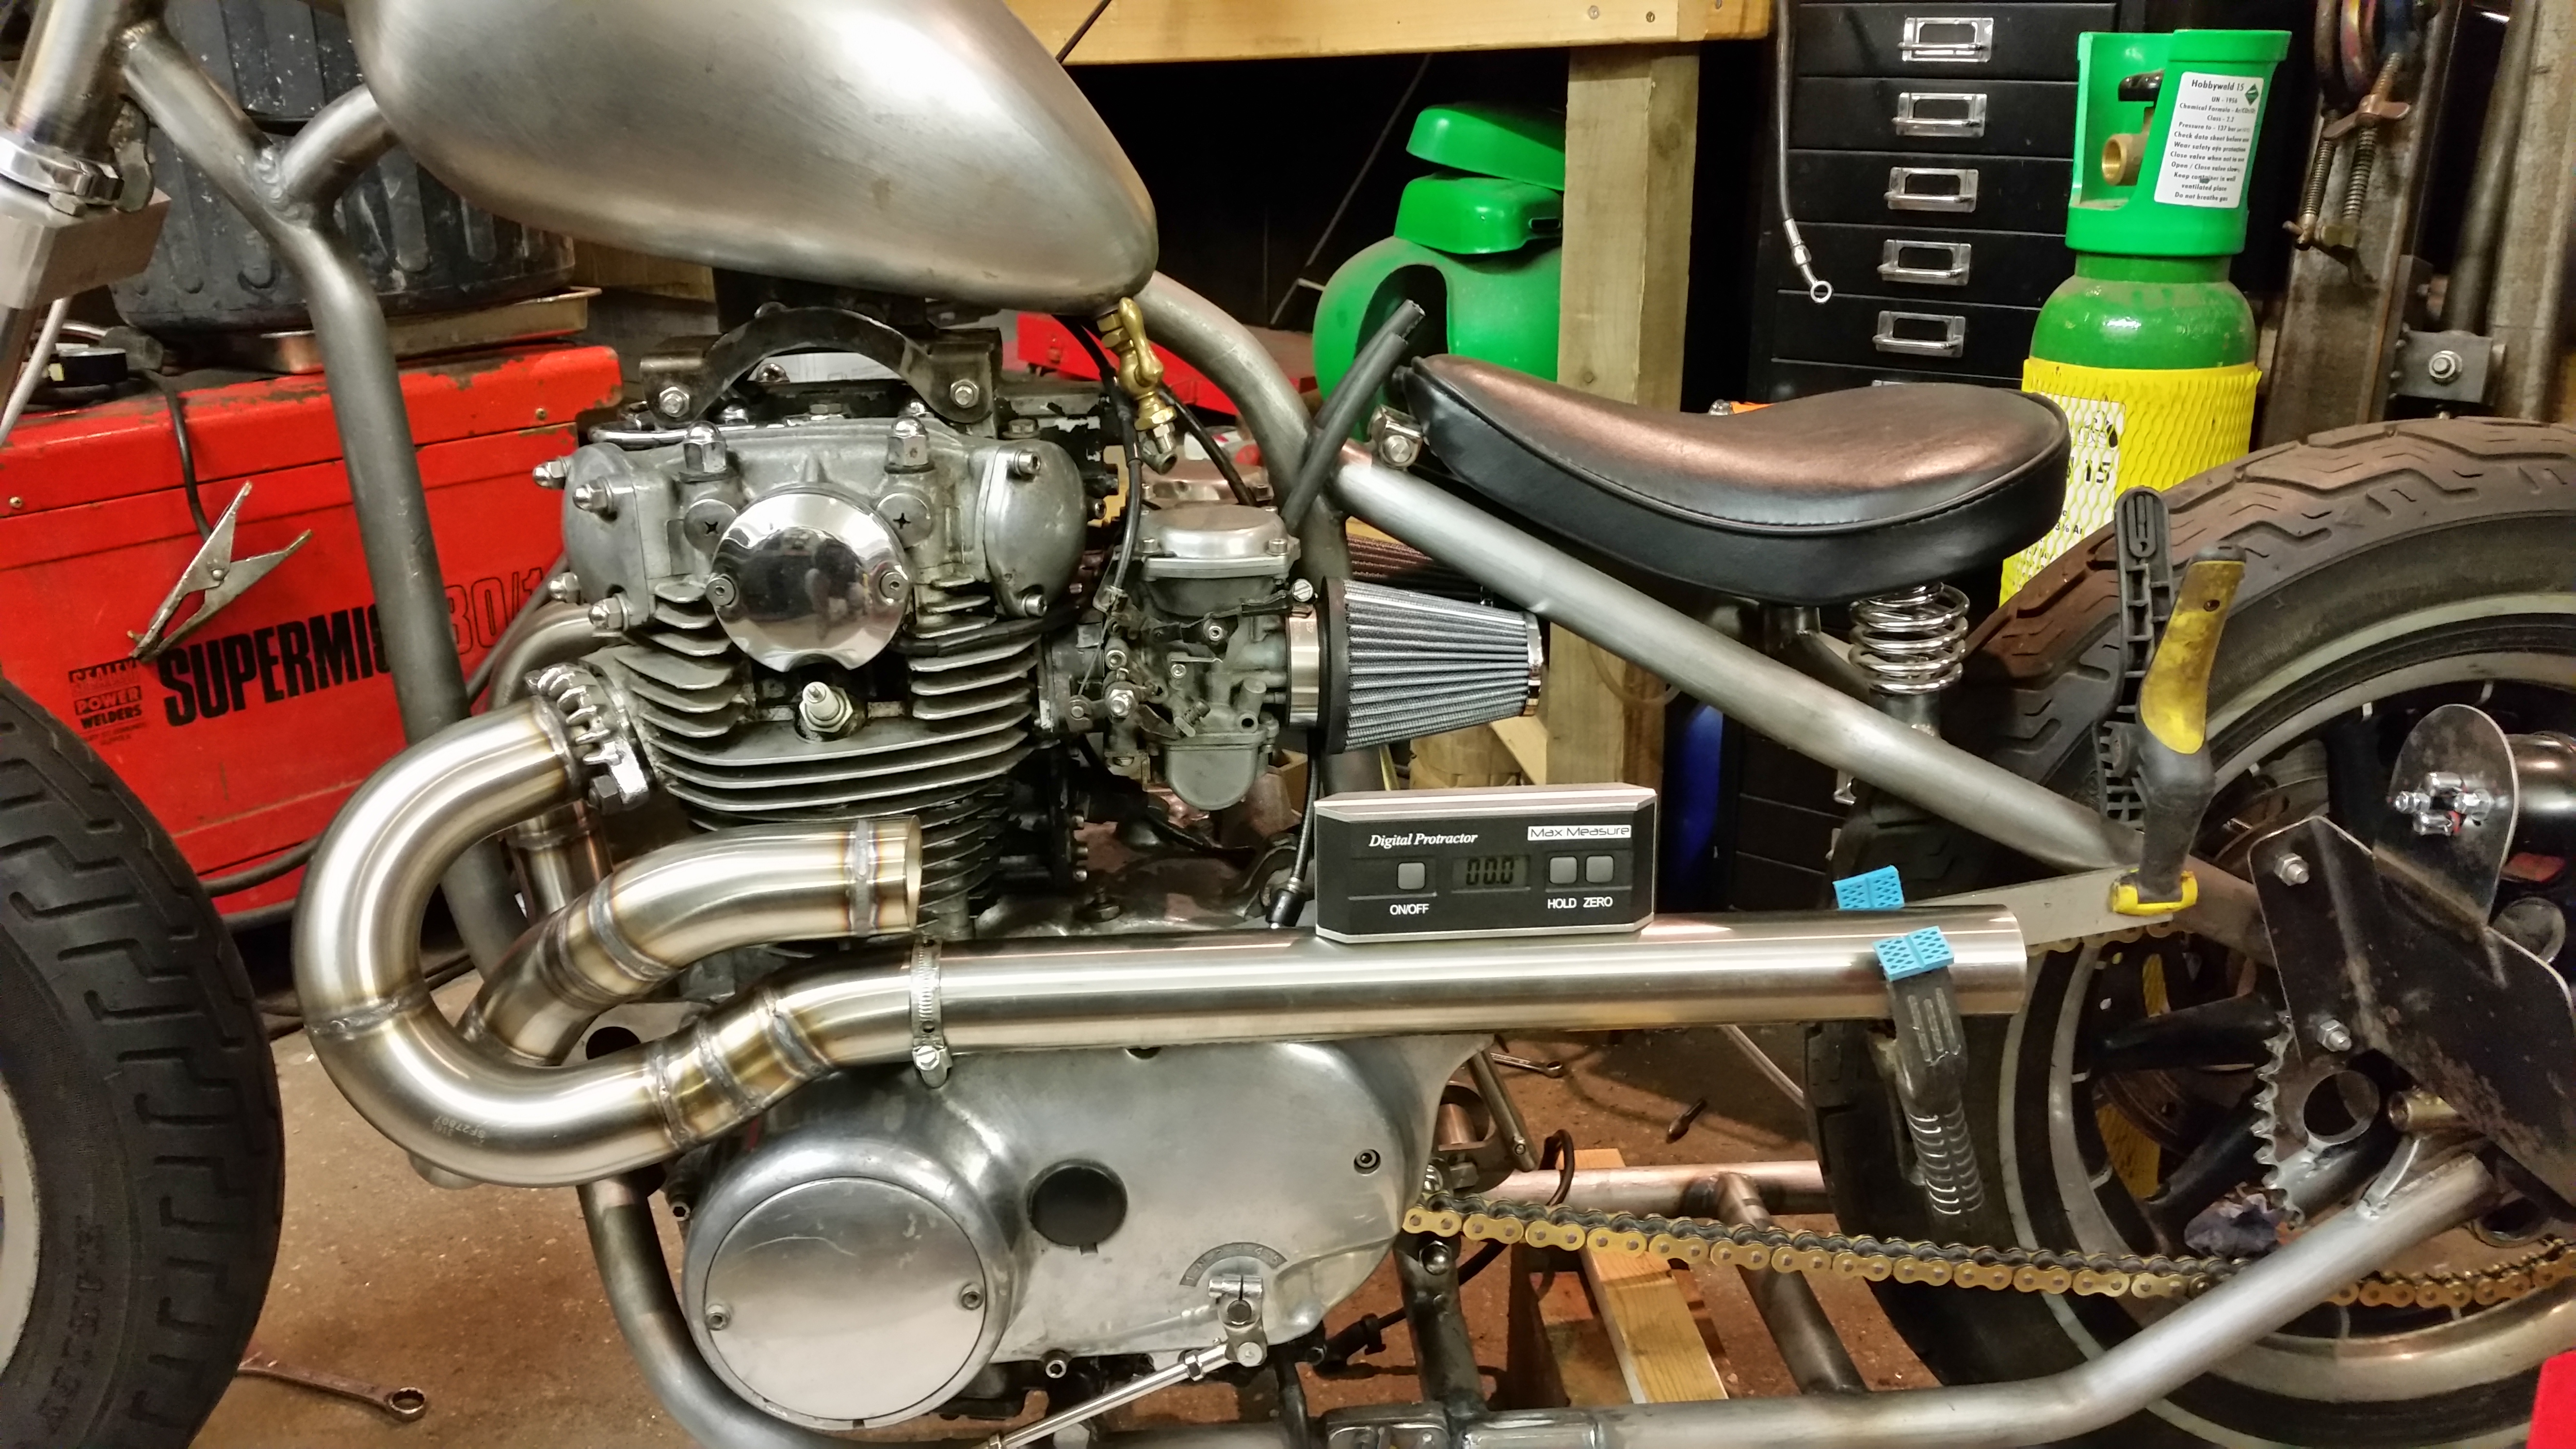
Here’s the finished tube, welded in place with the 45 degree exit bend, looks pretty good I think.
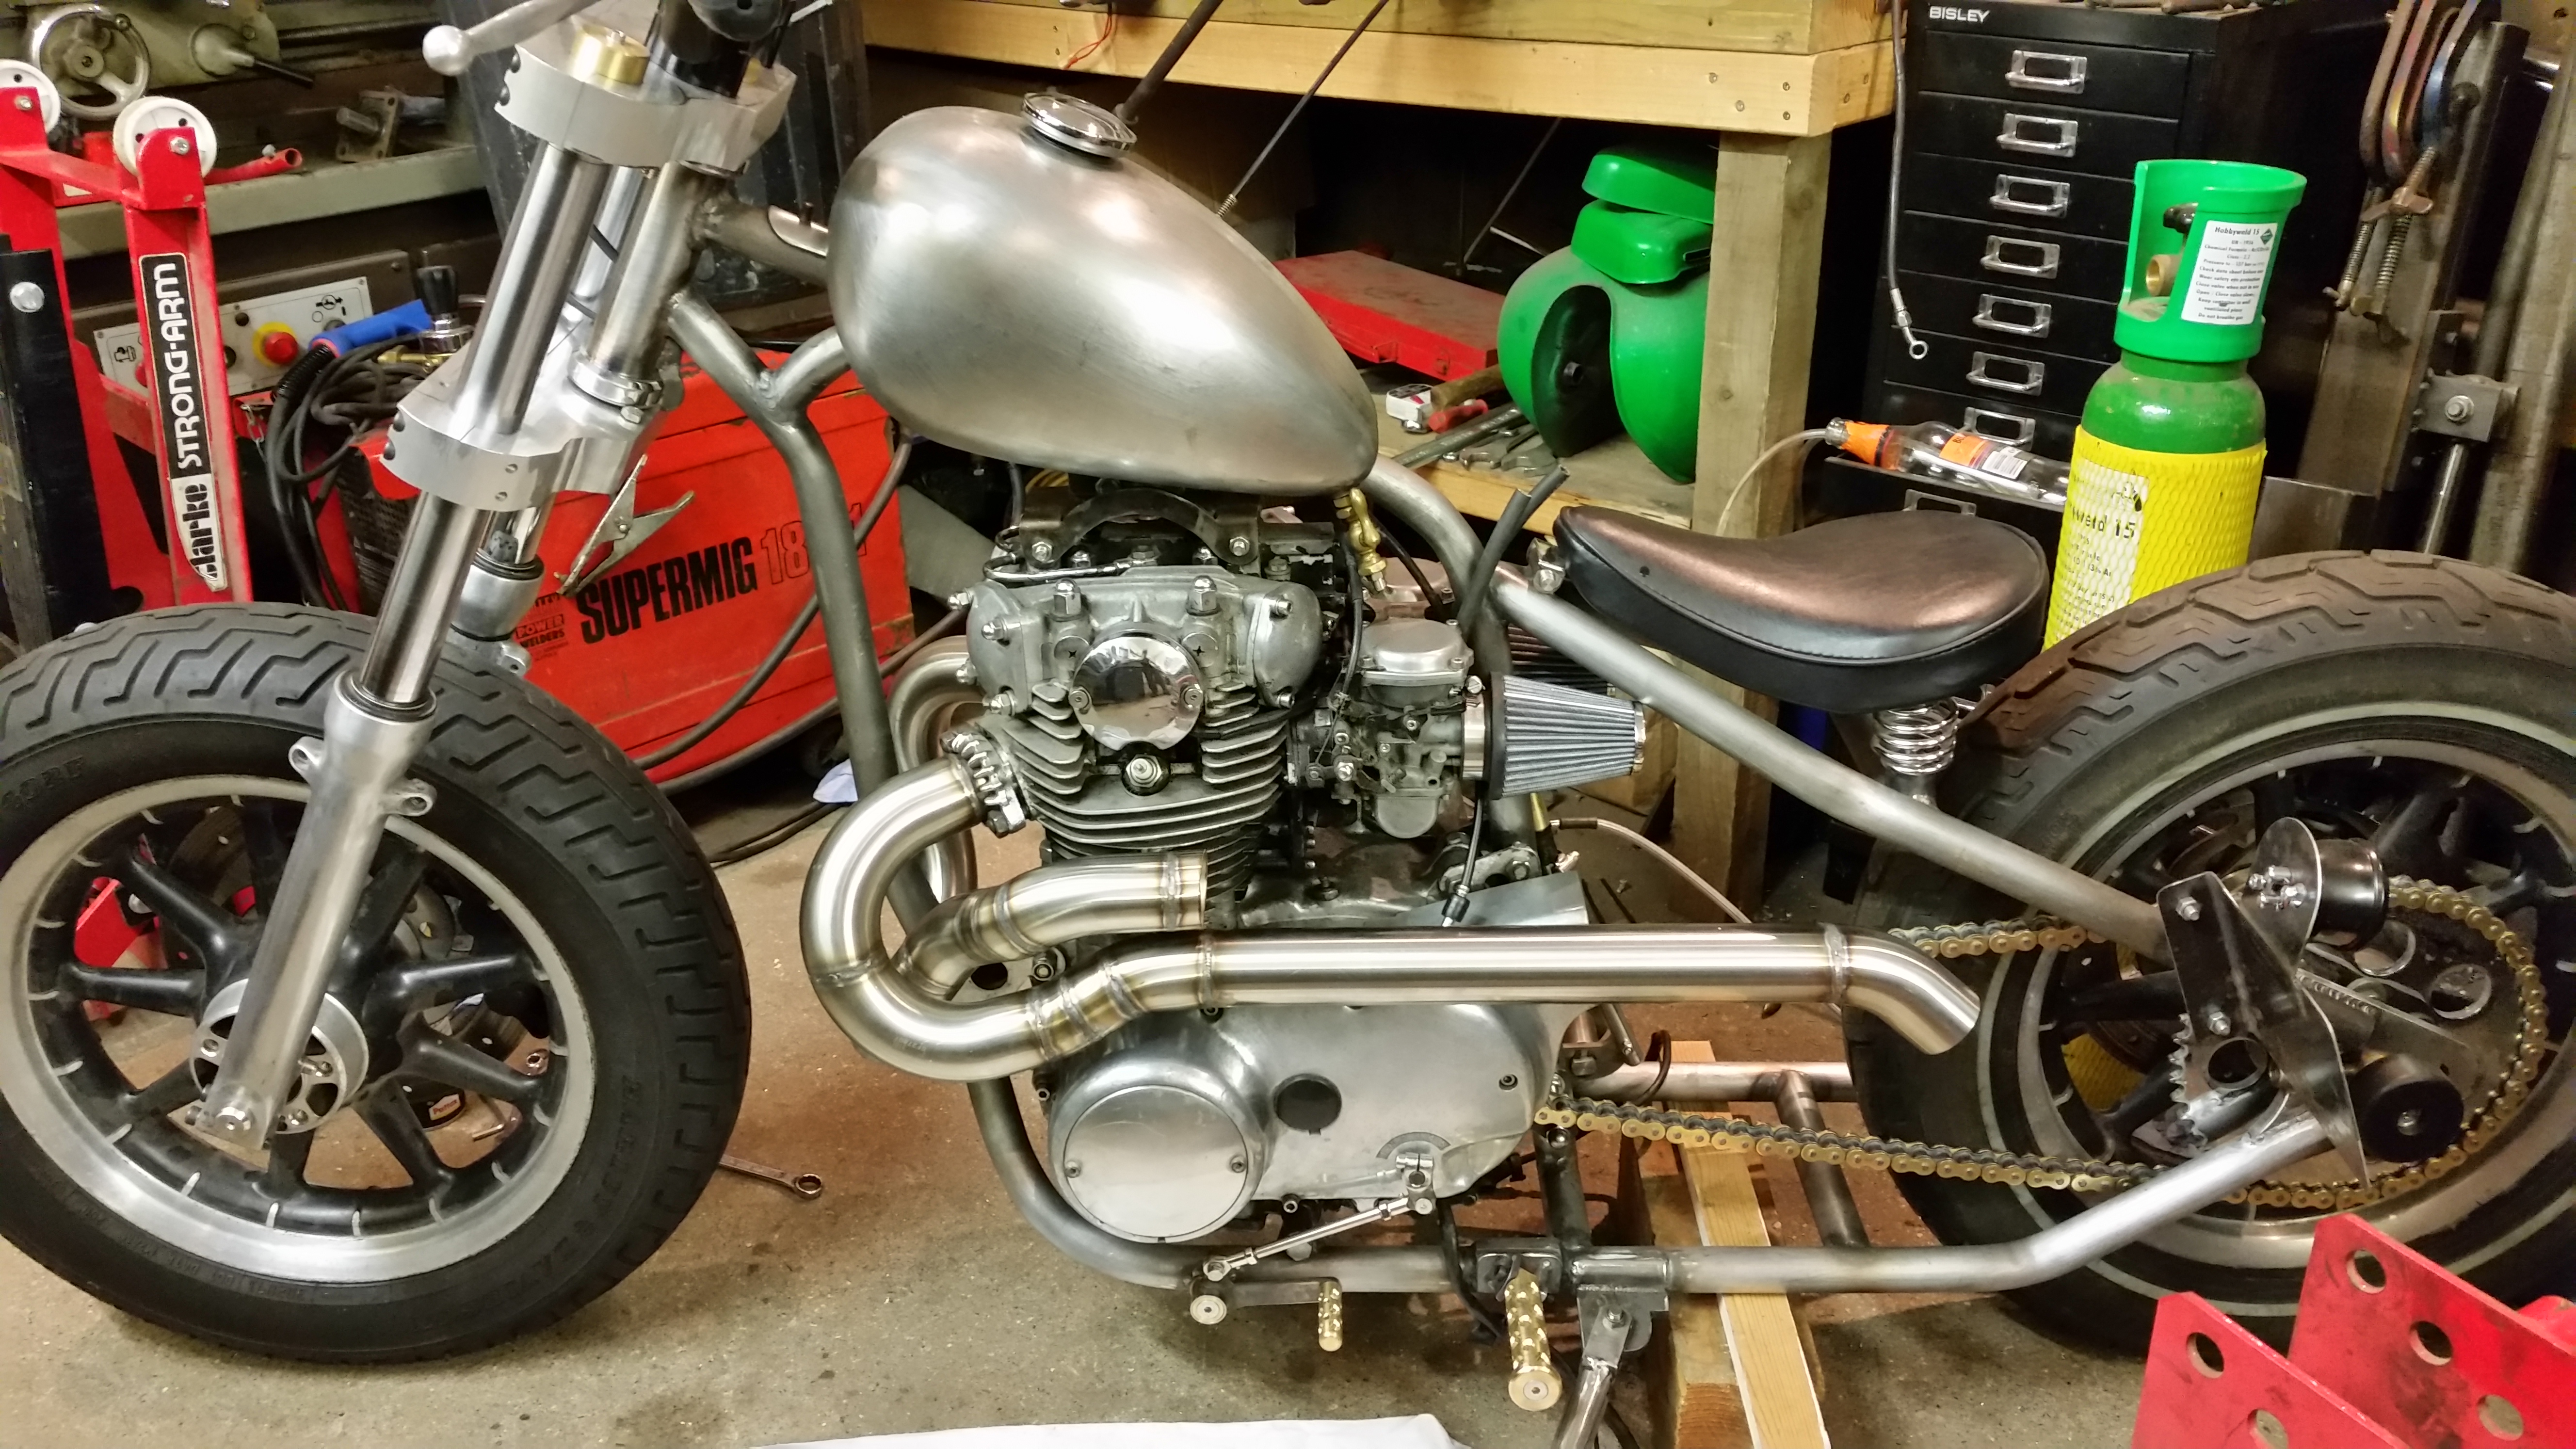
To finish I repeated the process and made another muffler and added a stainless mount just under the seat to tie both tubes in tight.
Pretty happy with the end result, certainly couldn’t have done this without the help of Wolfy, top chap, very helpfull and patient with all my silly questions.
If you want a custom system making I’d suggest rattling wolfy’s cage, he can make pretty much anything and his prices are very reasonable, it looks easy but it really isn’t.


