So there was very little jealousy amongst the scavengers after Mac’s win at the show this weekend, almost not worth mentioning…….grrrrr
One way I thought I could ‘return fire’ was to try to out do Mac with even better foot pegs as I think the best judges probably admire decent foot pegs, well lets hope so.
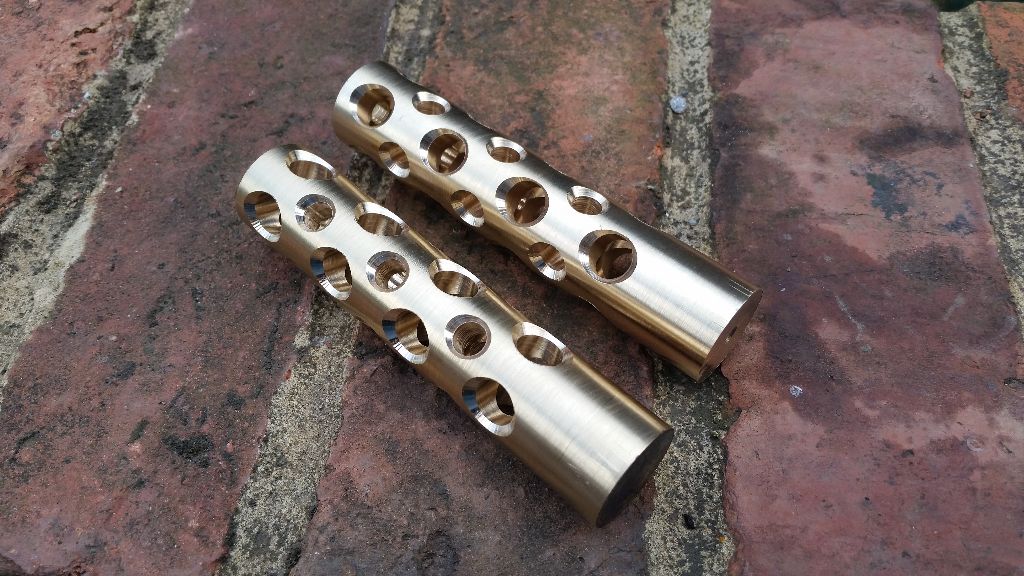
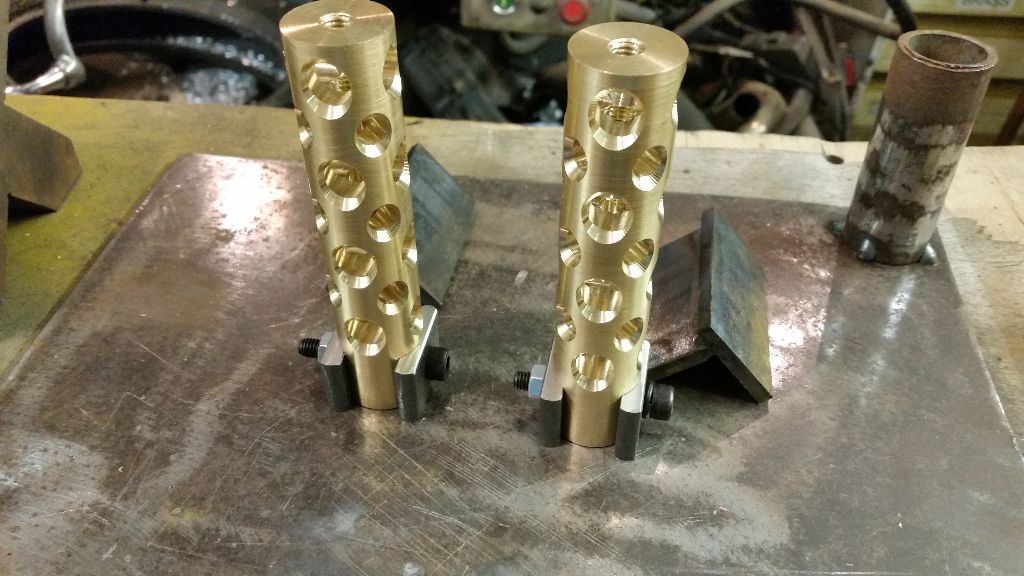
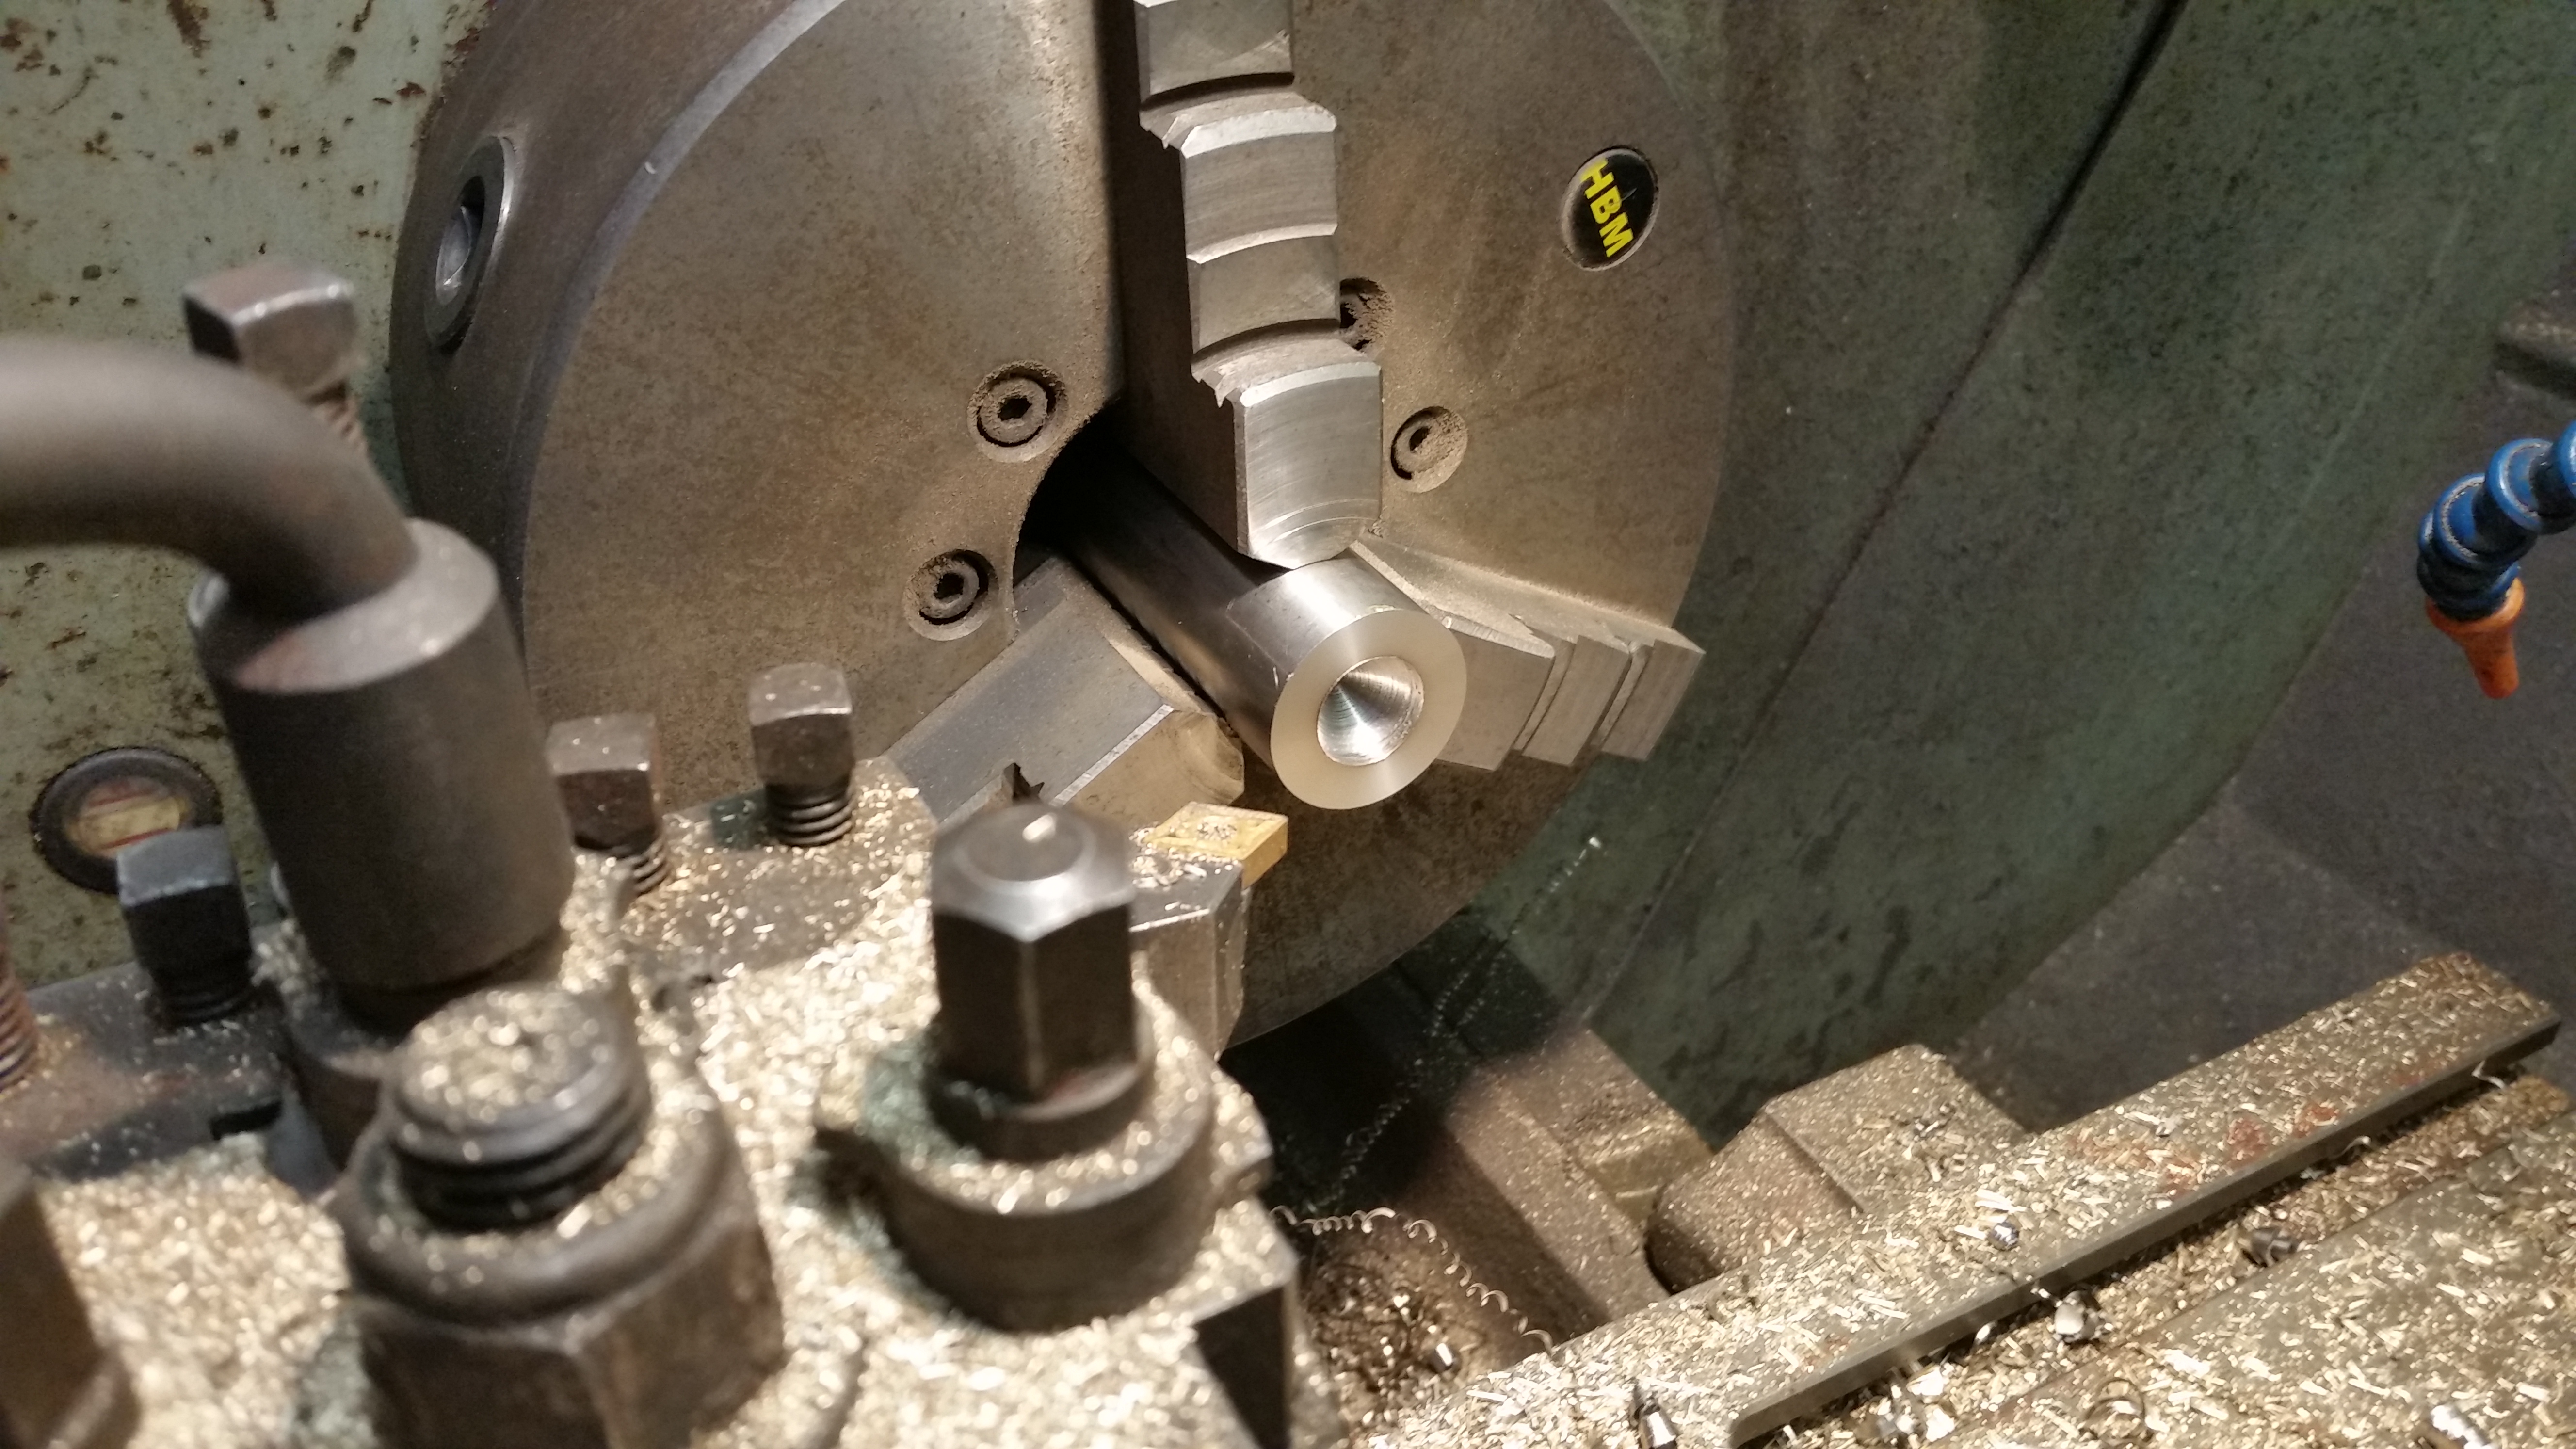
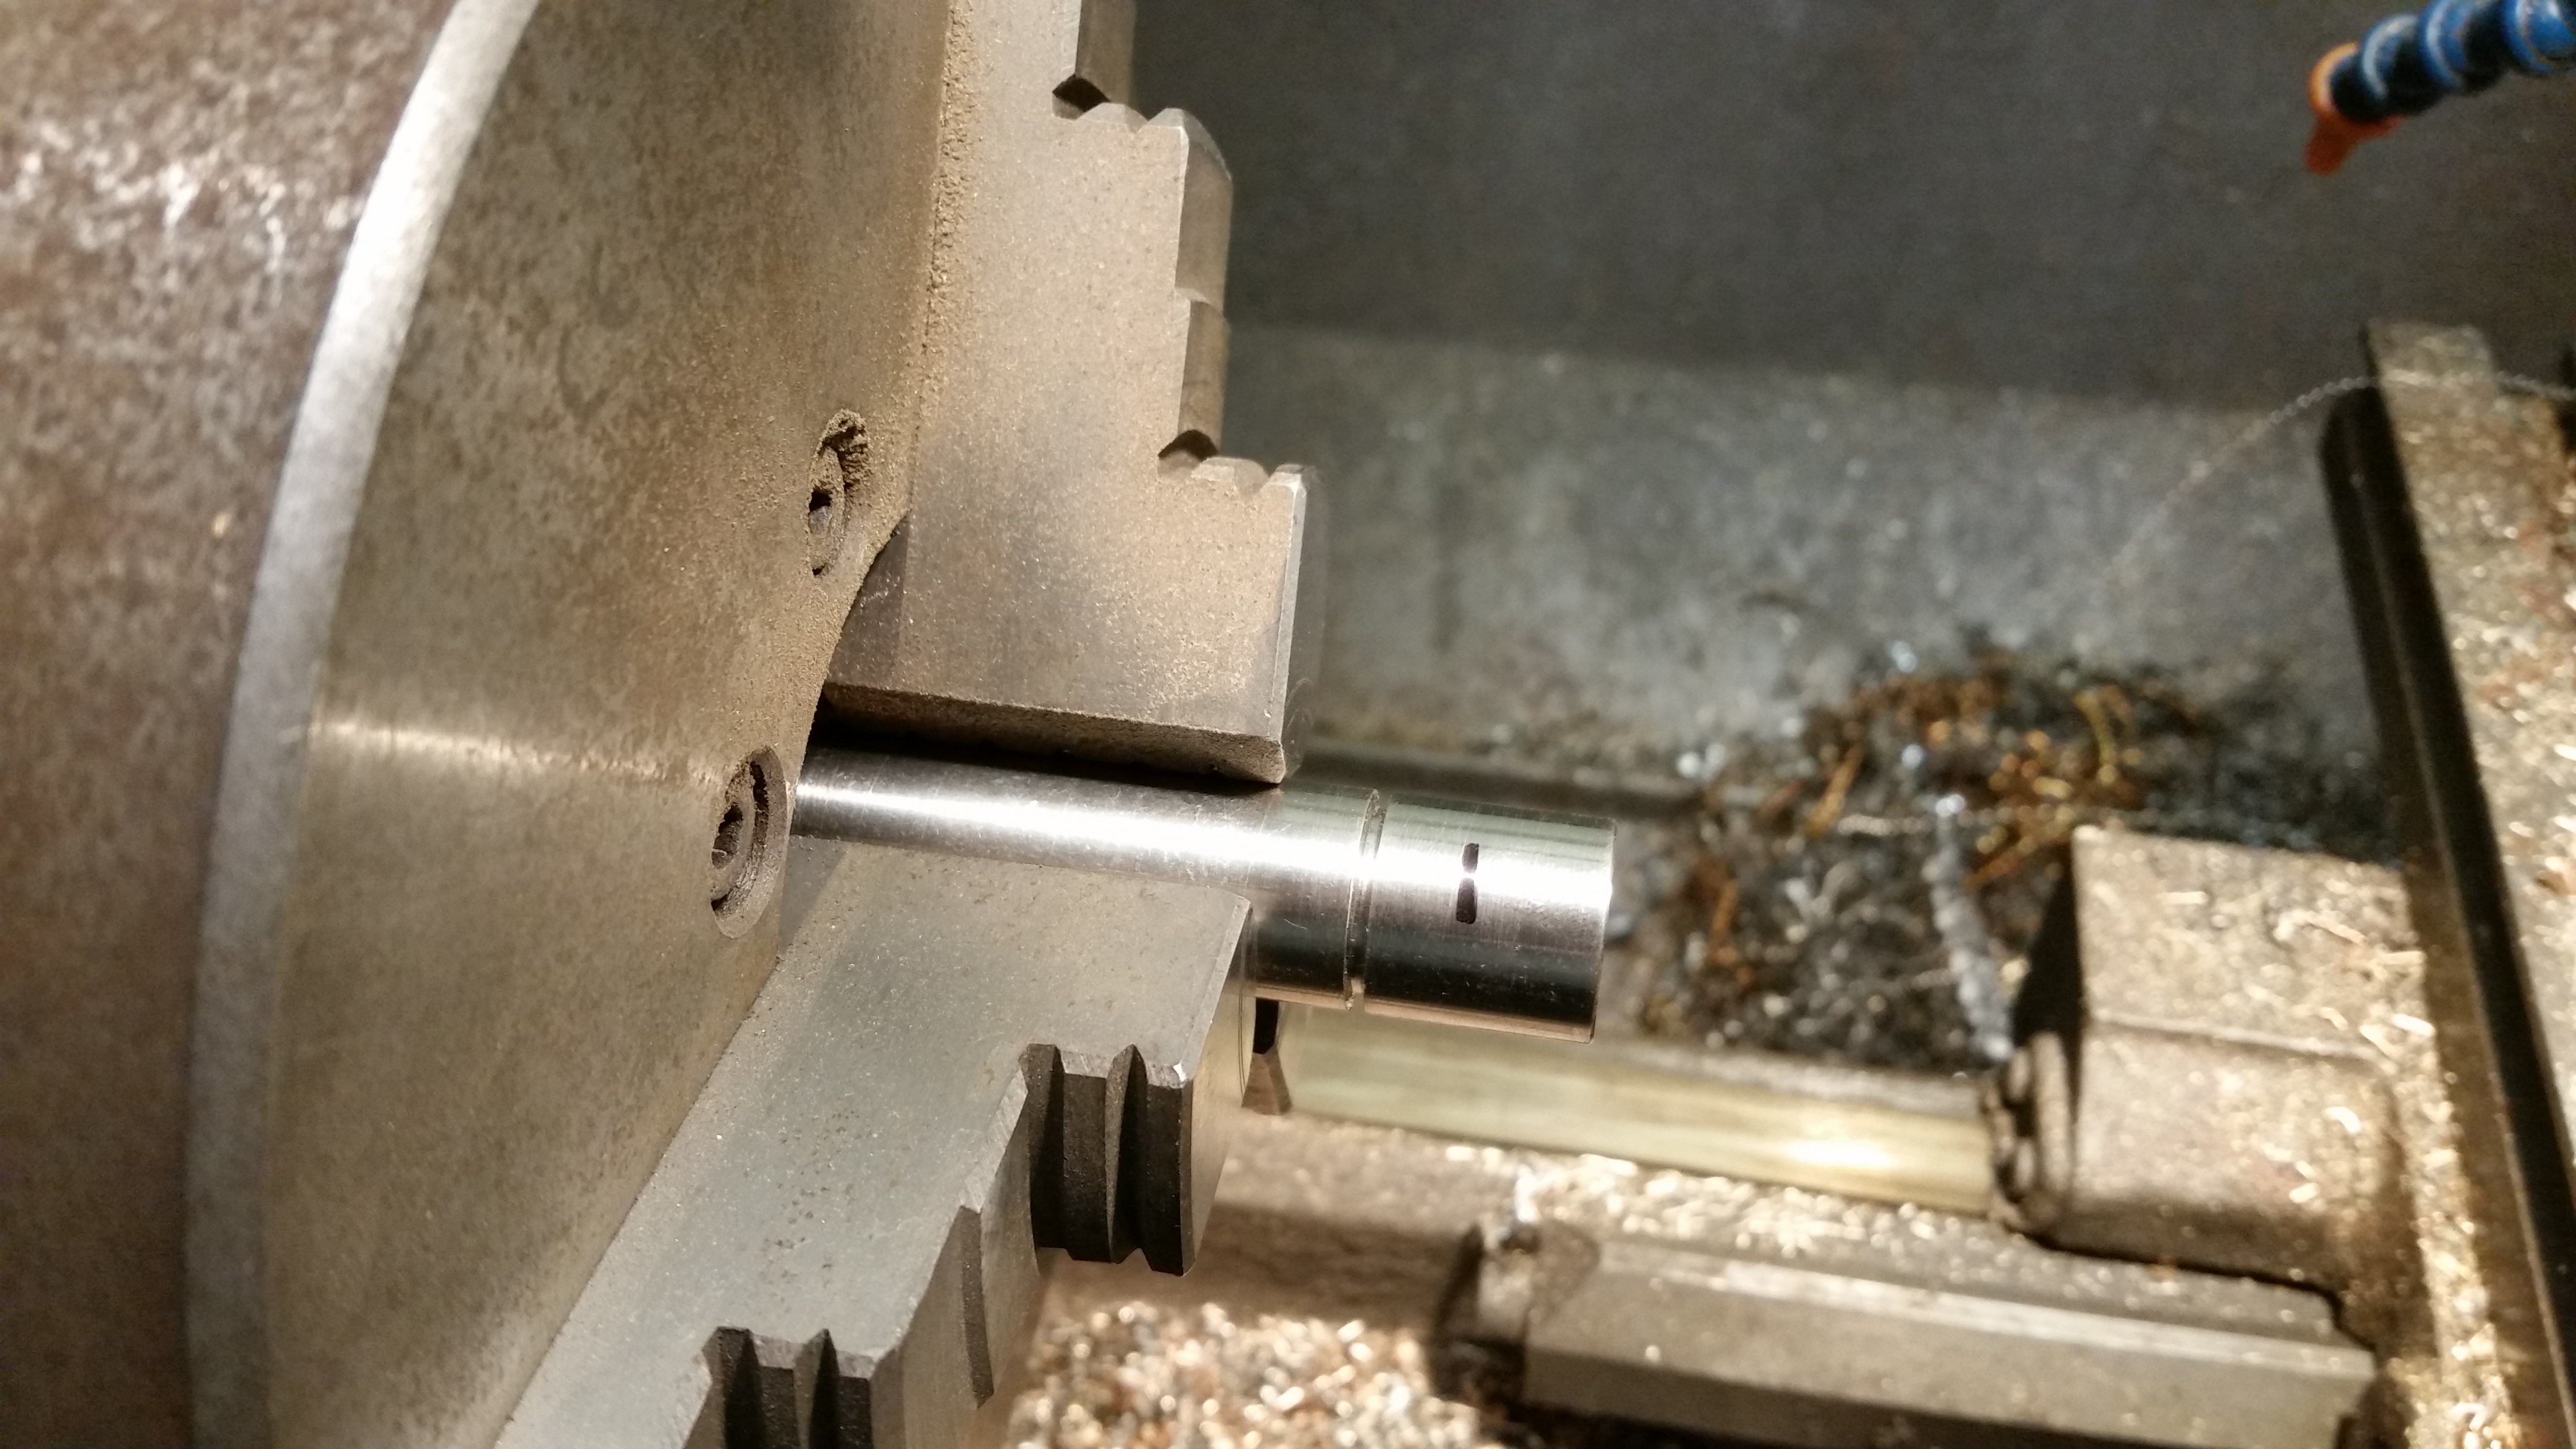
I had in stock some 1″ brass bar so I cleaned it up in the lathe and put M8 threads in one end to accept an end cap later.
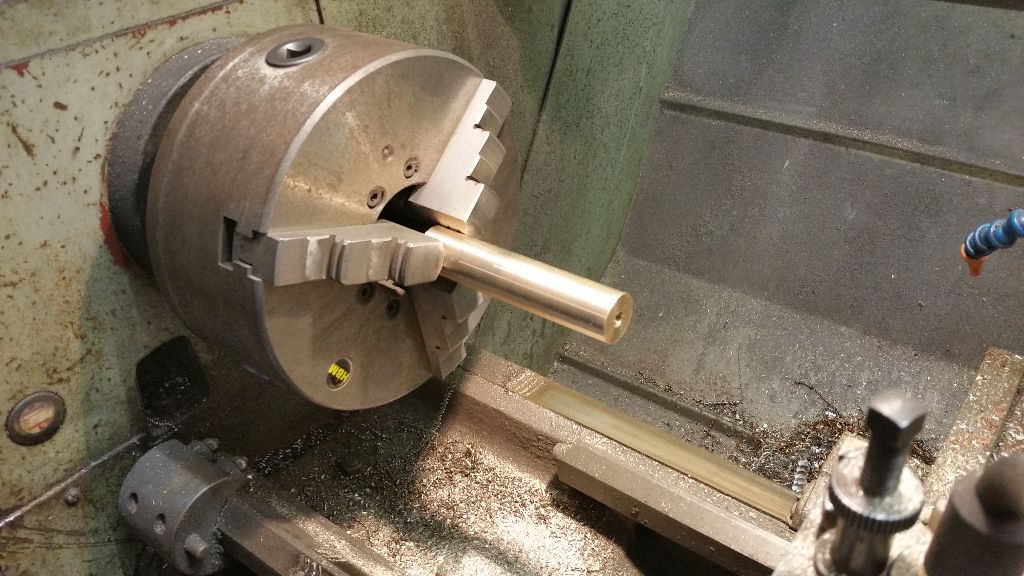
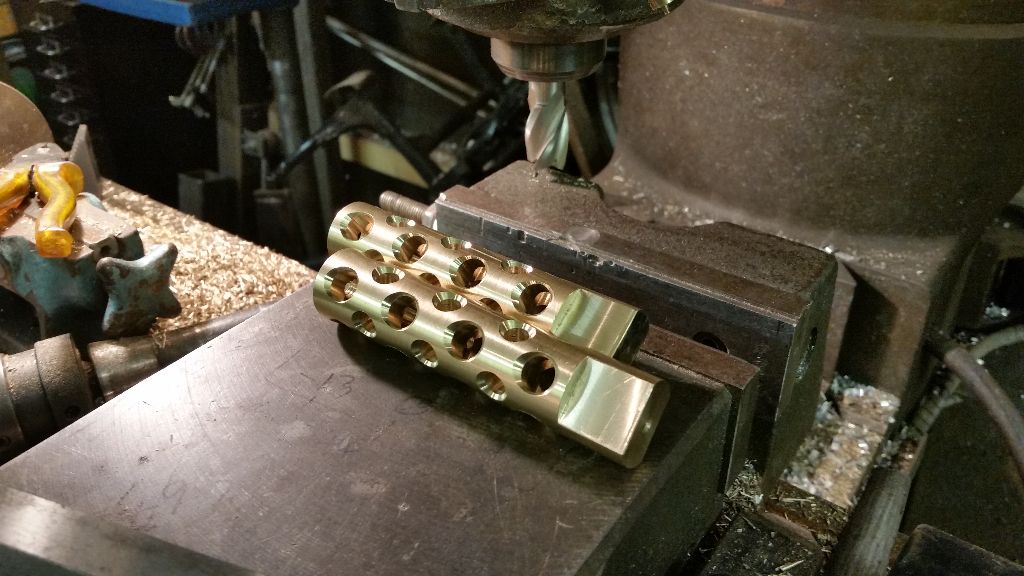
I next used the mill to drill some holes as I’m sure you can remember ‘holes make things look tough’.
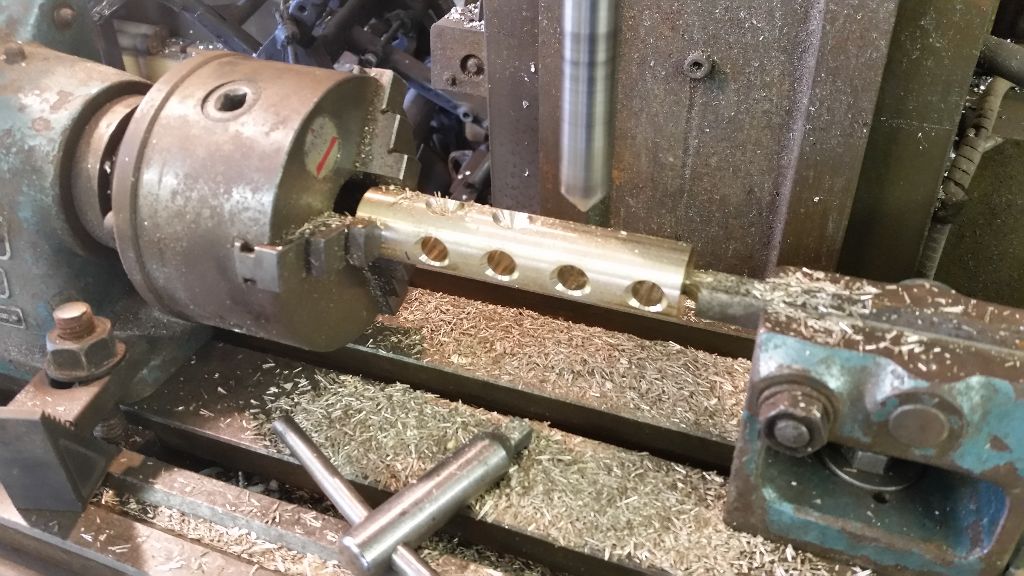
Once the large holes were finished I wanted to add smaller holes so I used a 45 degree block to set the angle.
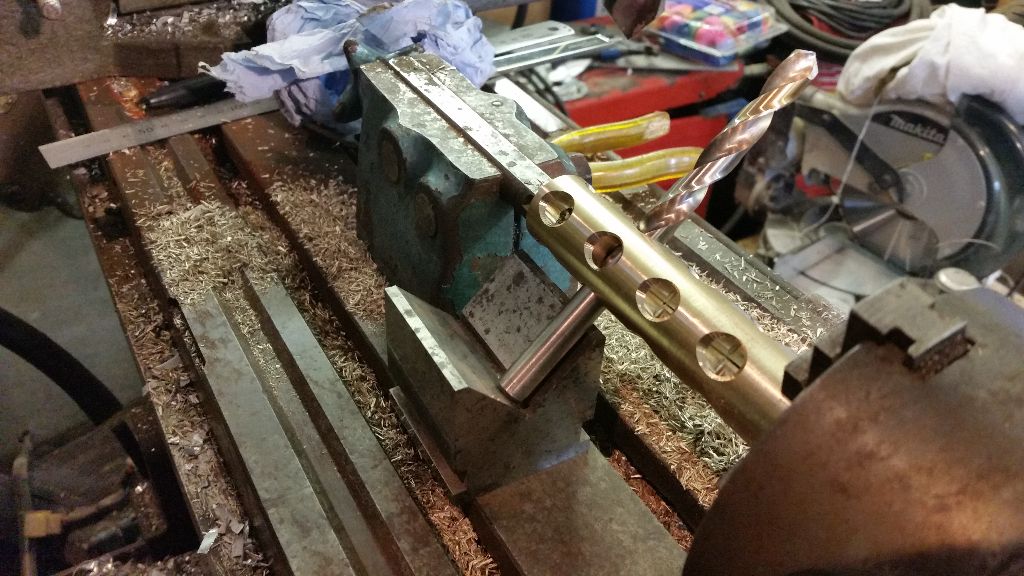
Started drilling the smaller holes, it’s begining to look good/tough.
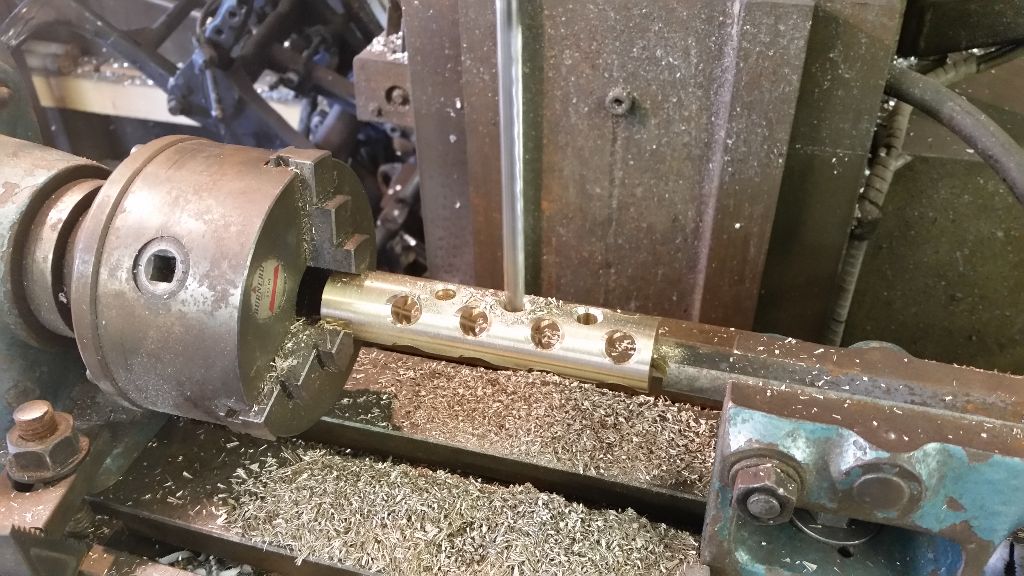
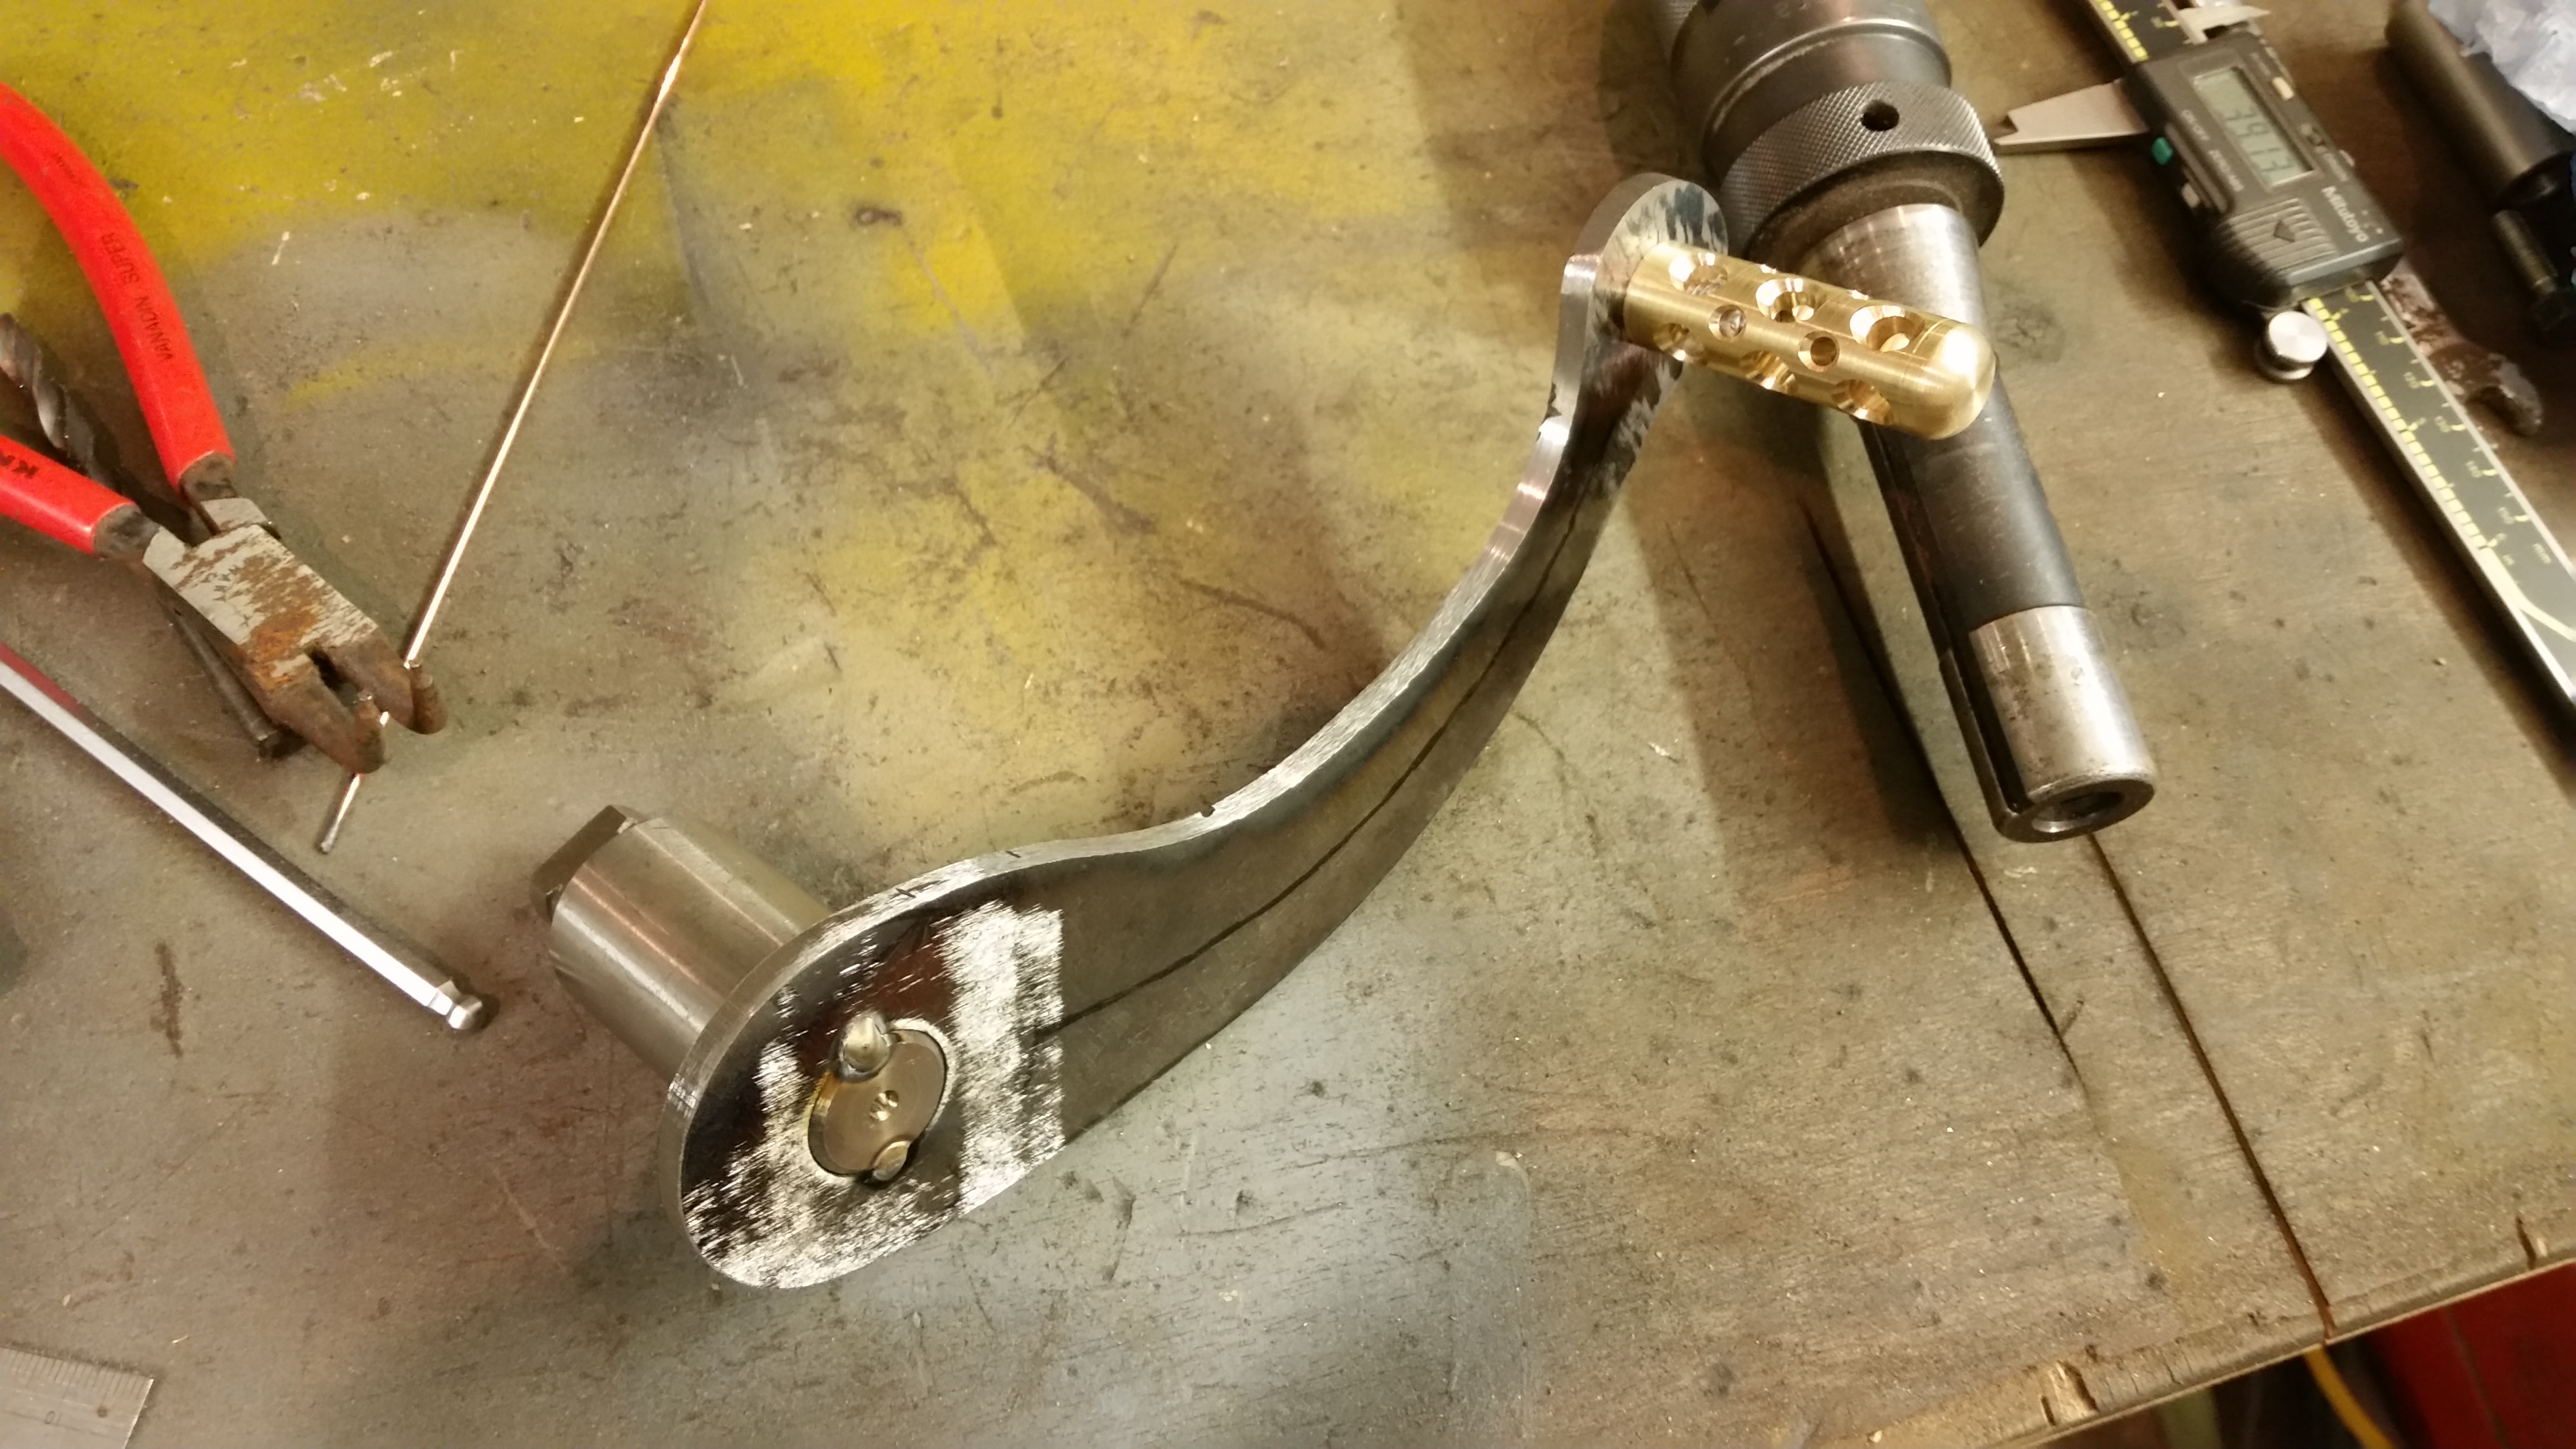
This is how they ended up, pretty pleased so far.
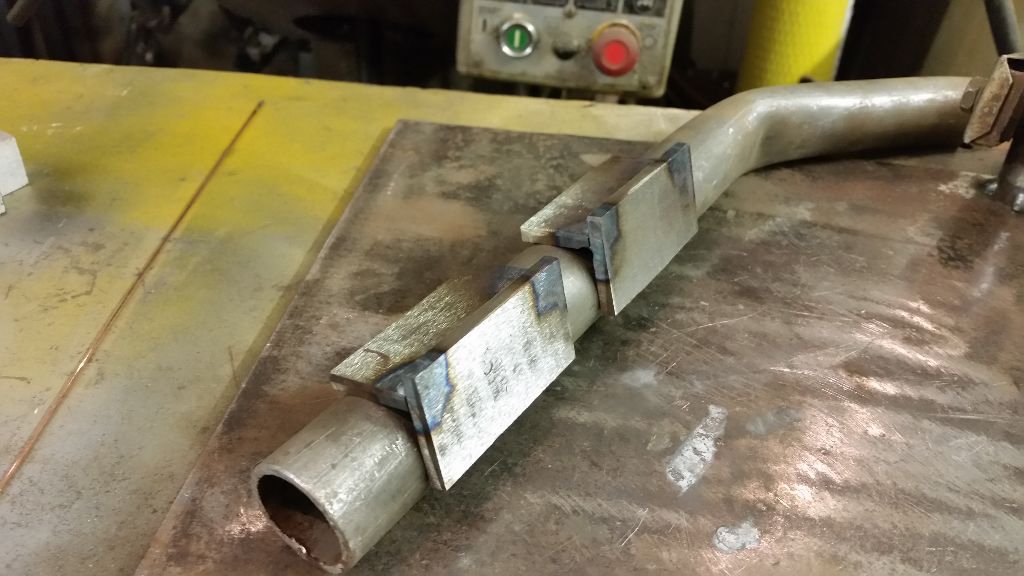
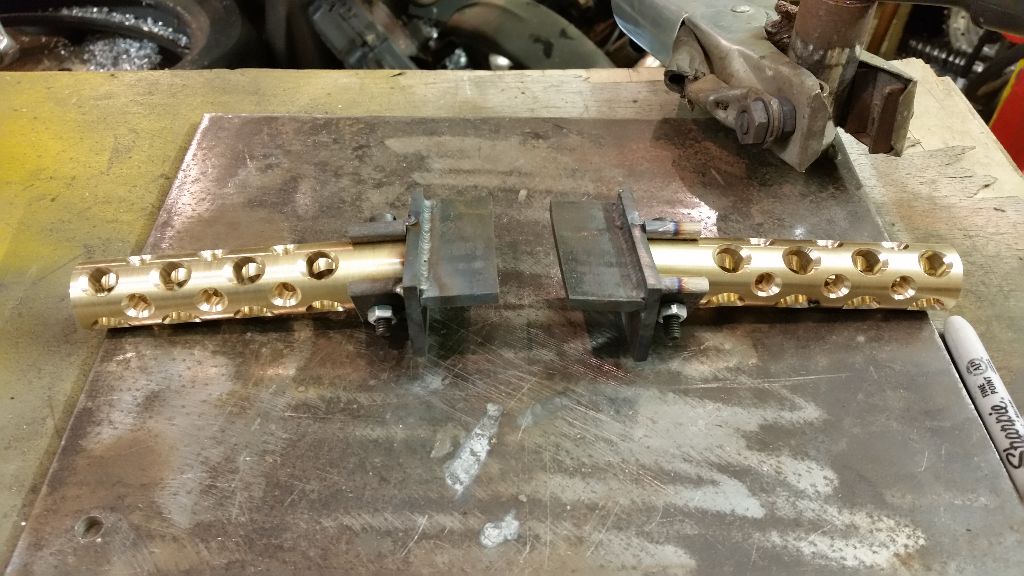
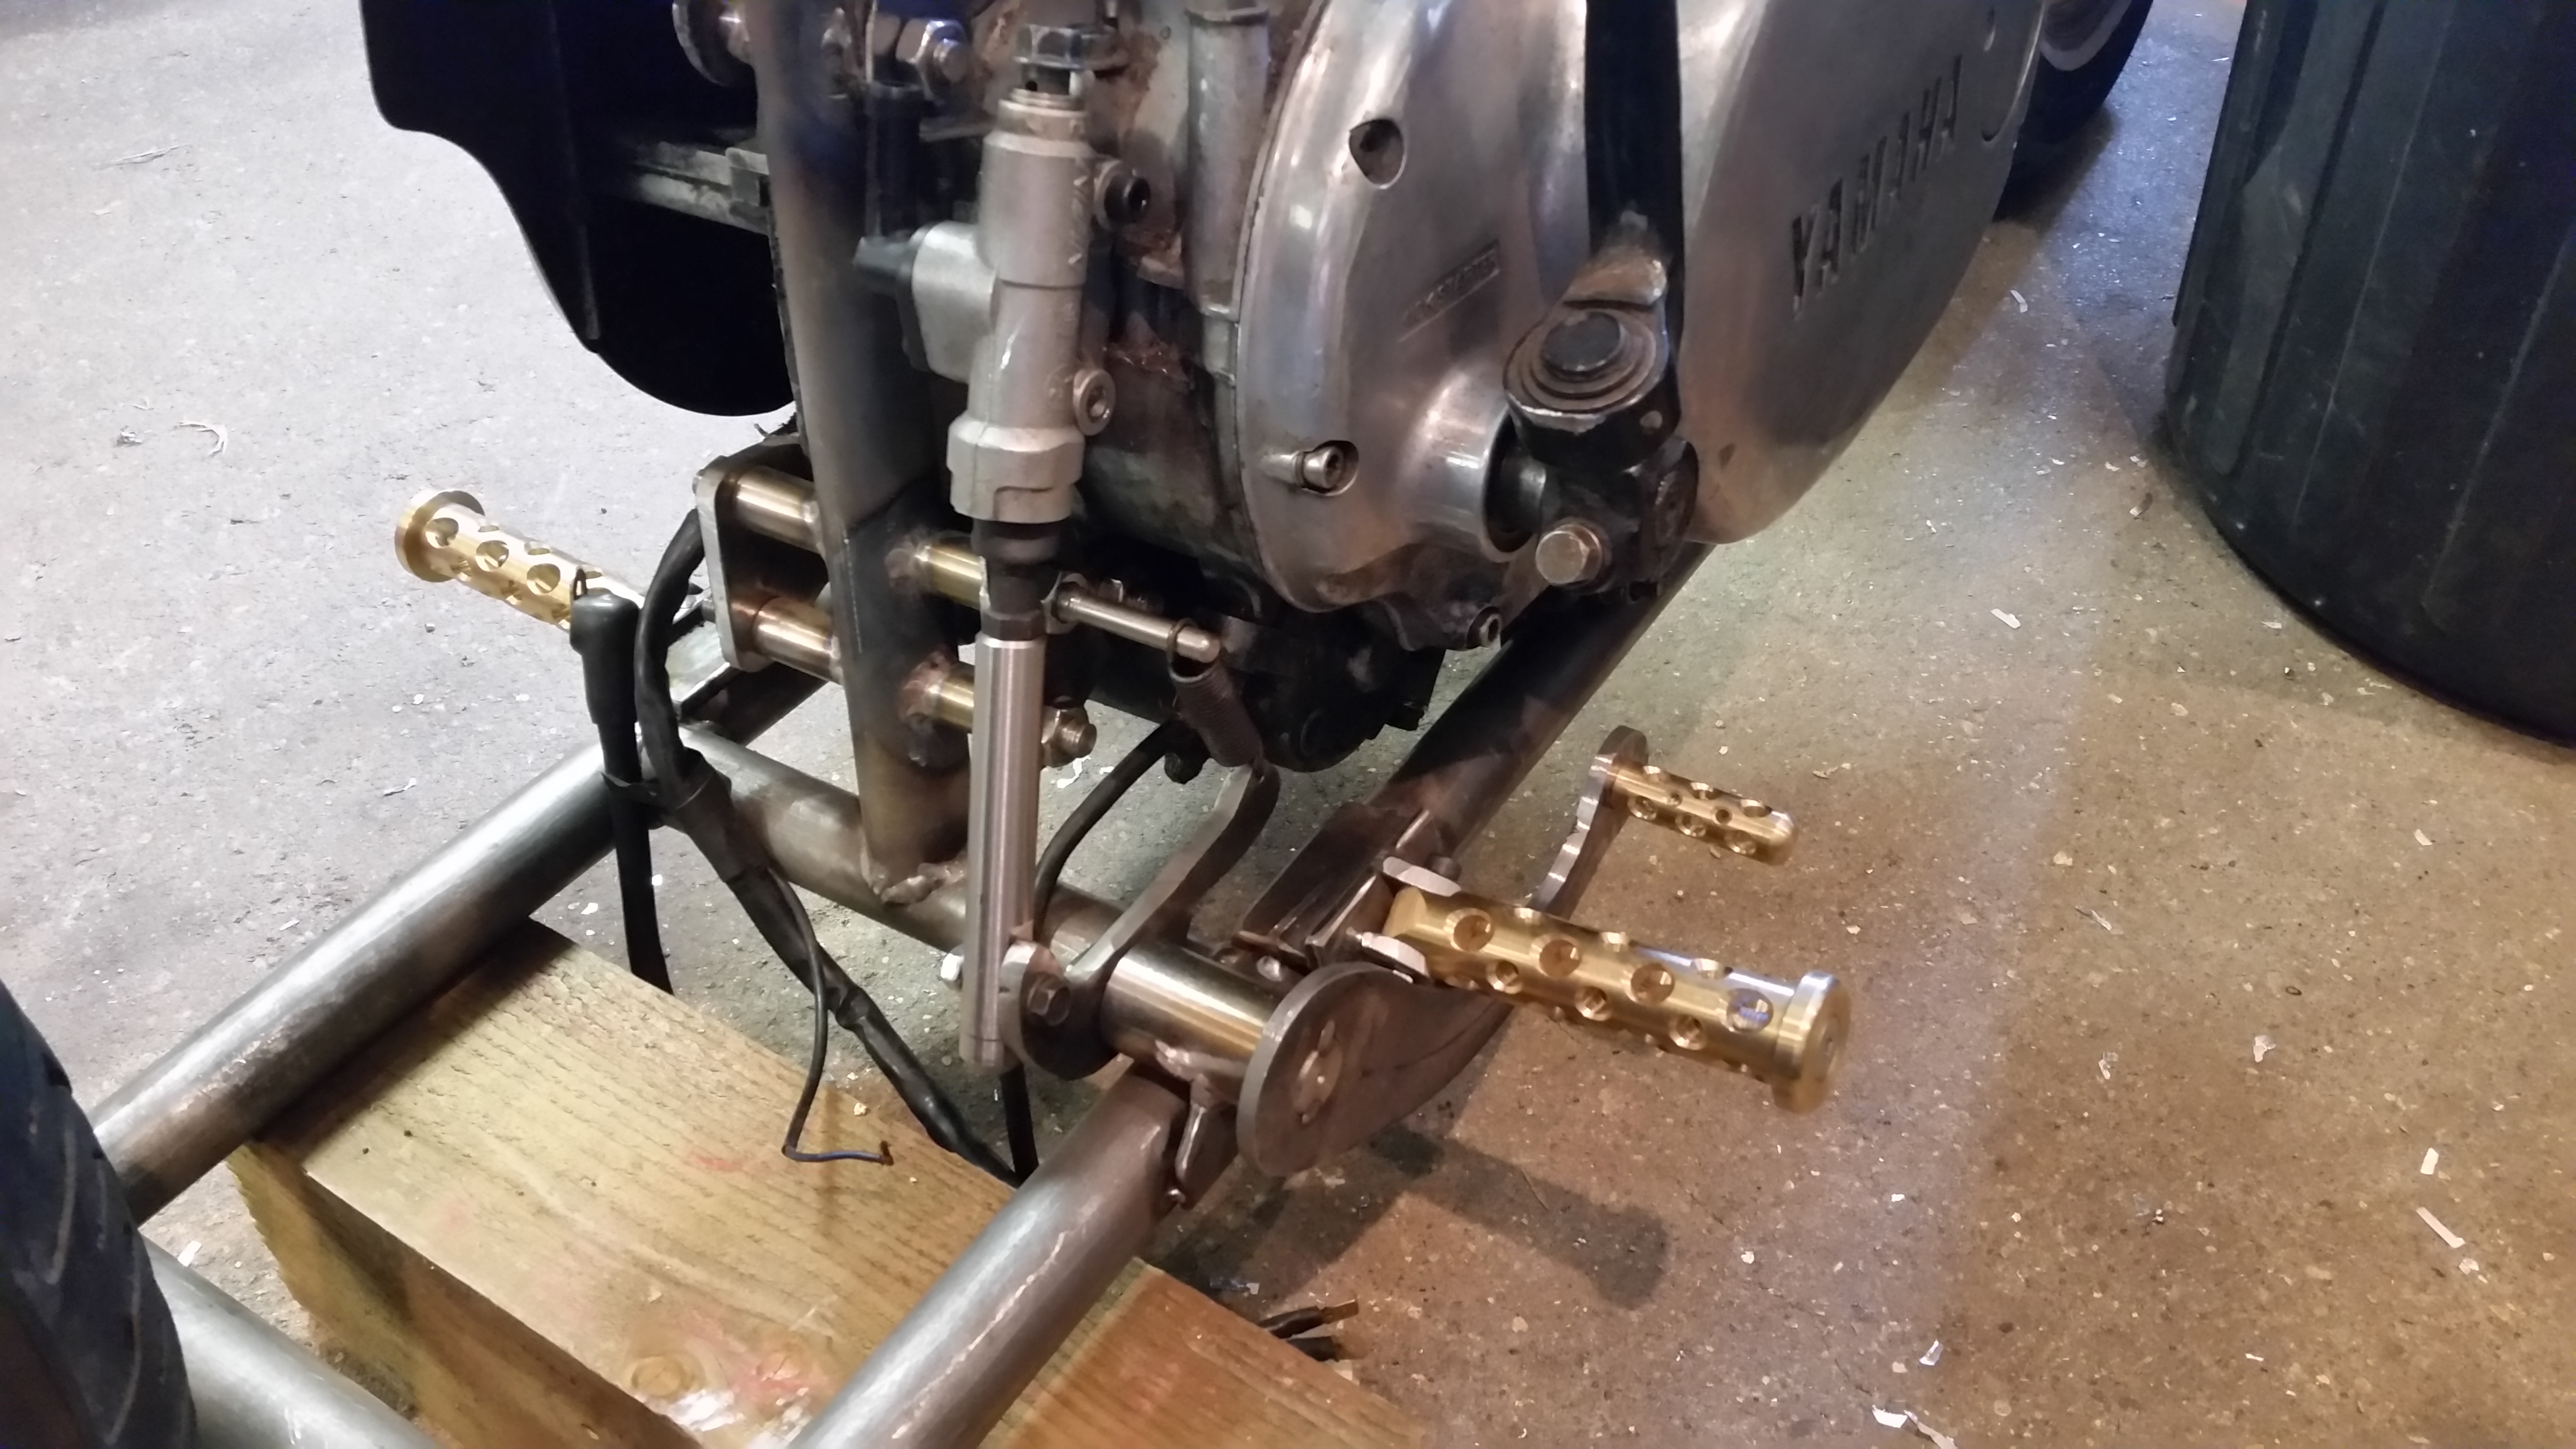
I now needed to think about mounting them and also alowing them to pivot out of the way so I used the mill and machined some flats ready to be drilled later to accept the mounting pins.
Next I needed to make some mounting brackets, I chose 5mm plate to add some strength, chopped them out with the angle grinder and tacked them in to shape.
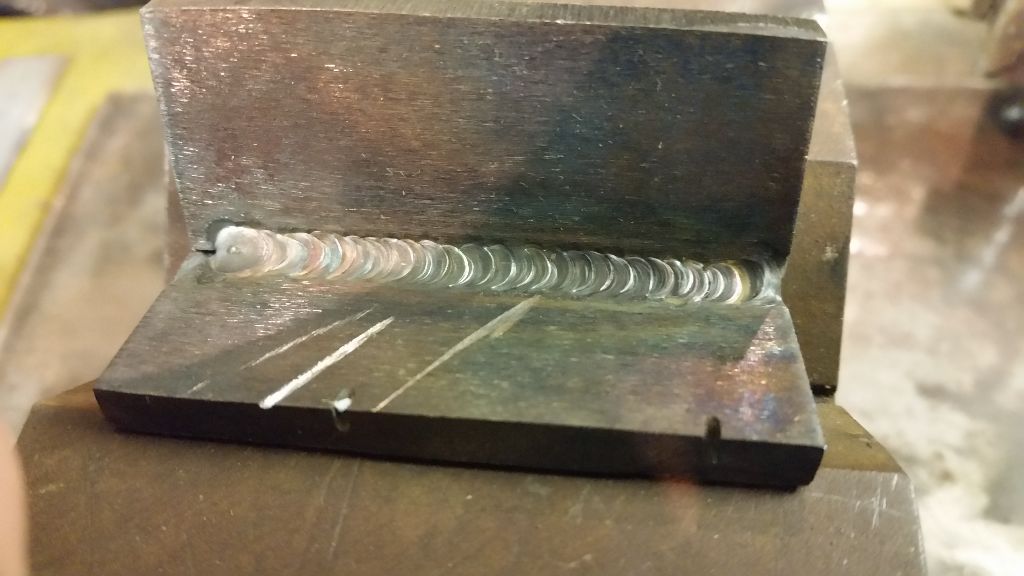
I don’t have any training with welders, I’m self taught but every now and again I manage a decent weld, quite proud of this one although it will never be seen as it is an inside weld hidden by the frame, if it would have been visable I imagine children would have sung songs about it around a camp fire for many years to come.
Next I chopped some more bits of plate to make the rest of the mount, drilled them to accept the bolt, I’ll change these bolts for pretty bolts at a later date.
Now all the parts were ready I welded it all together ready to be mounted on the frame.
Thats all for tonight, it’s a bit hot and I’m off to bed.
—————————————————————
Well that was a warm few days, betty swallox all round……. but it’s letting off now so time to get back to building some custom bits!
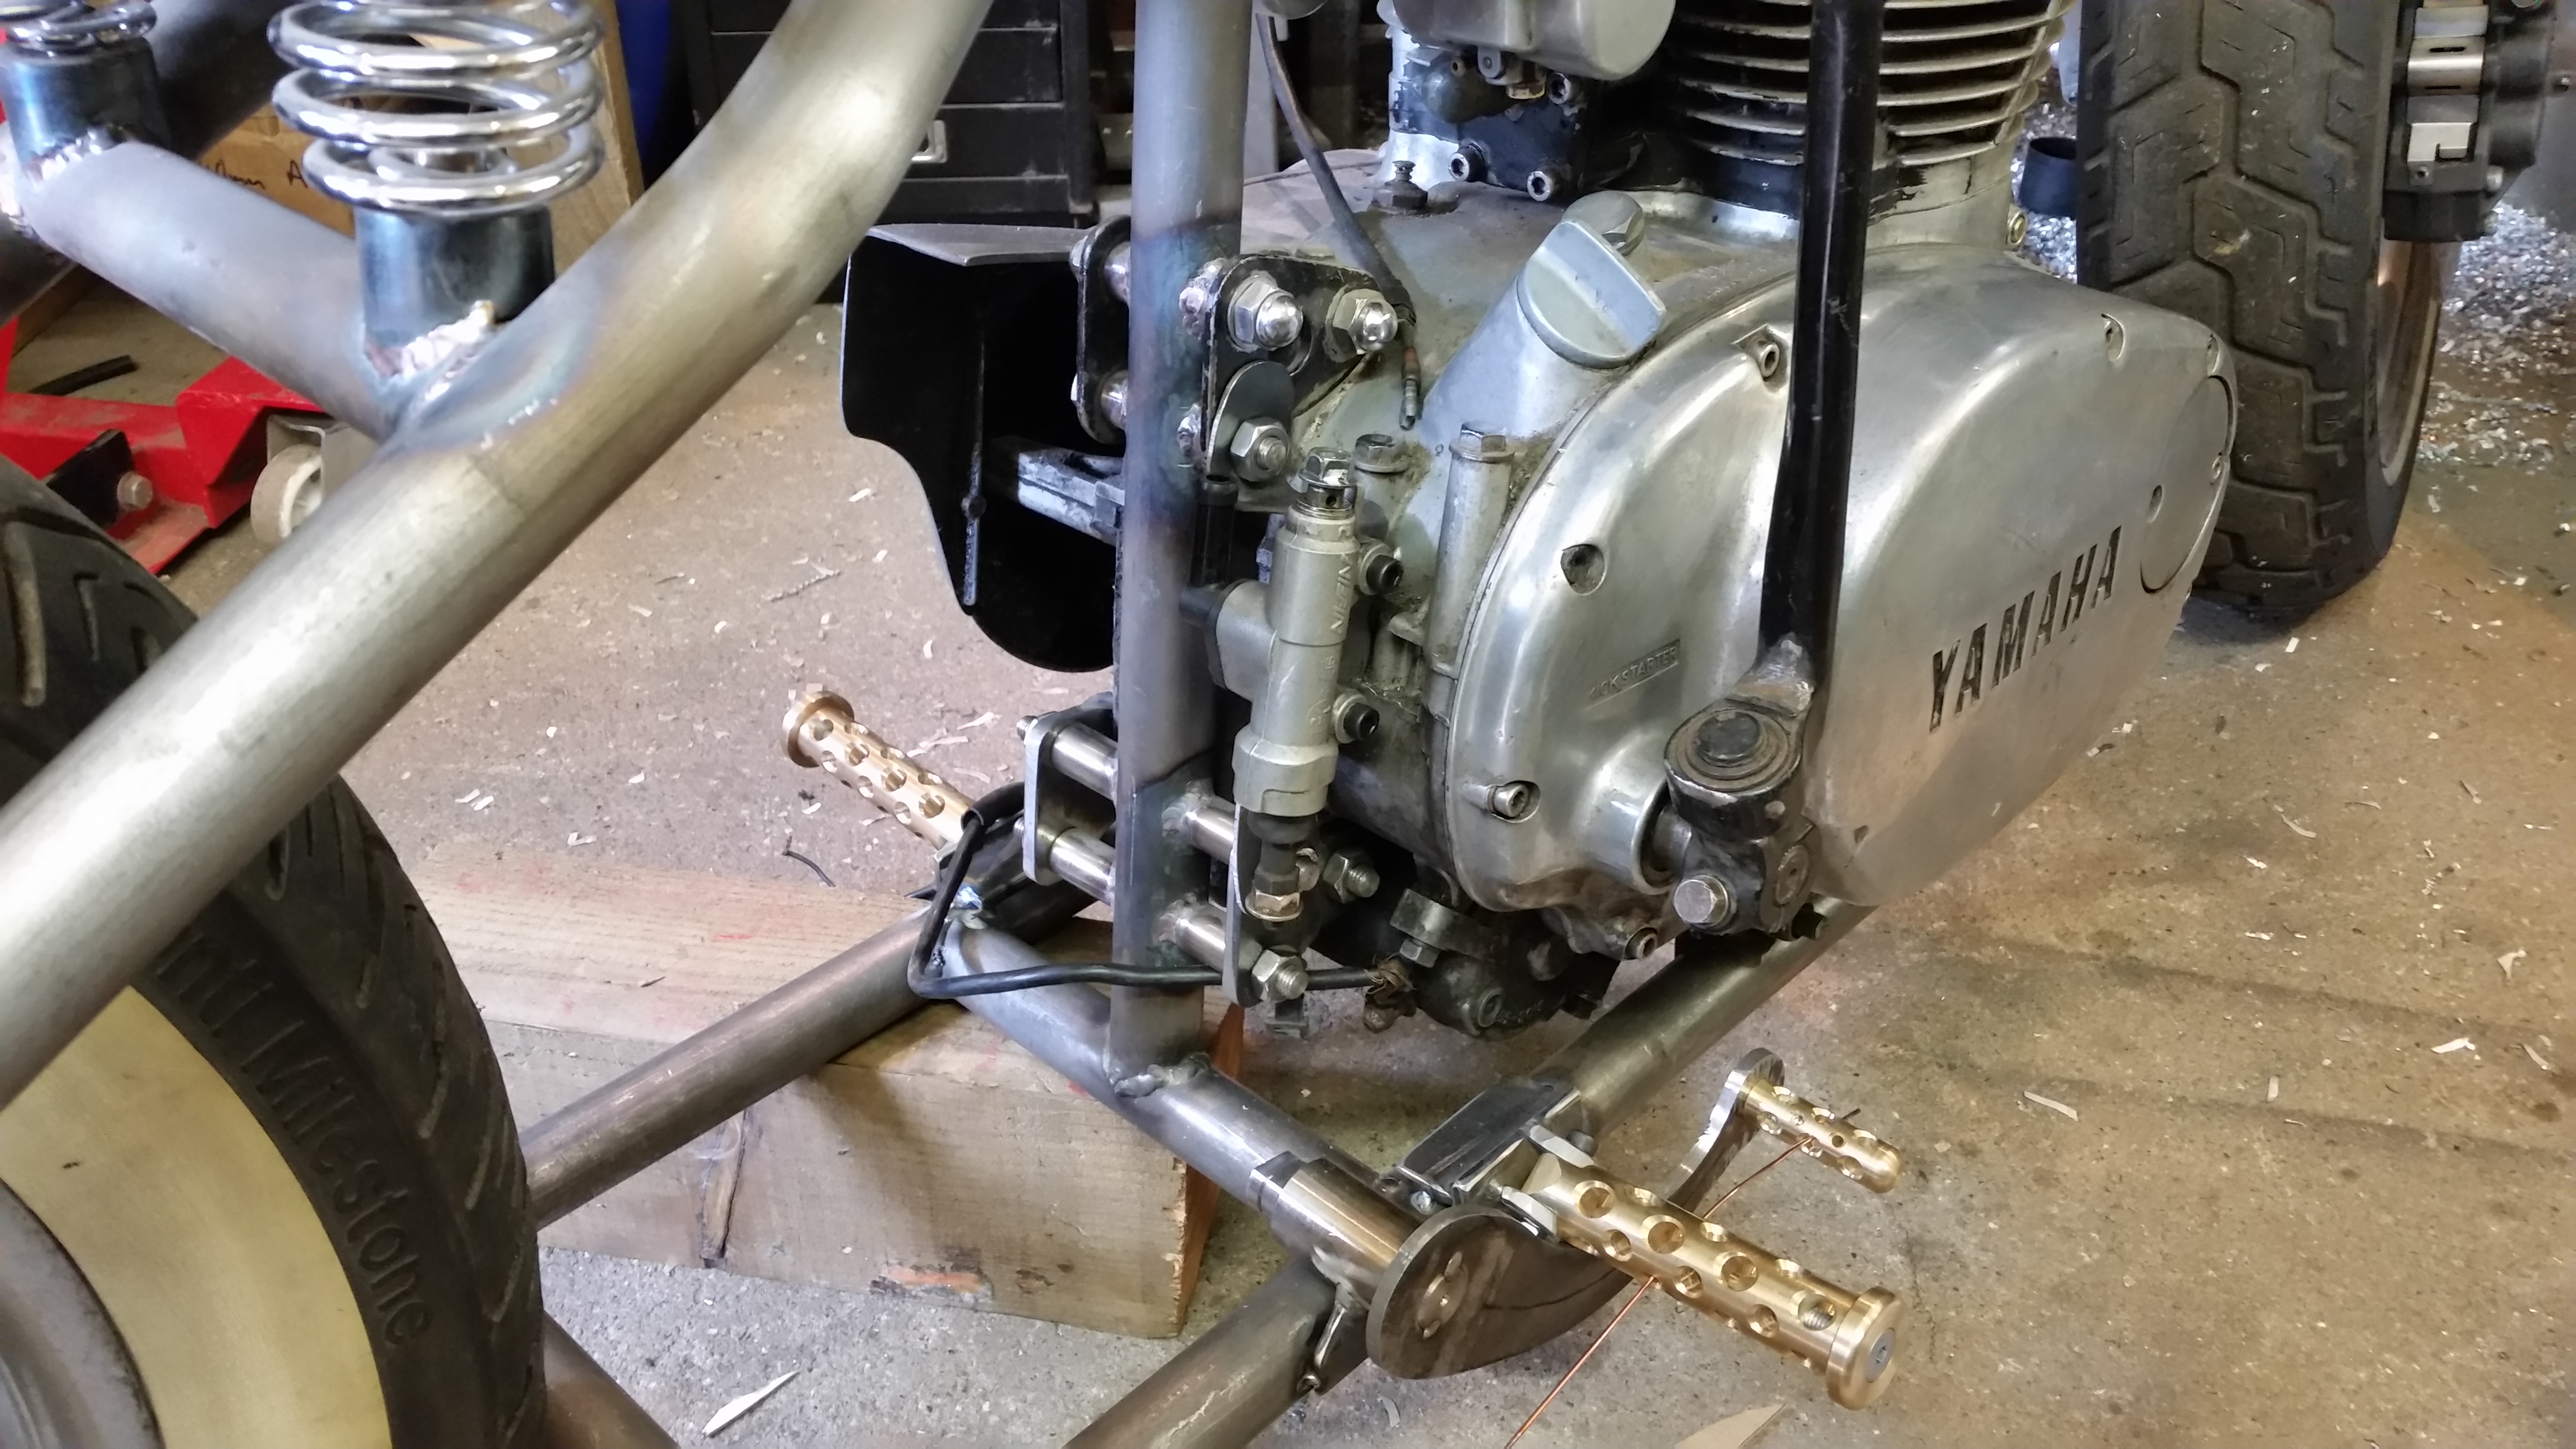
At the start of the article I mentioned an 8mm thread was inserted in one end, now I have made some brass caps and using countersunk screws attached these to the end so my feet don’t fall of the pegs in high speed manoeuvres or feats of derring-do.
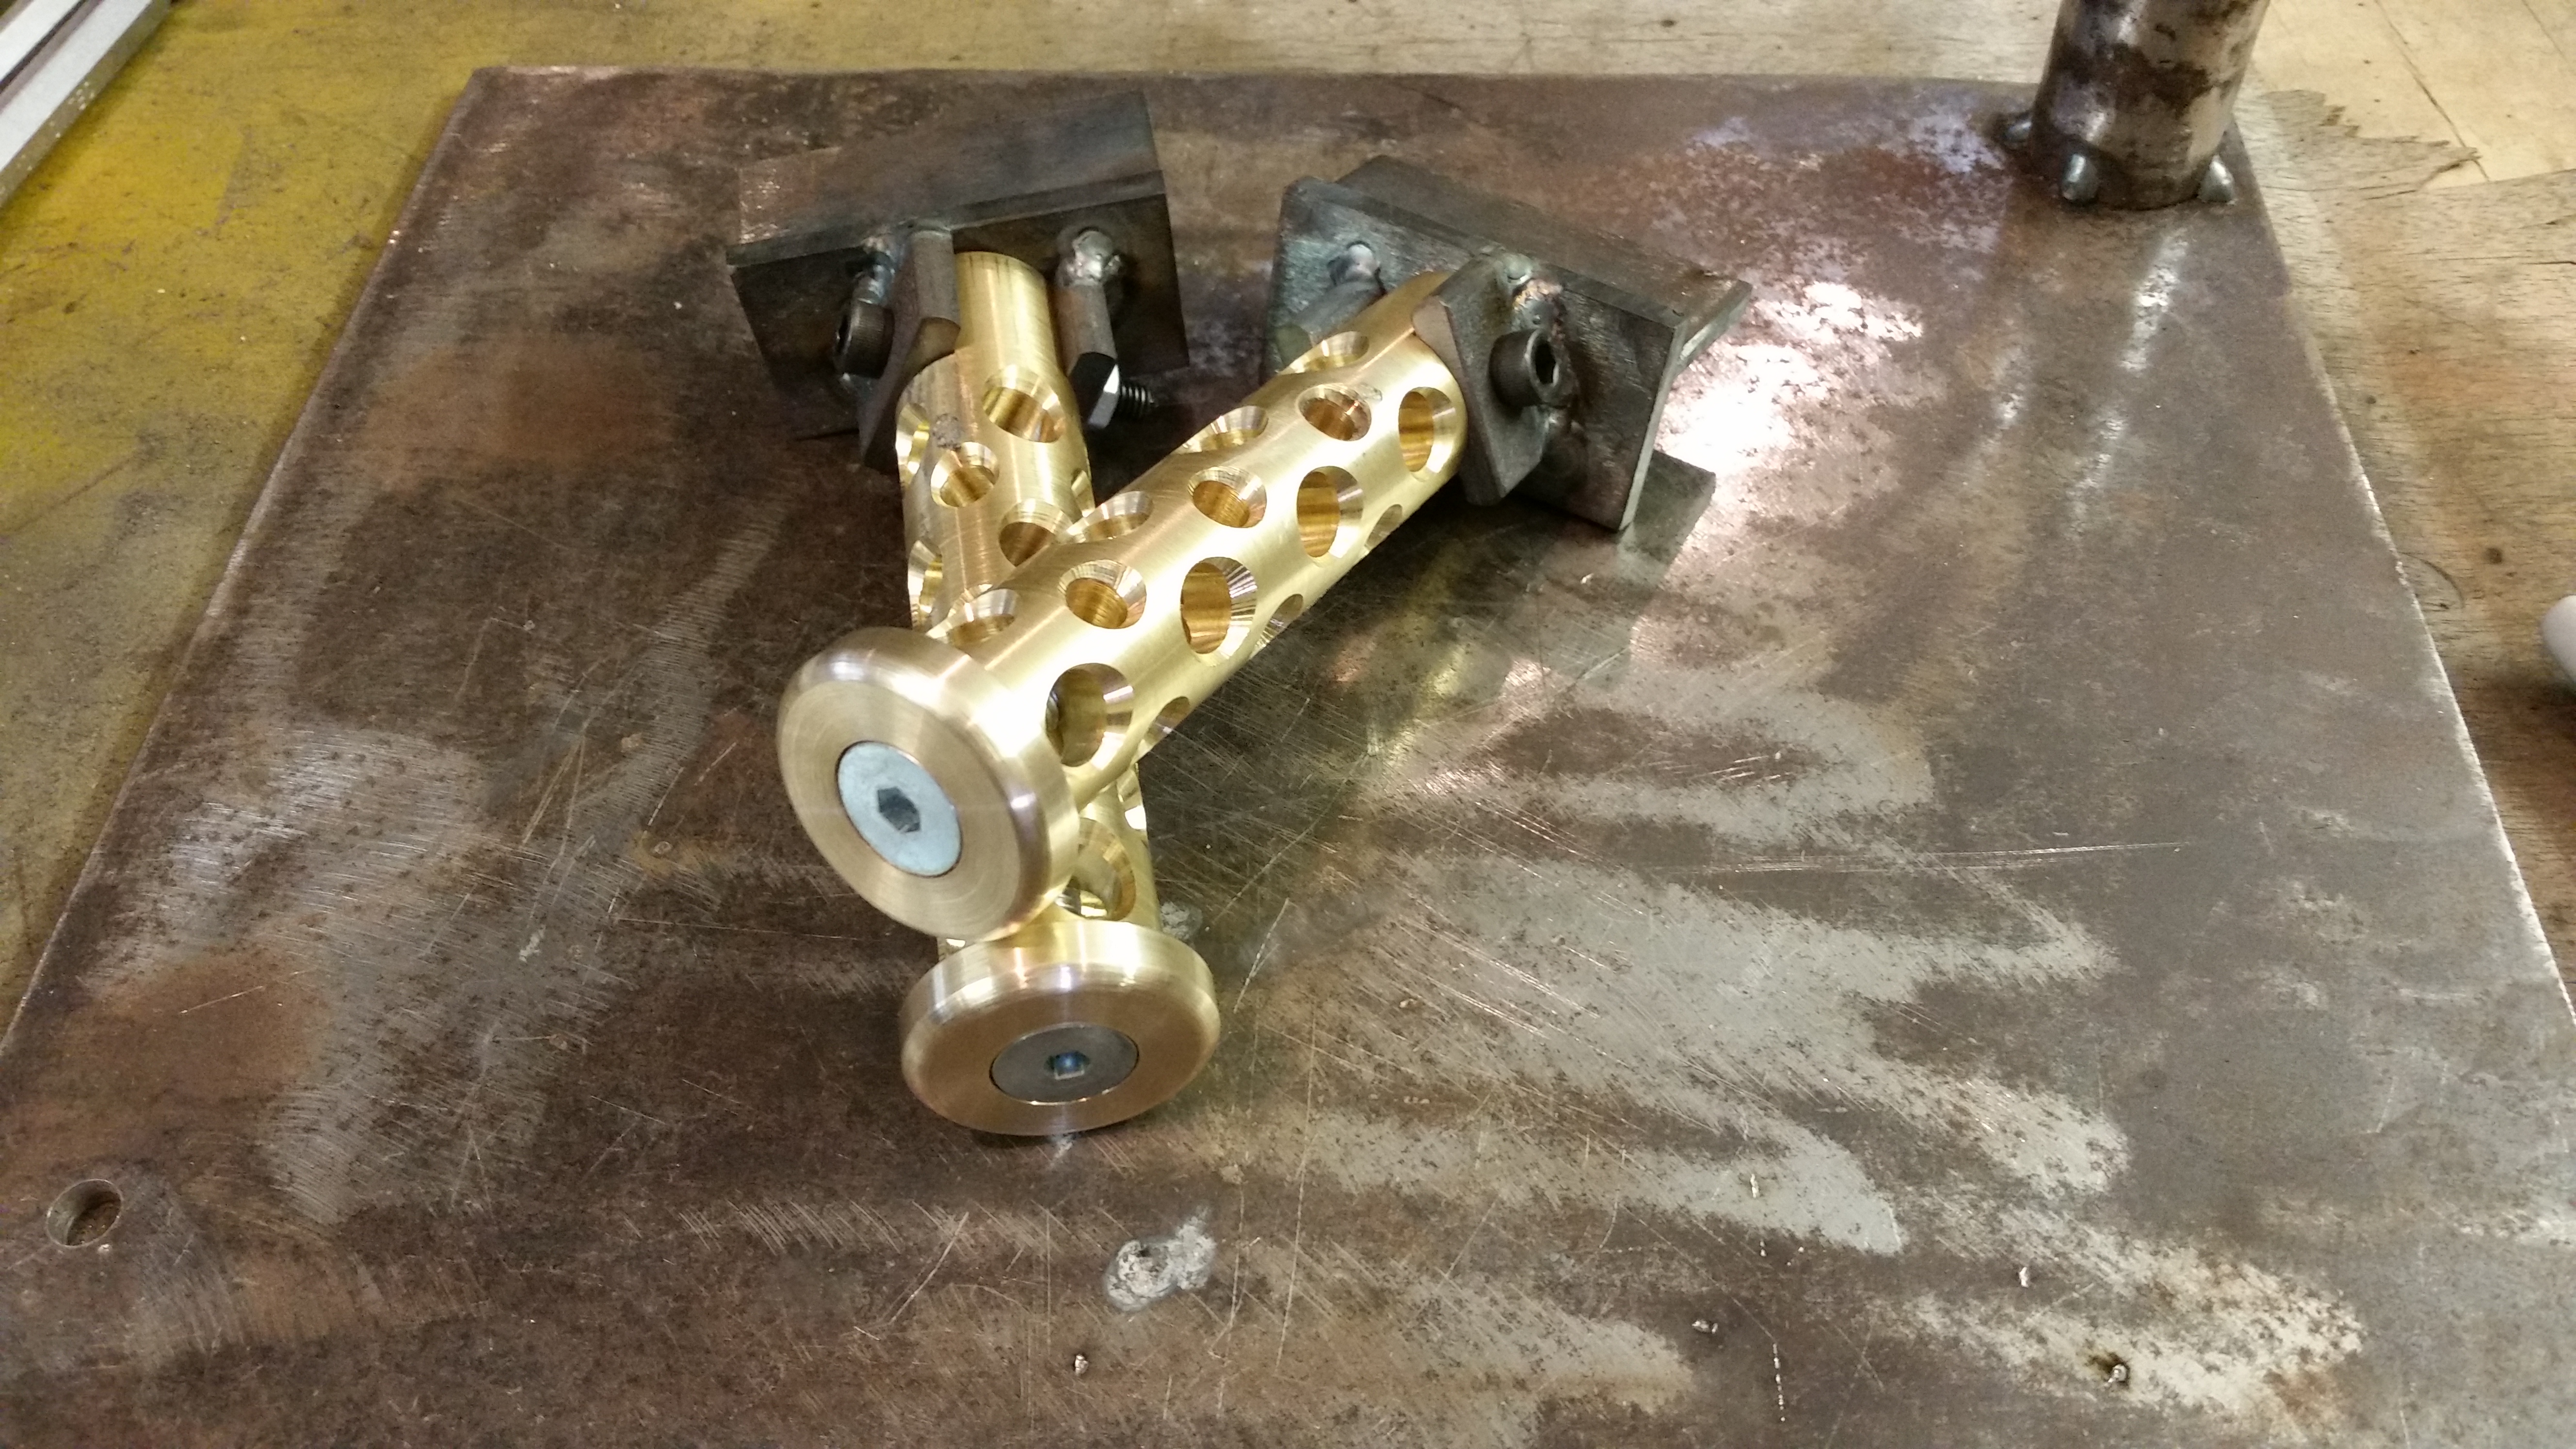
Now was the time to fettle the pegs to allow thm to fold, this took ages as it’s all filework but in the end both pegs fold nicely and return home via gravity.
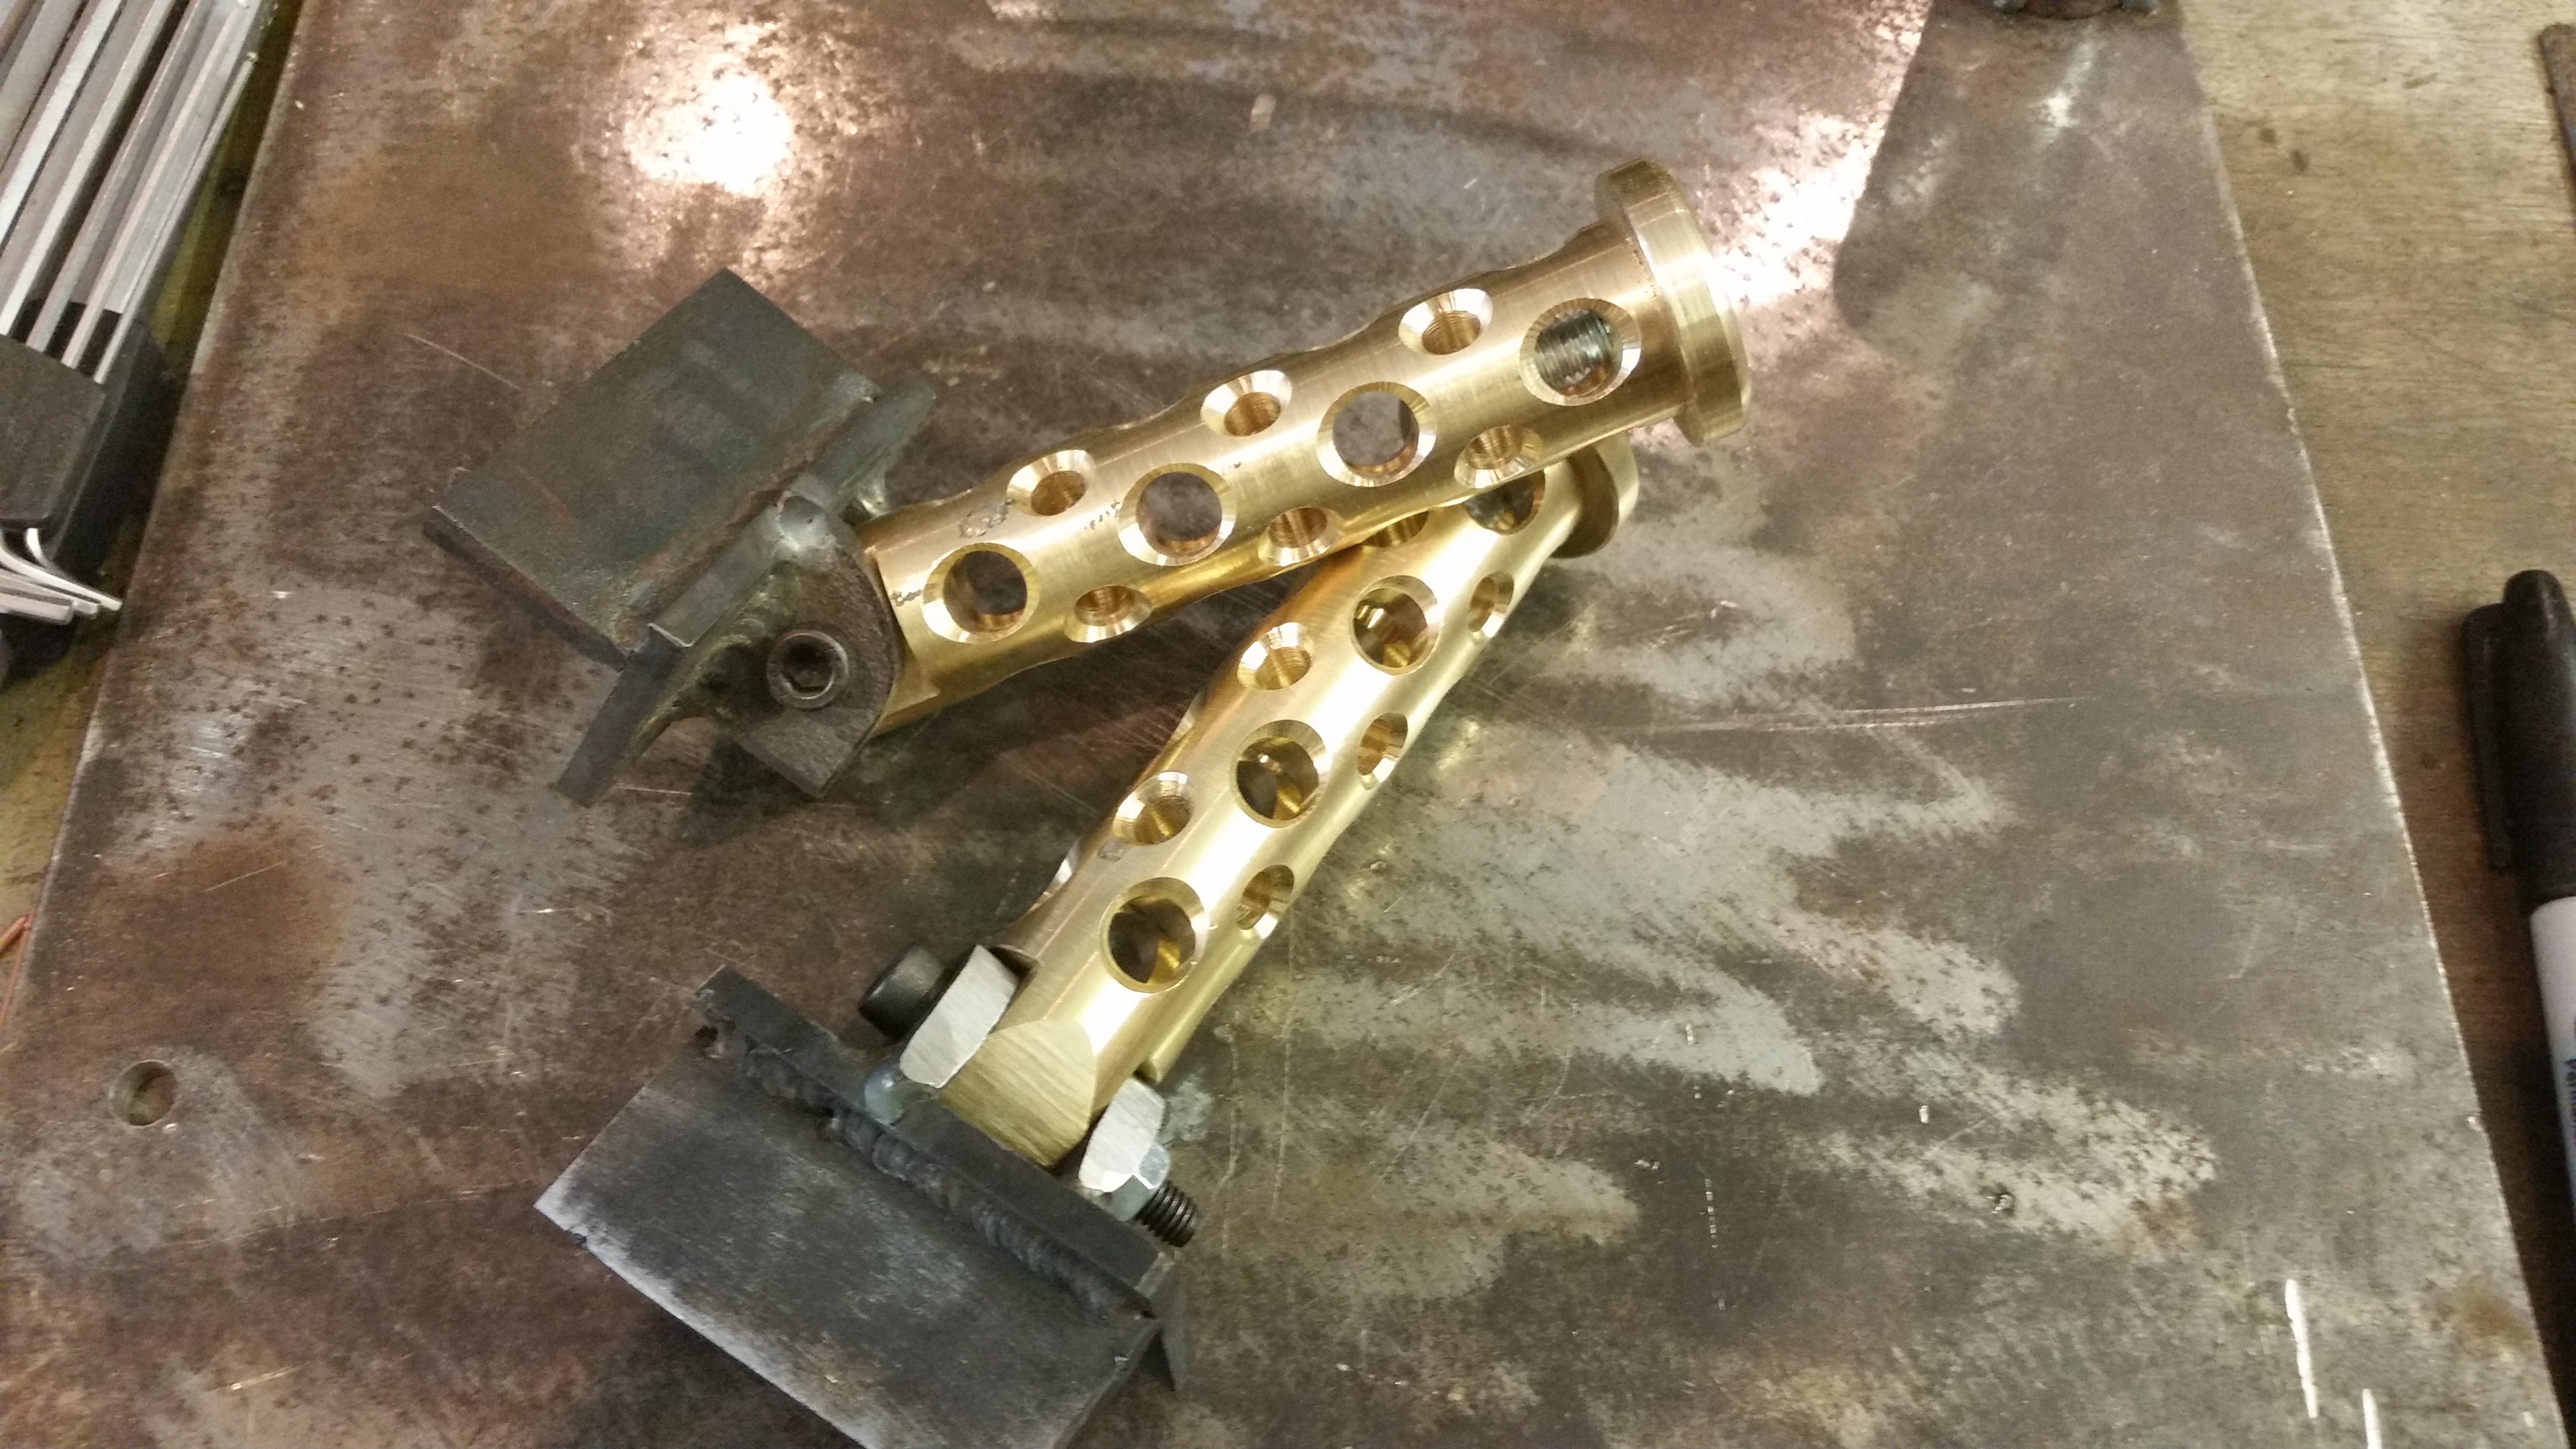
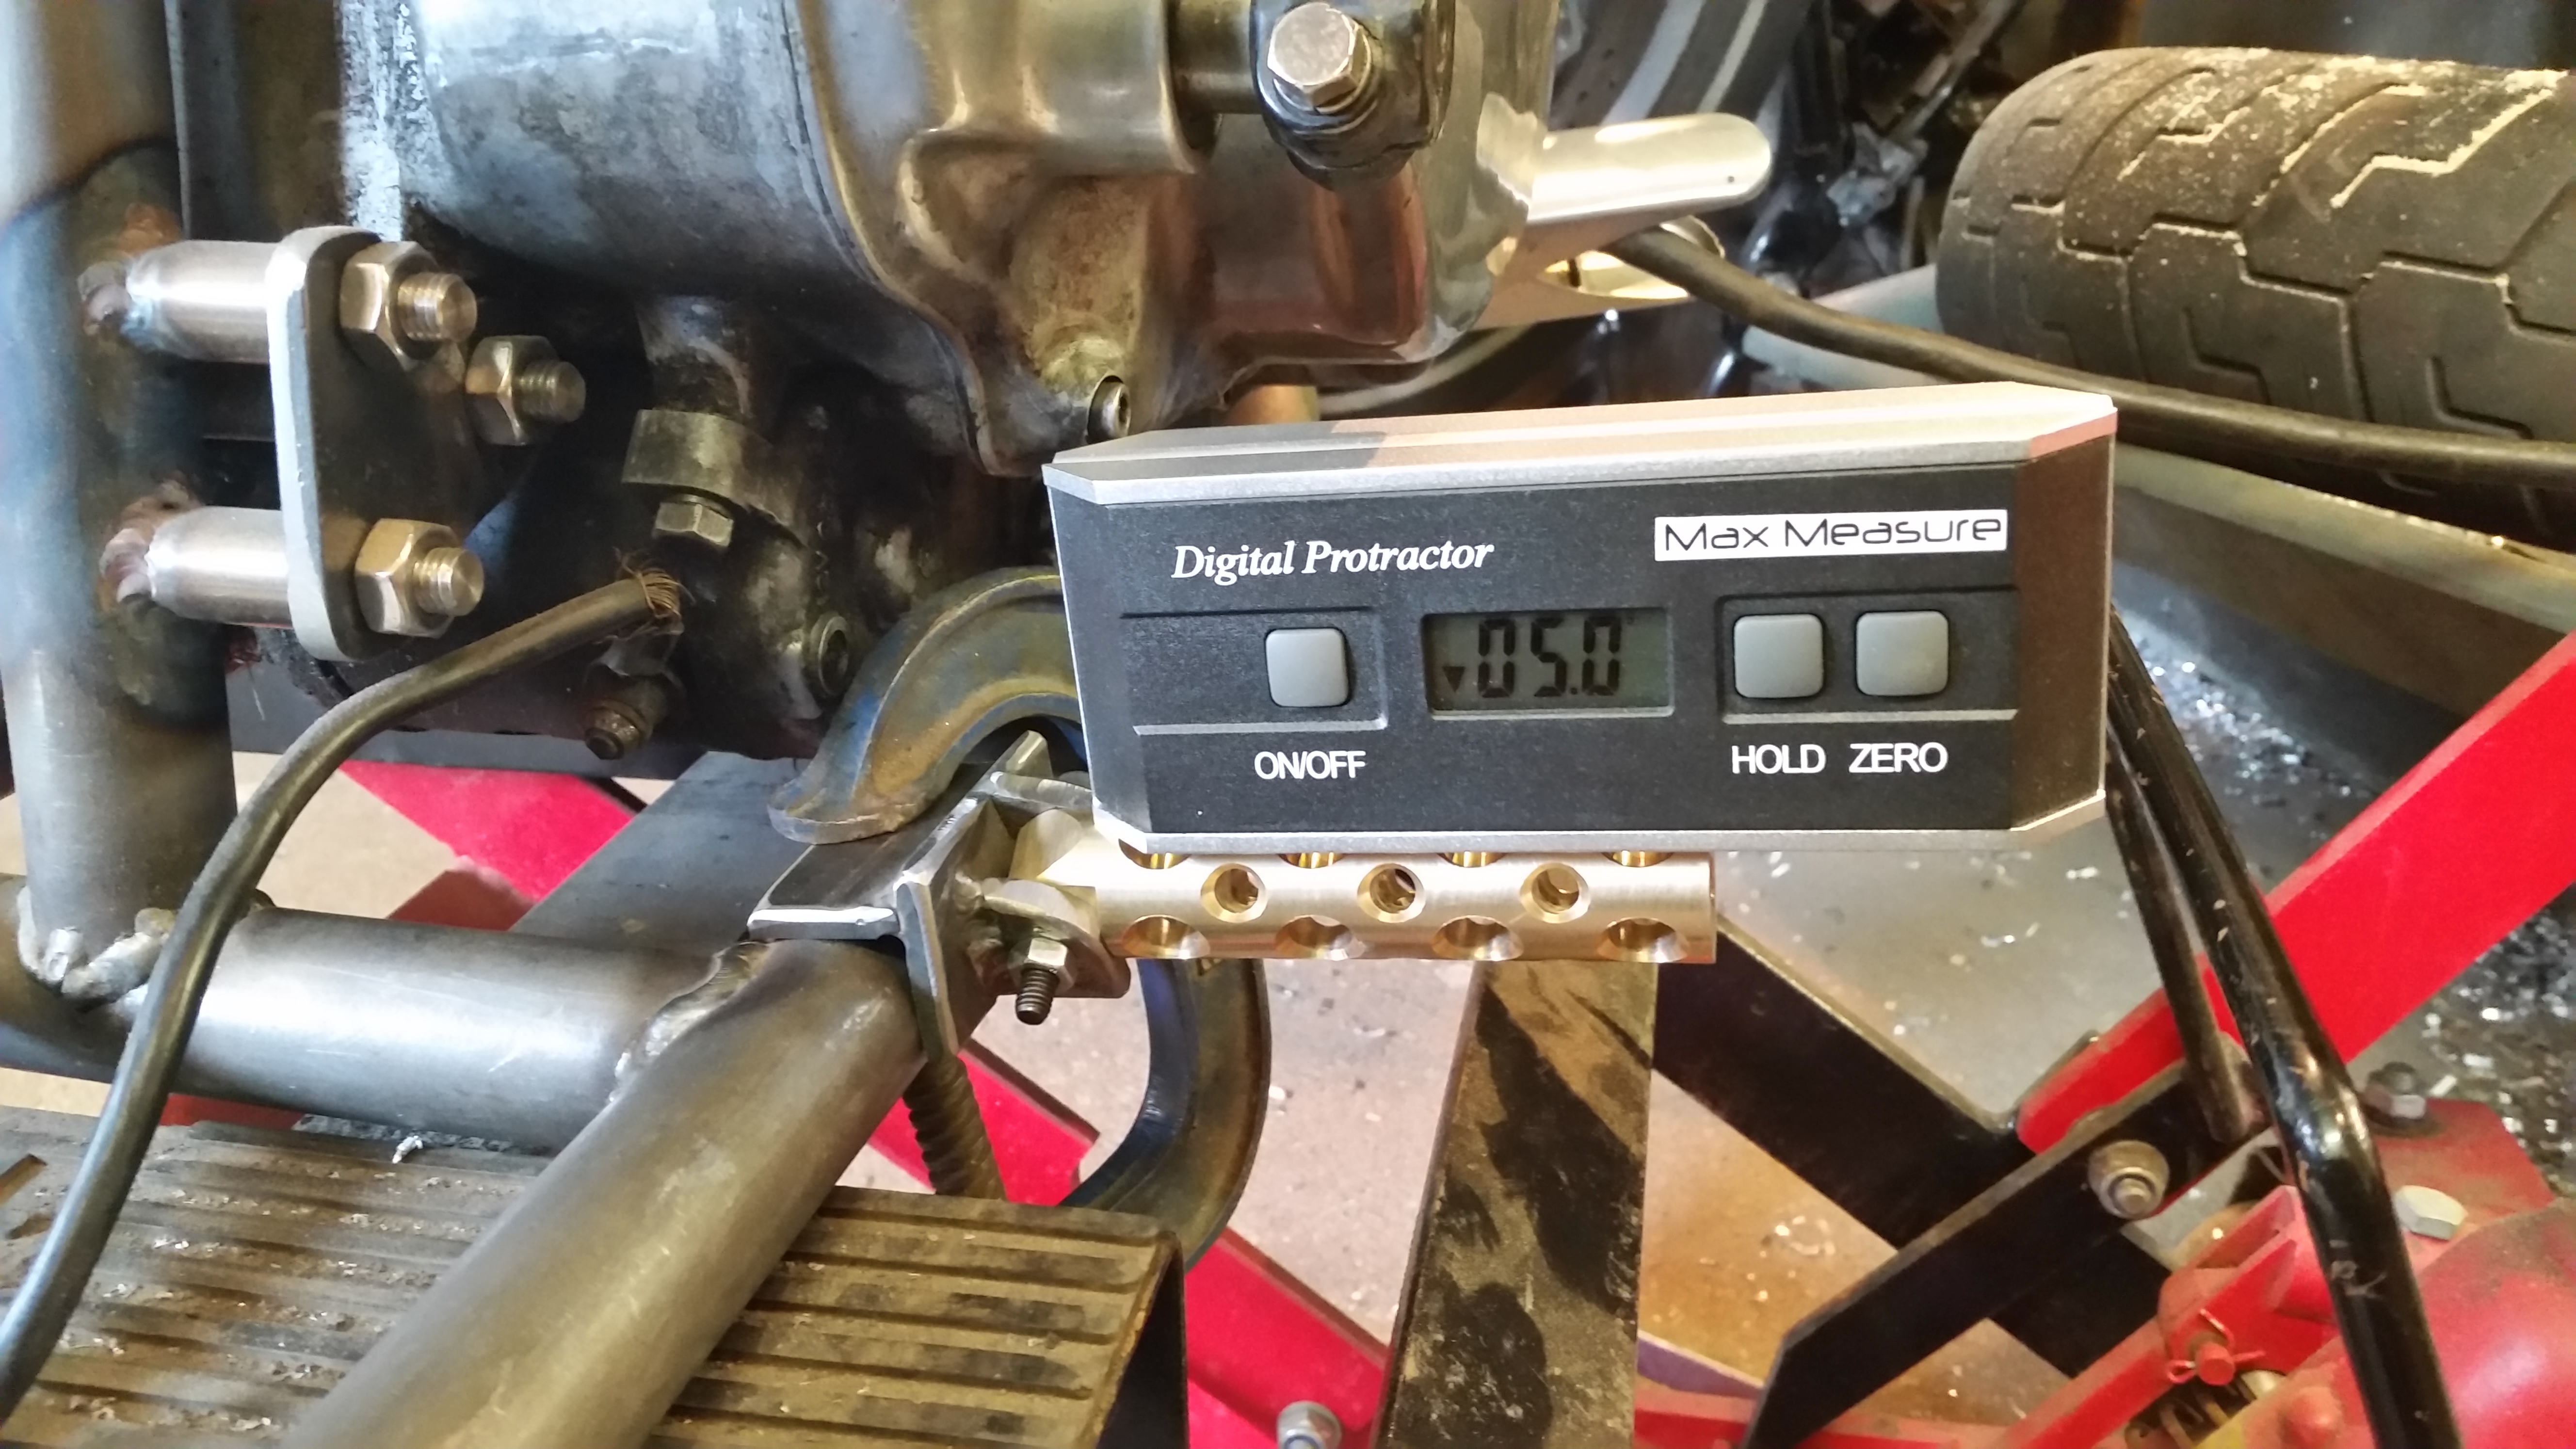
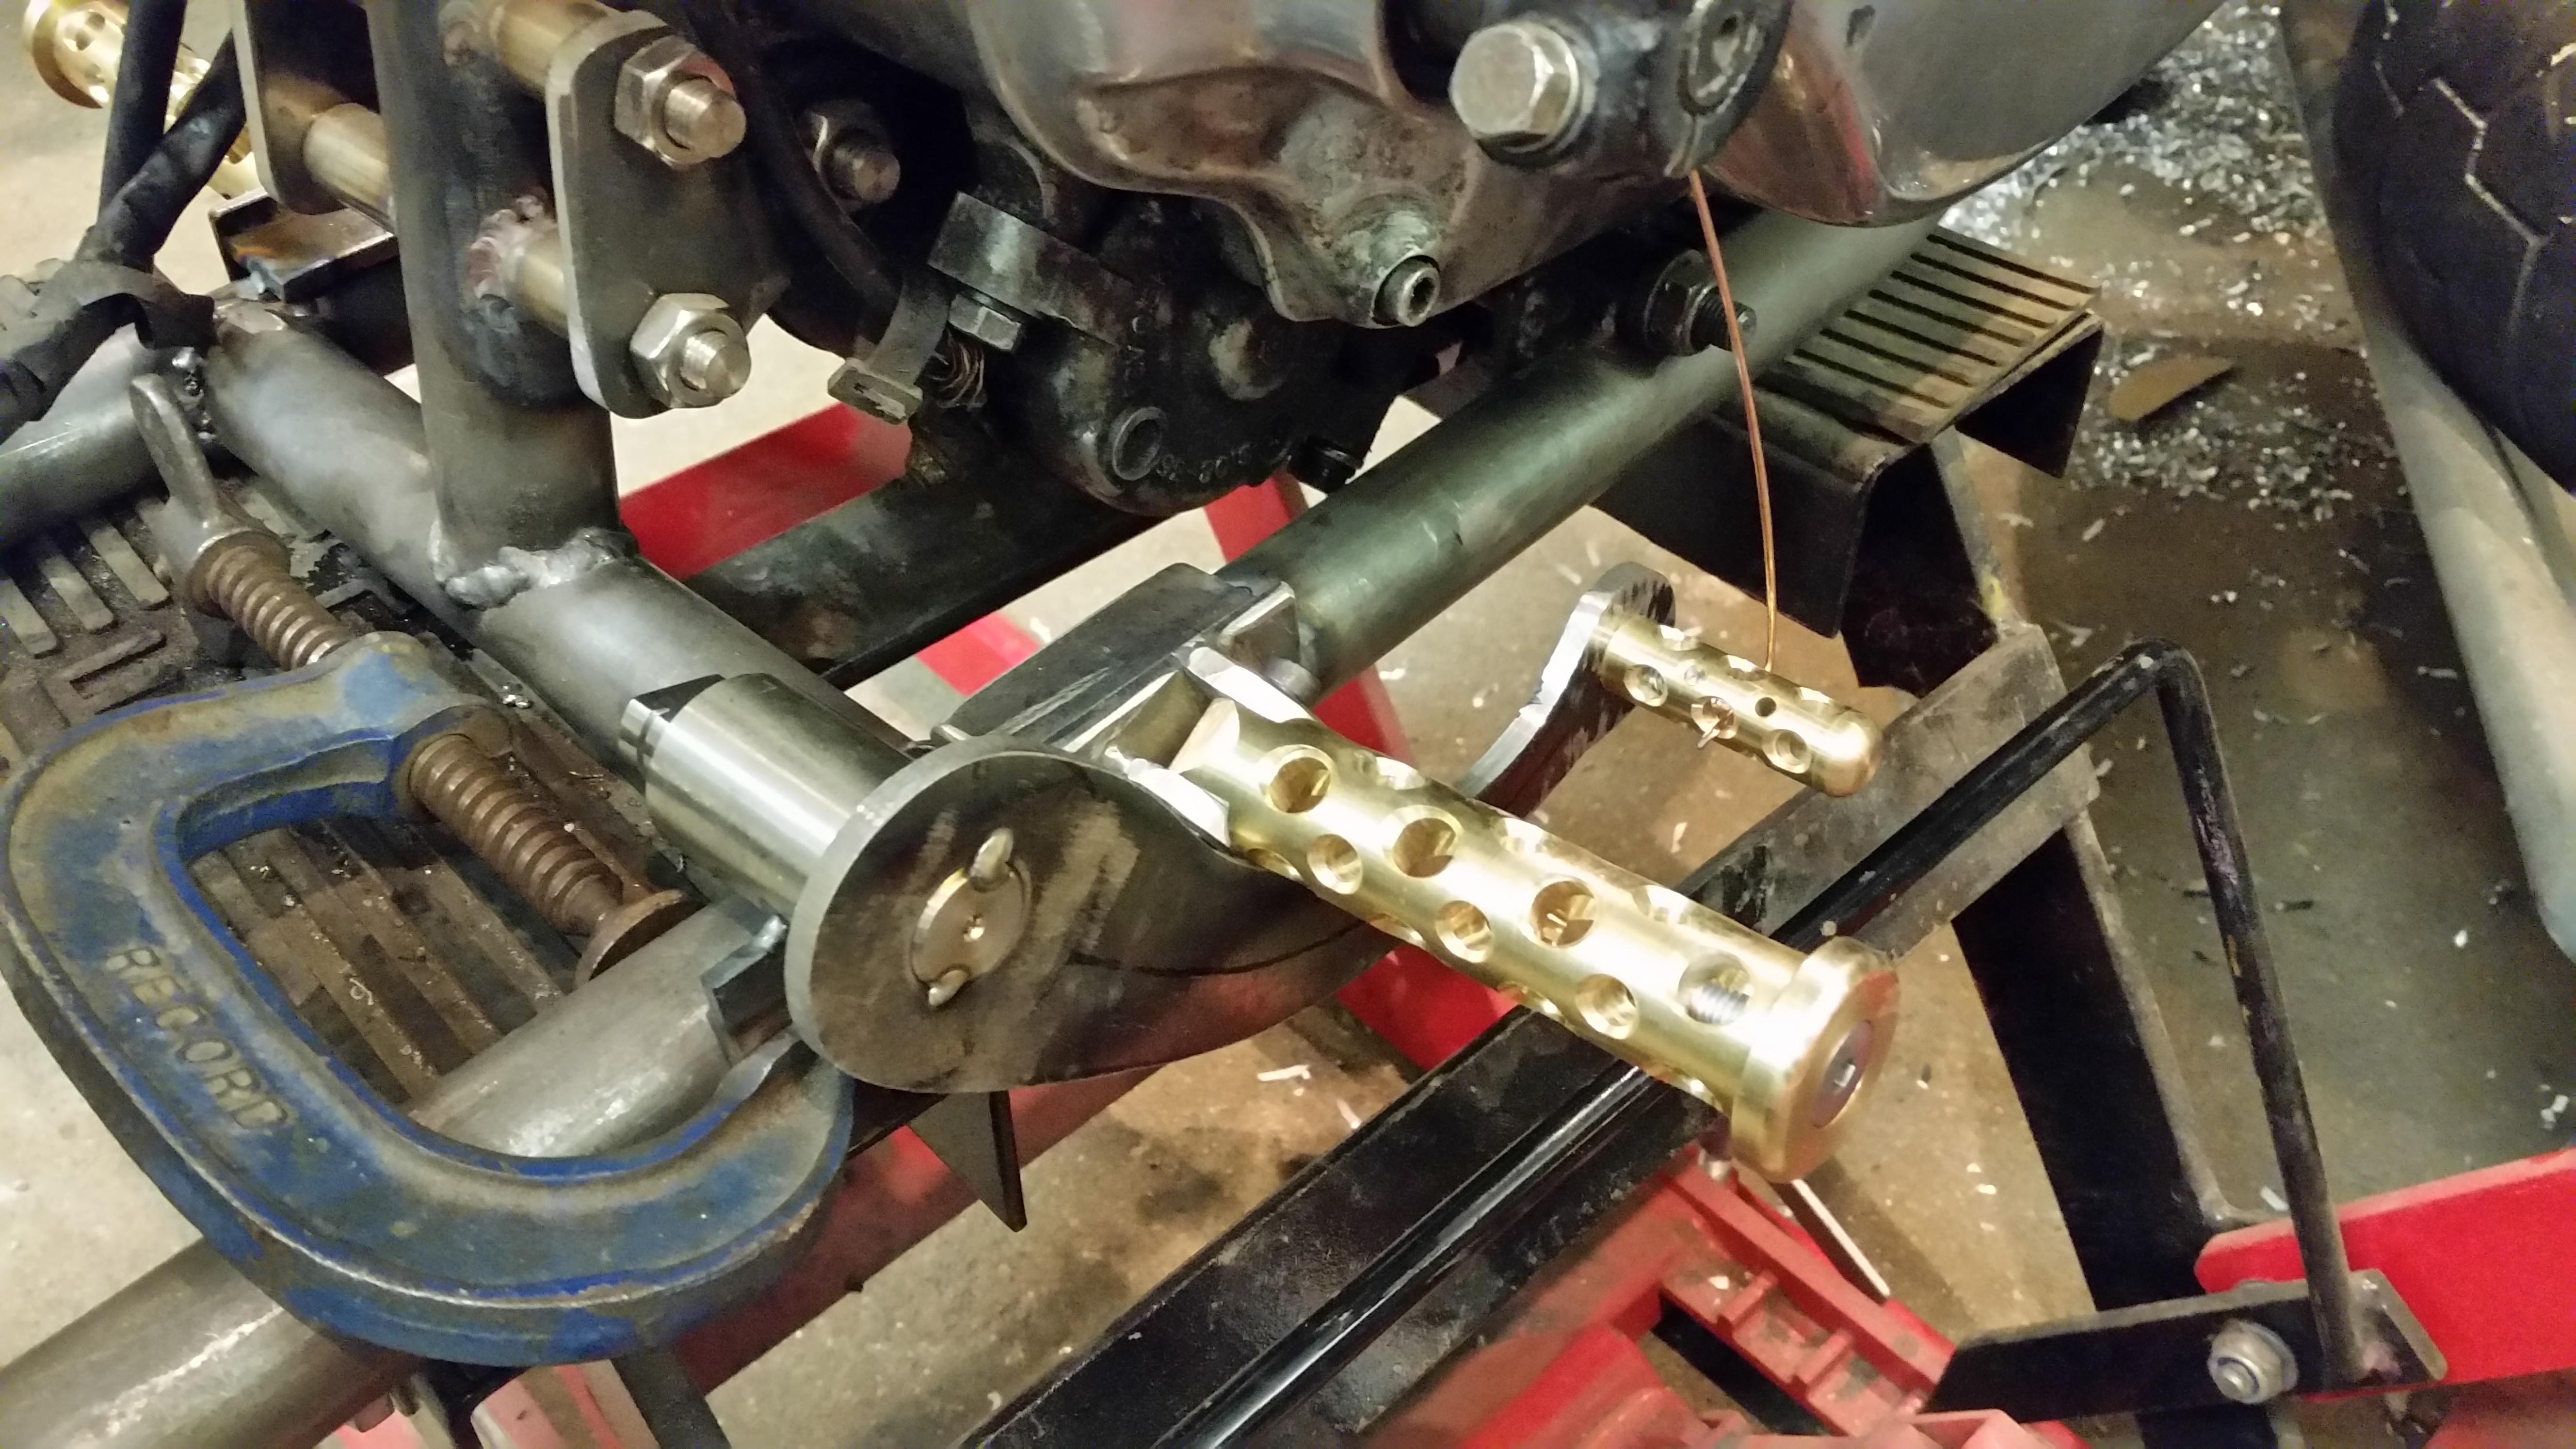
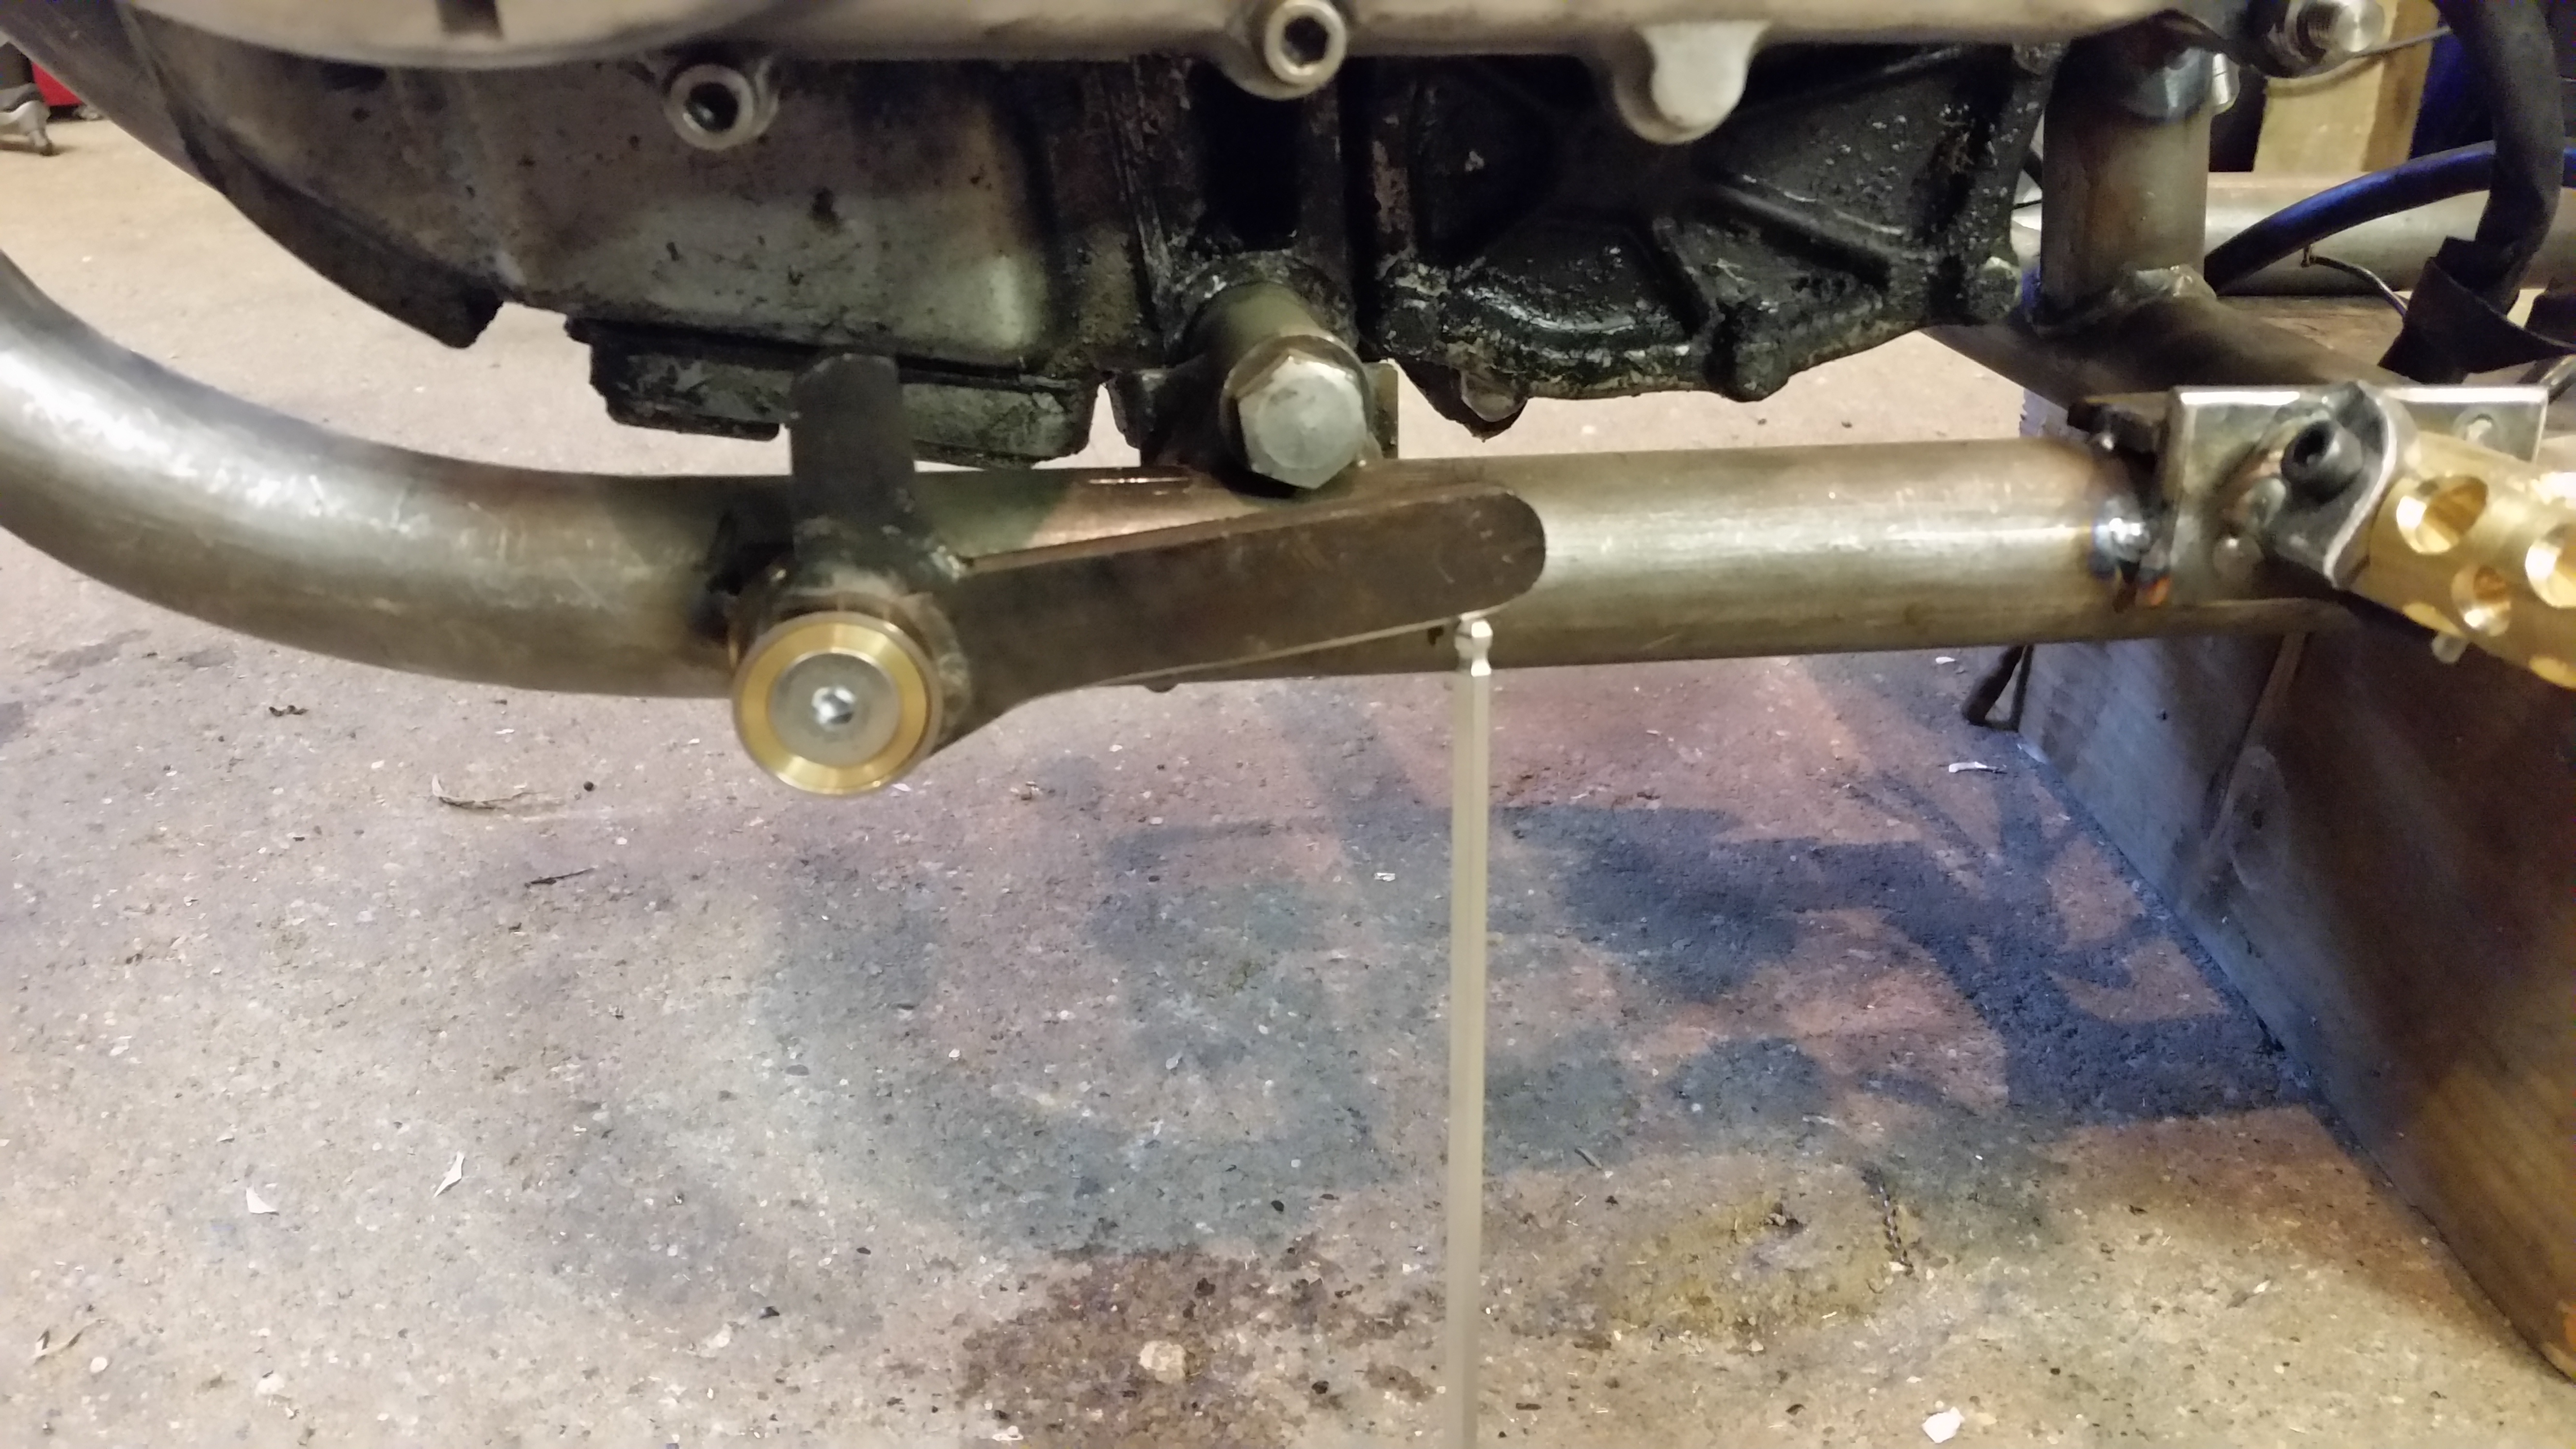
Using a gee clamp I tried a few positions out to find the sweet spot and settled for here, it sits well and leaves enough room for a brake lever.
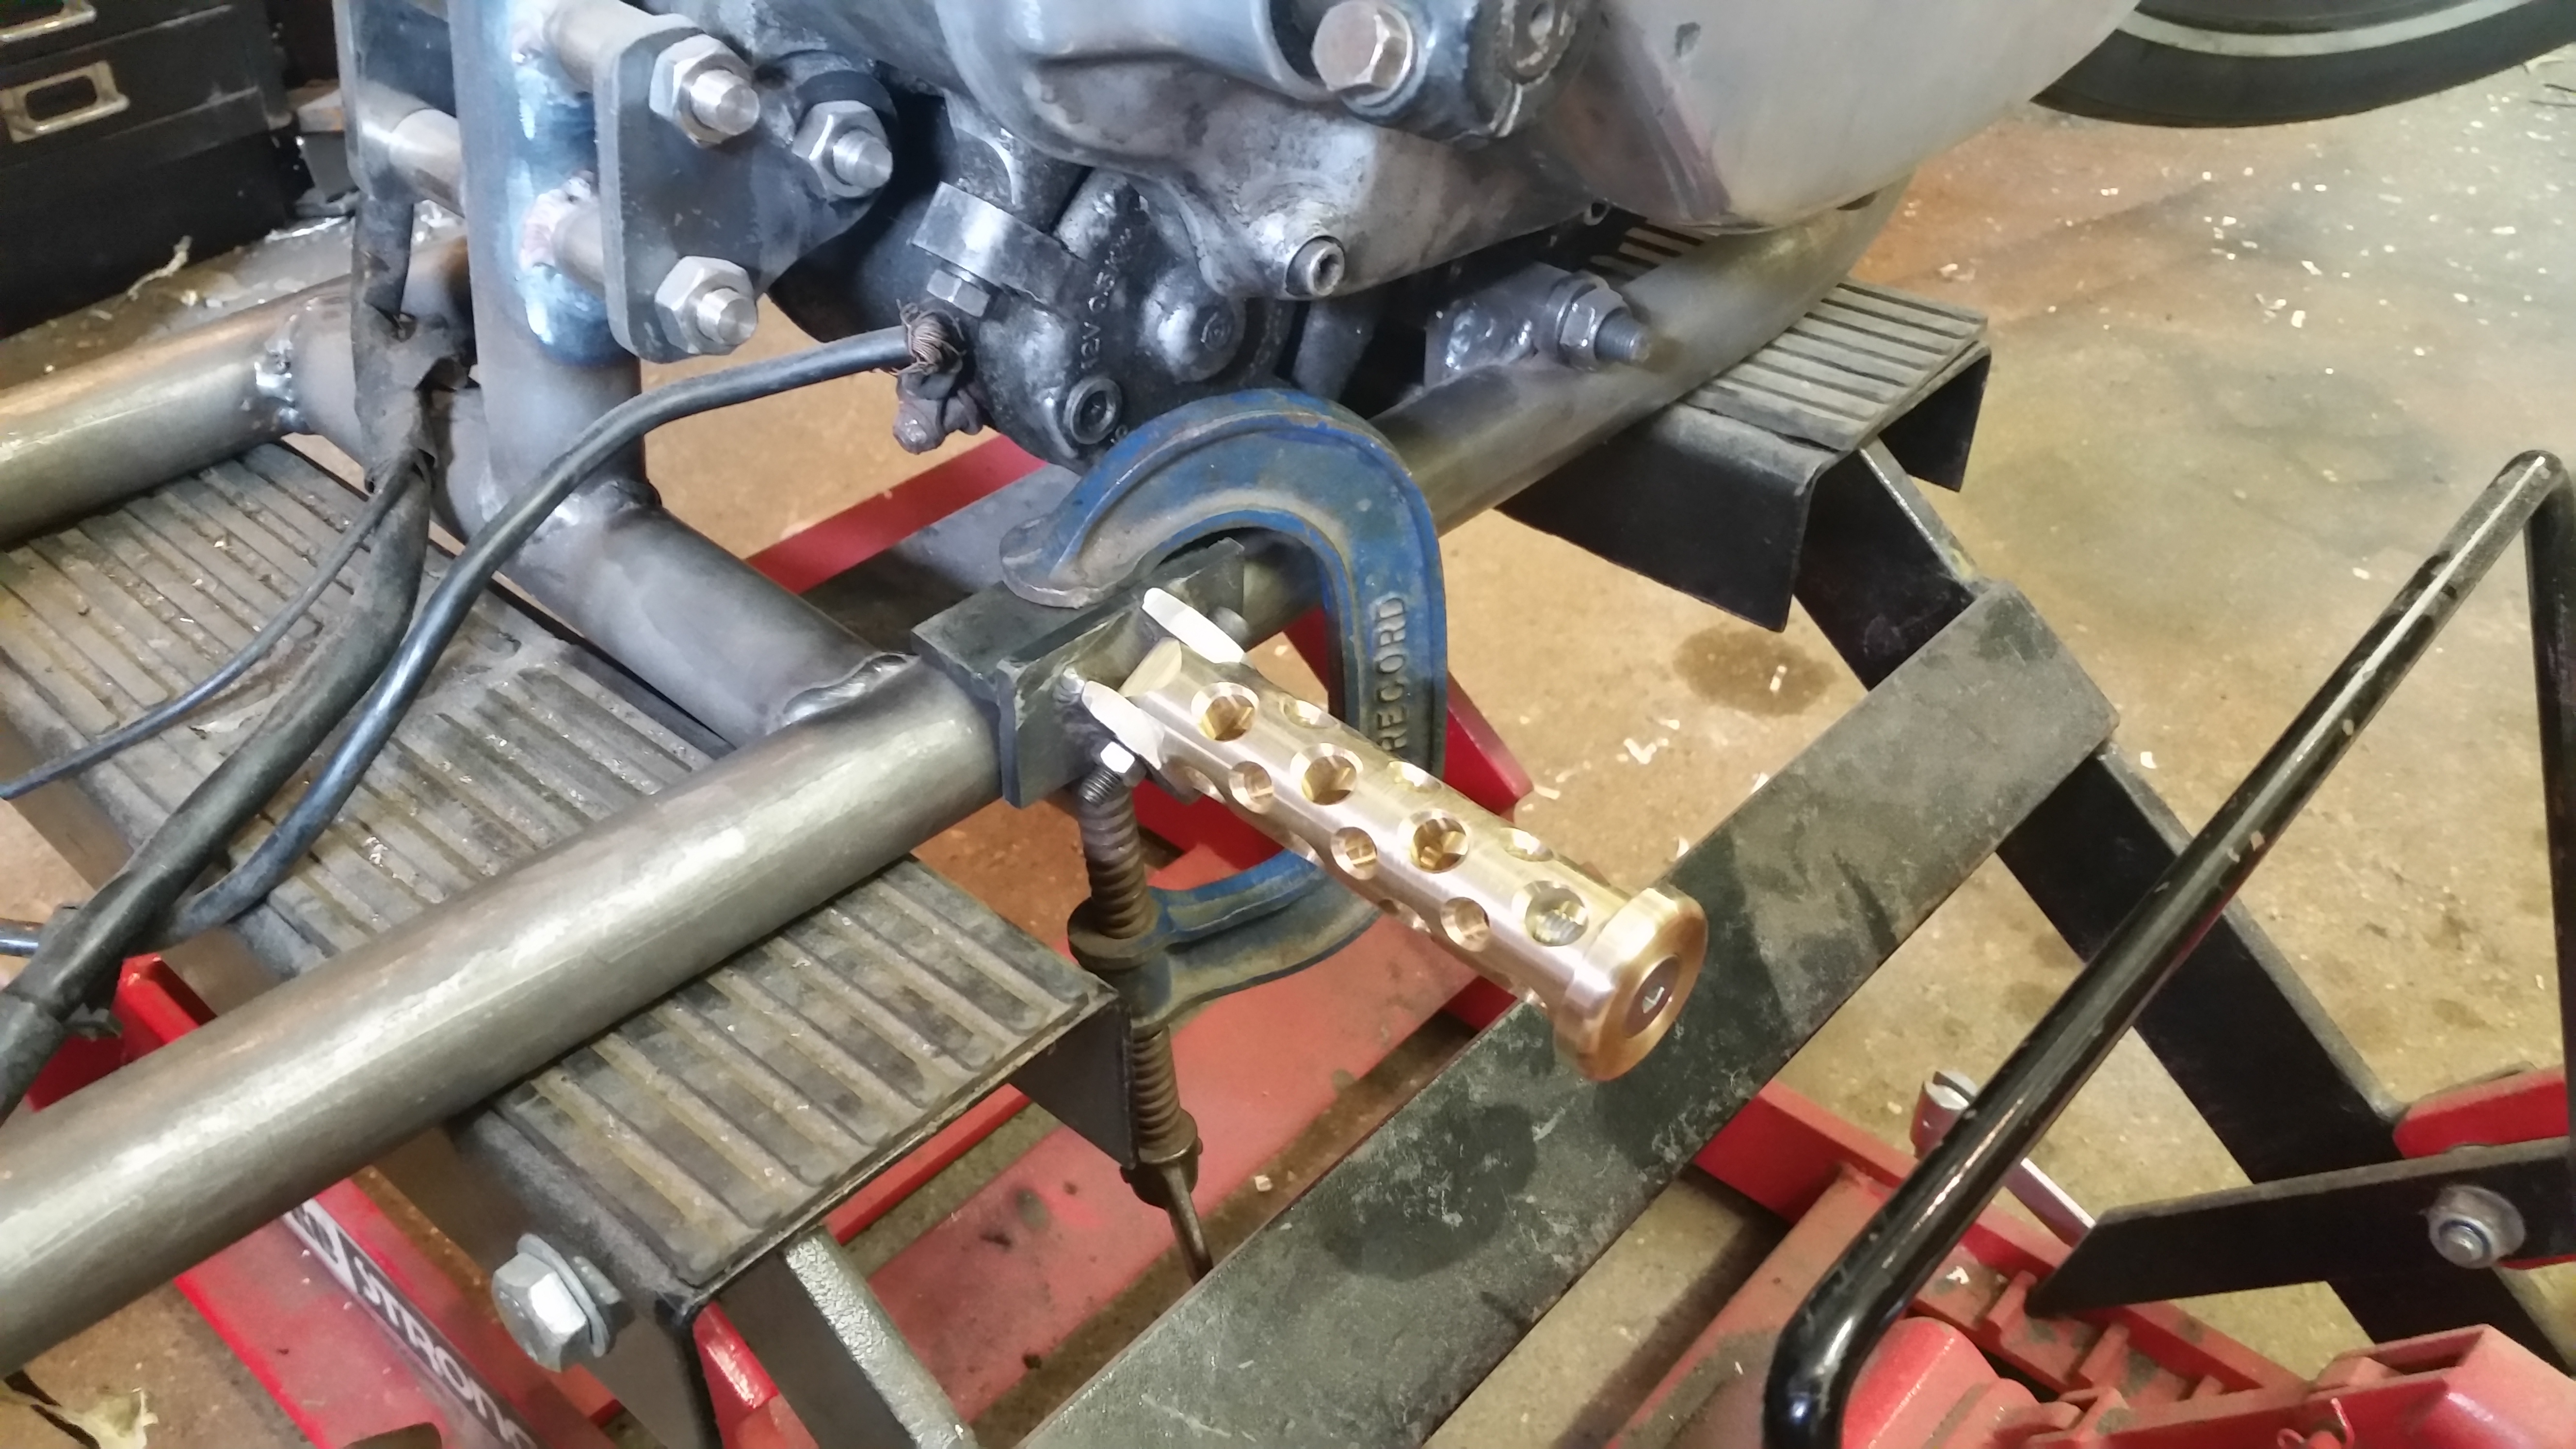
As pegs seem to drop over time I decided to set the pegs at 5 degrees tipped in and if they don’t settle this much I’ll just file a bit of the back of the peg to allow it to sit down a little although they look a bit sporty like this so I’ll get some feedback from the judges on this……. 😀
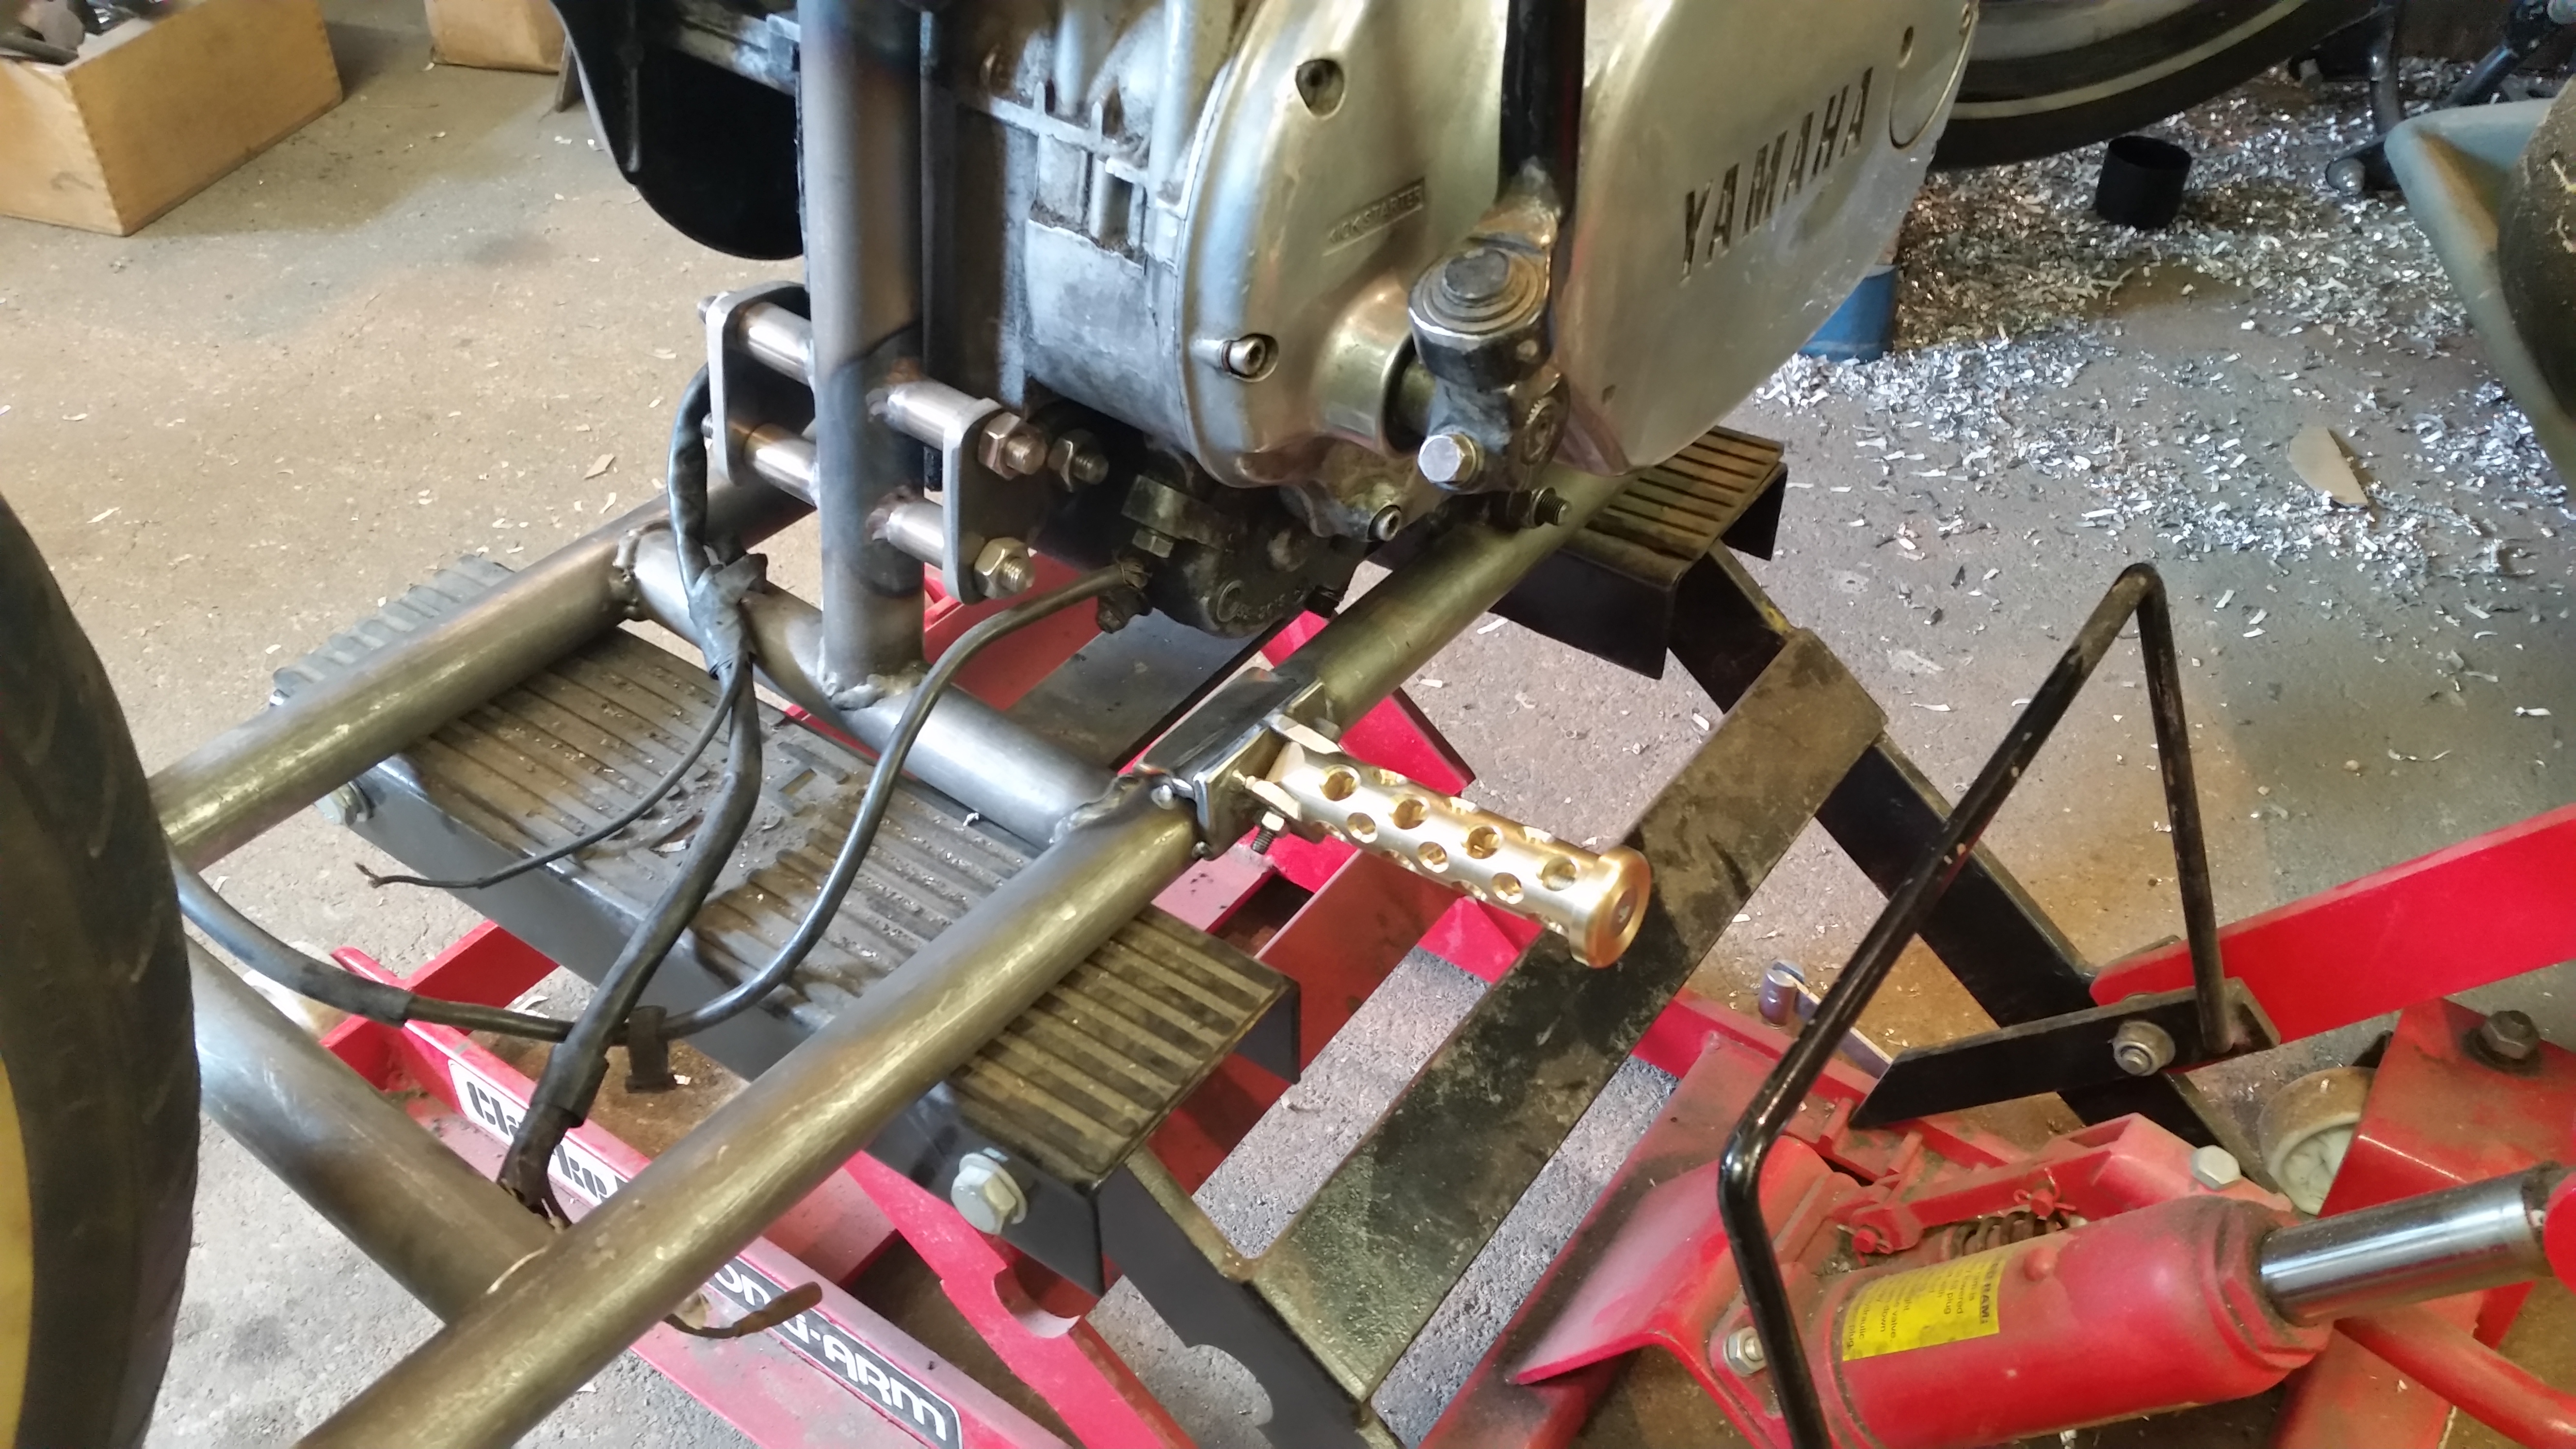
A quick shot of the tack welded peg before I add the brake.
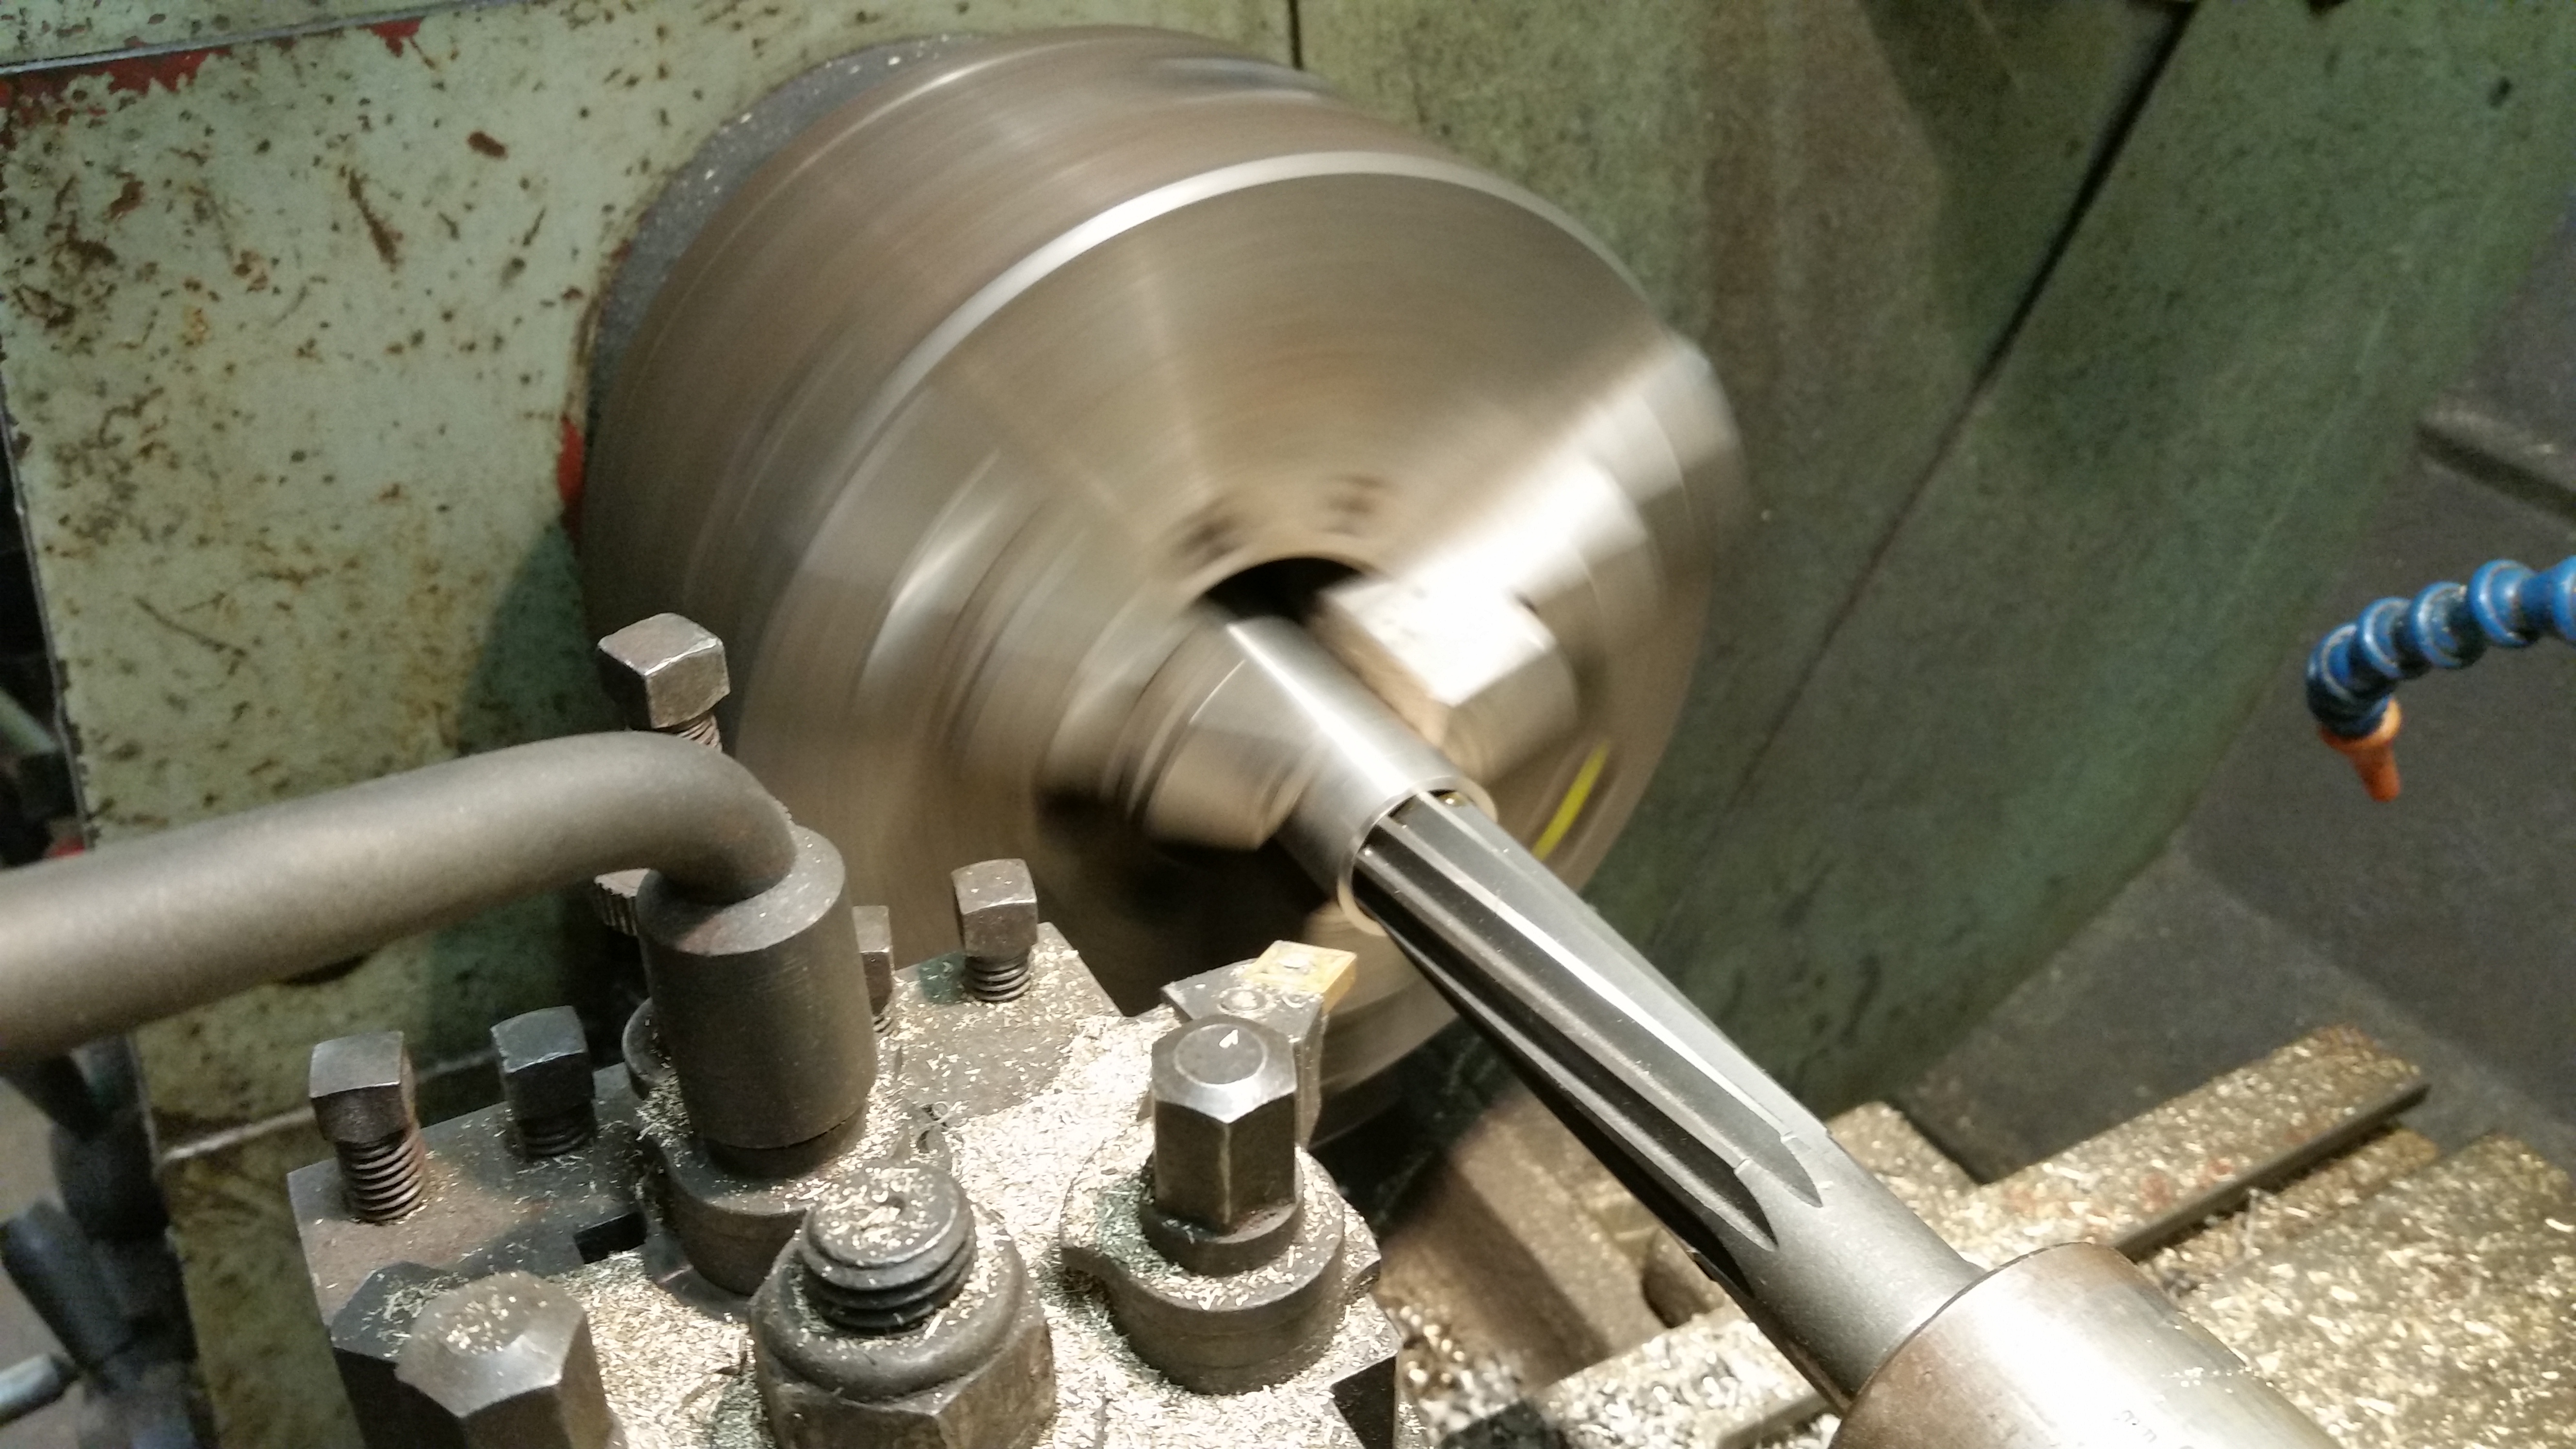
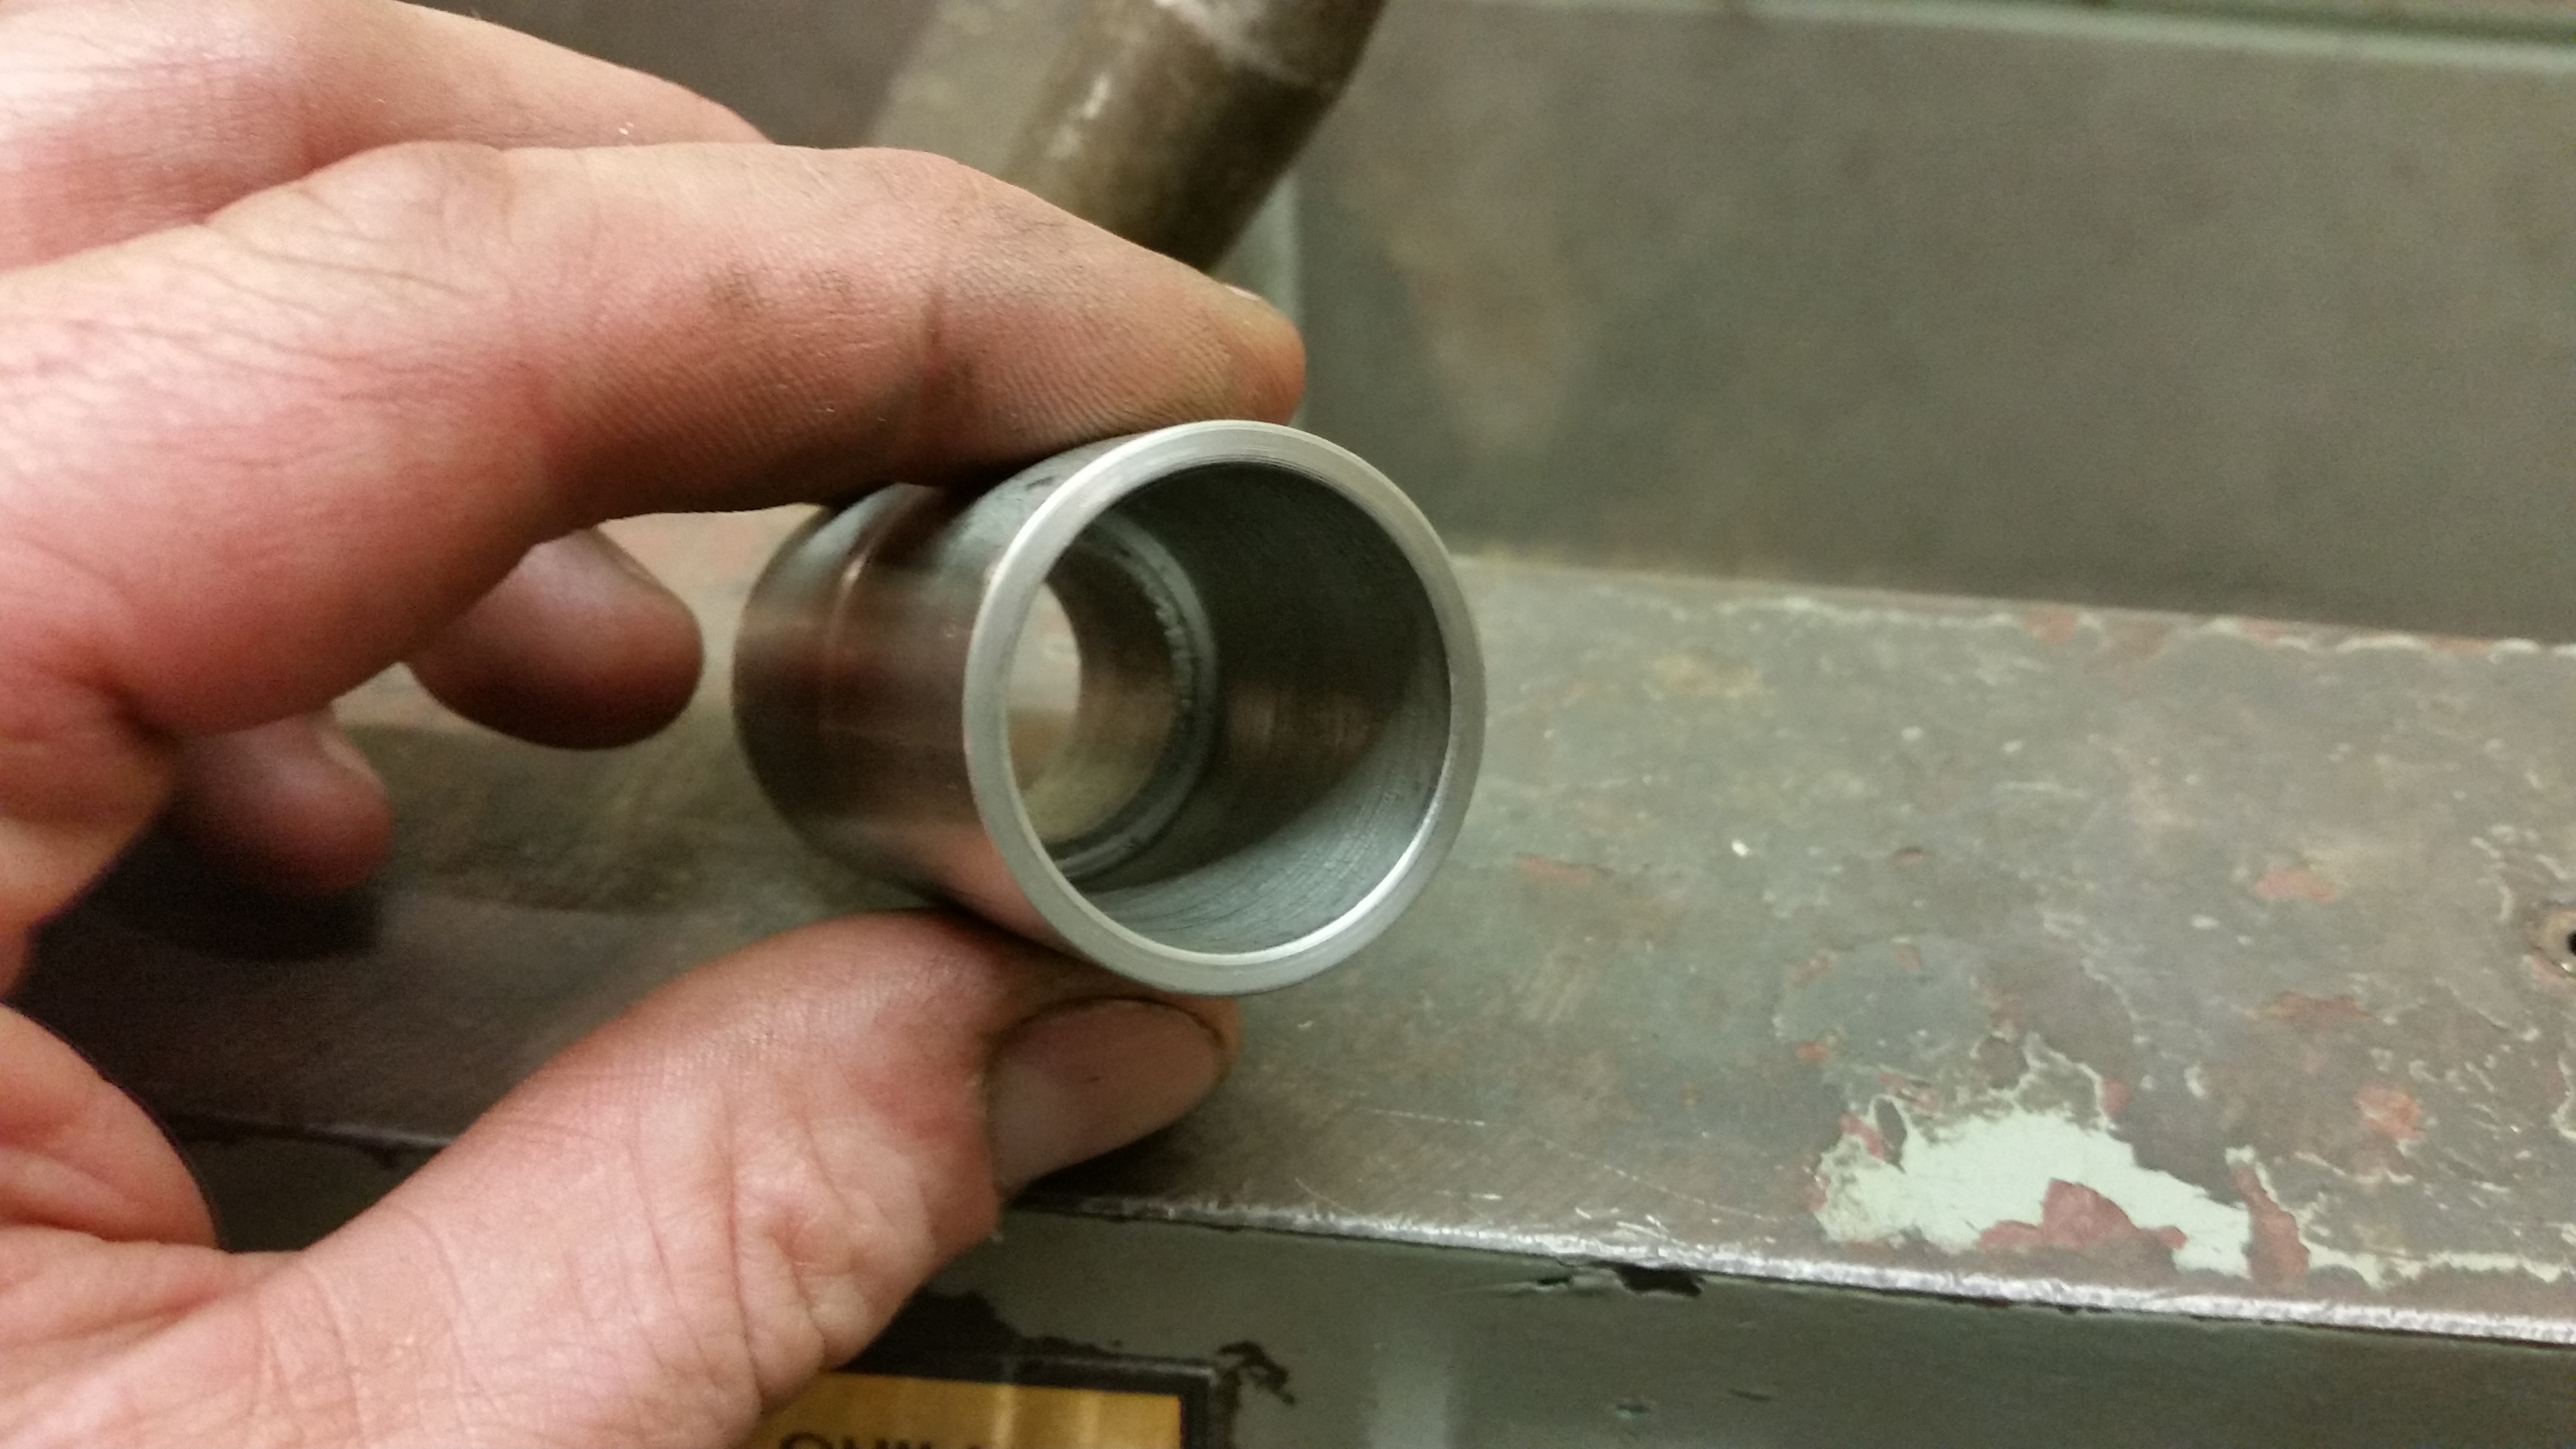
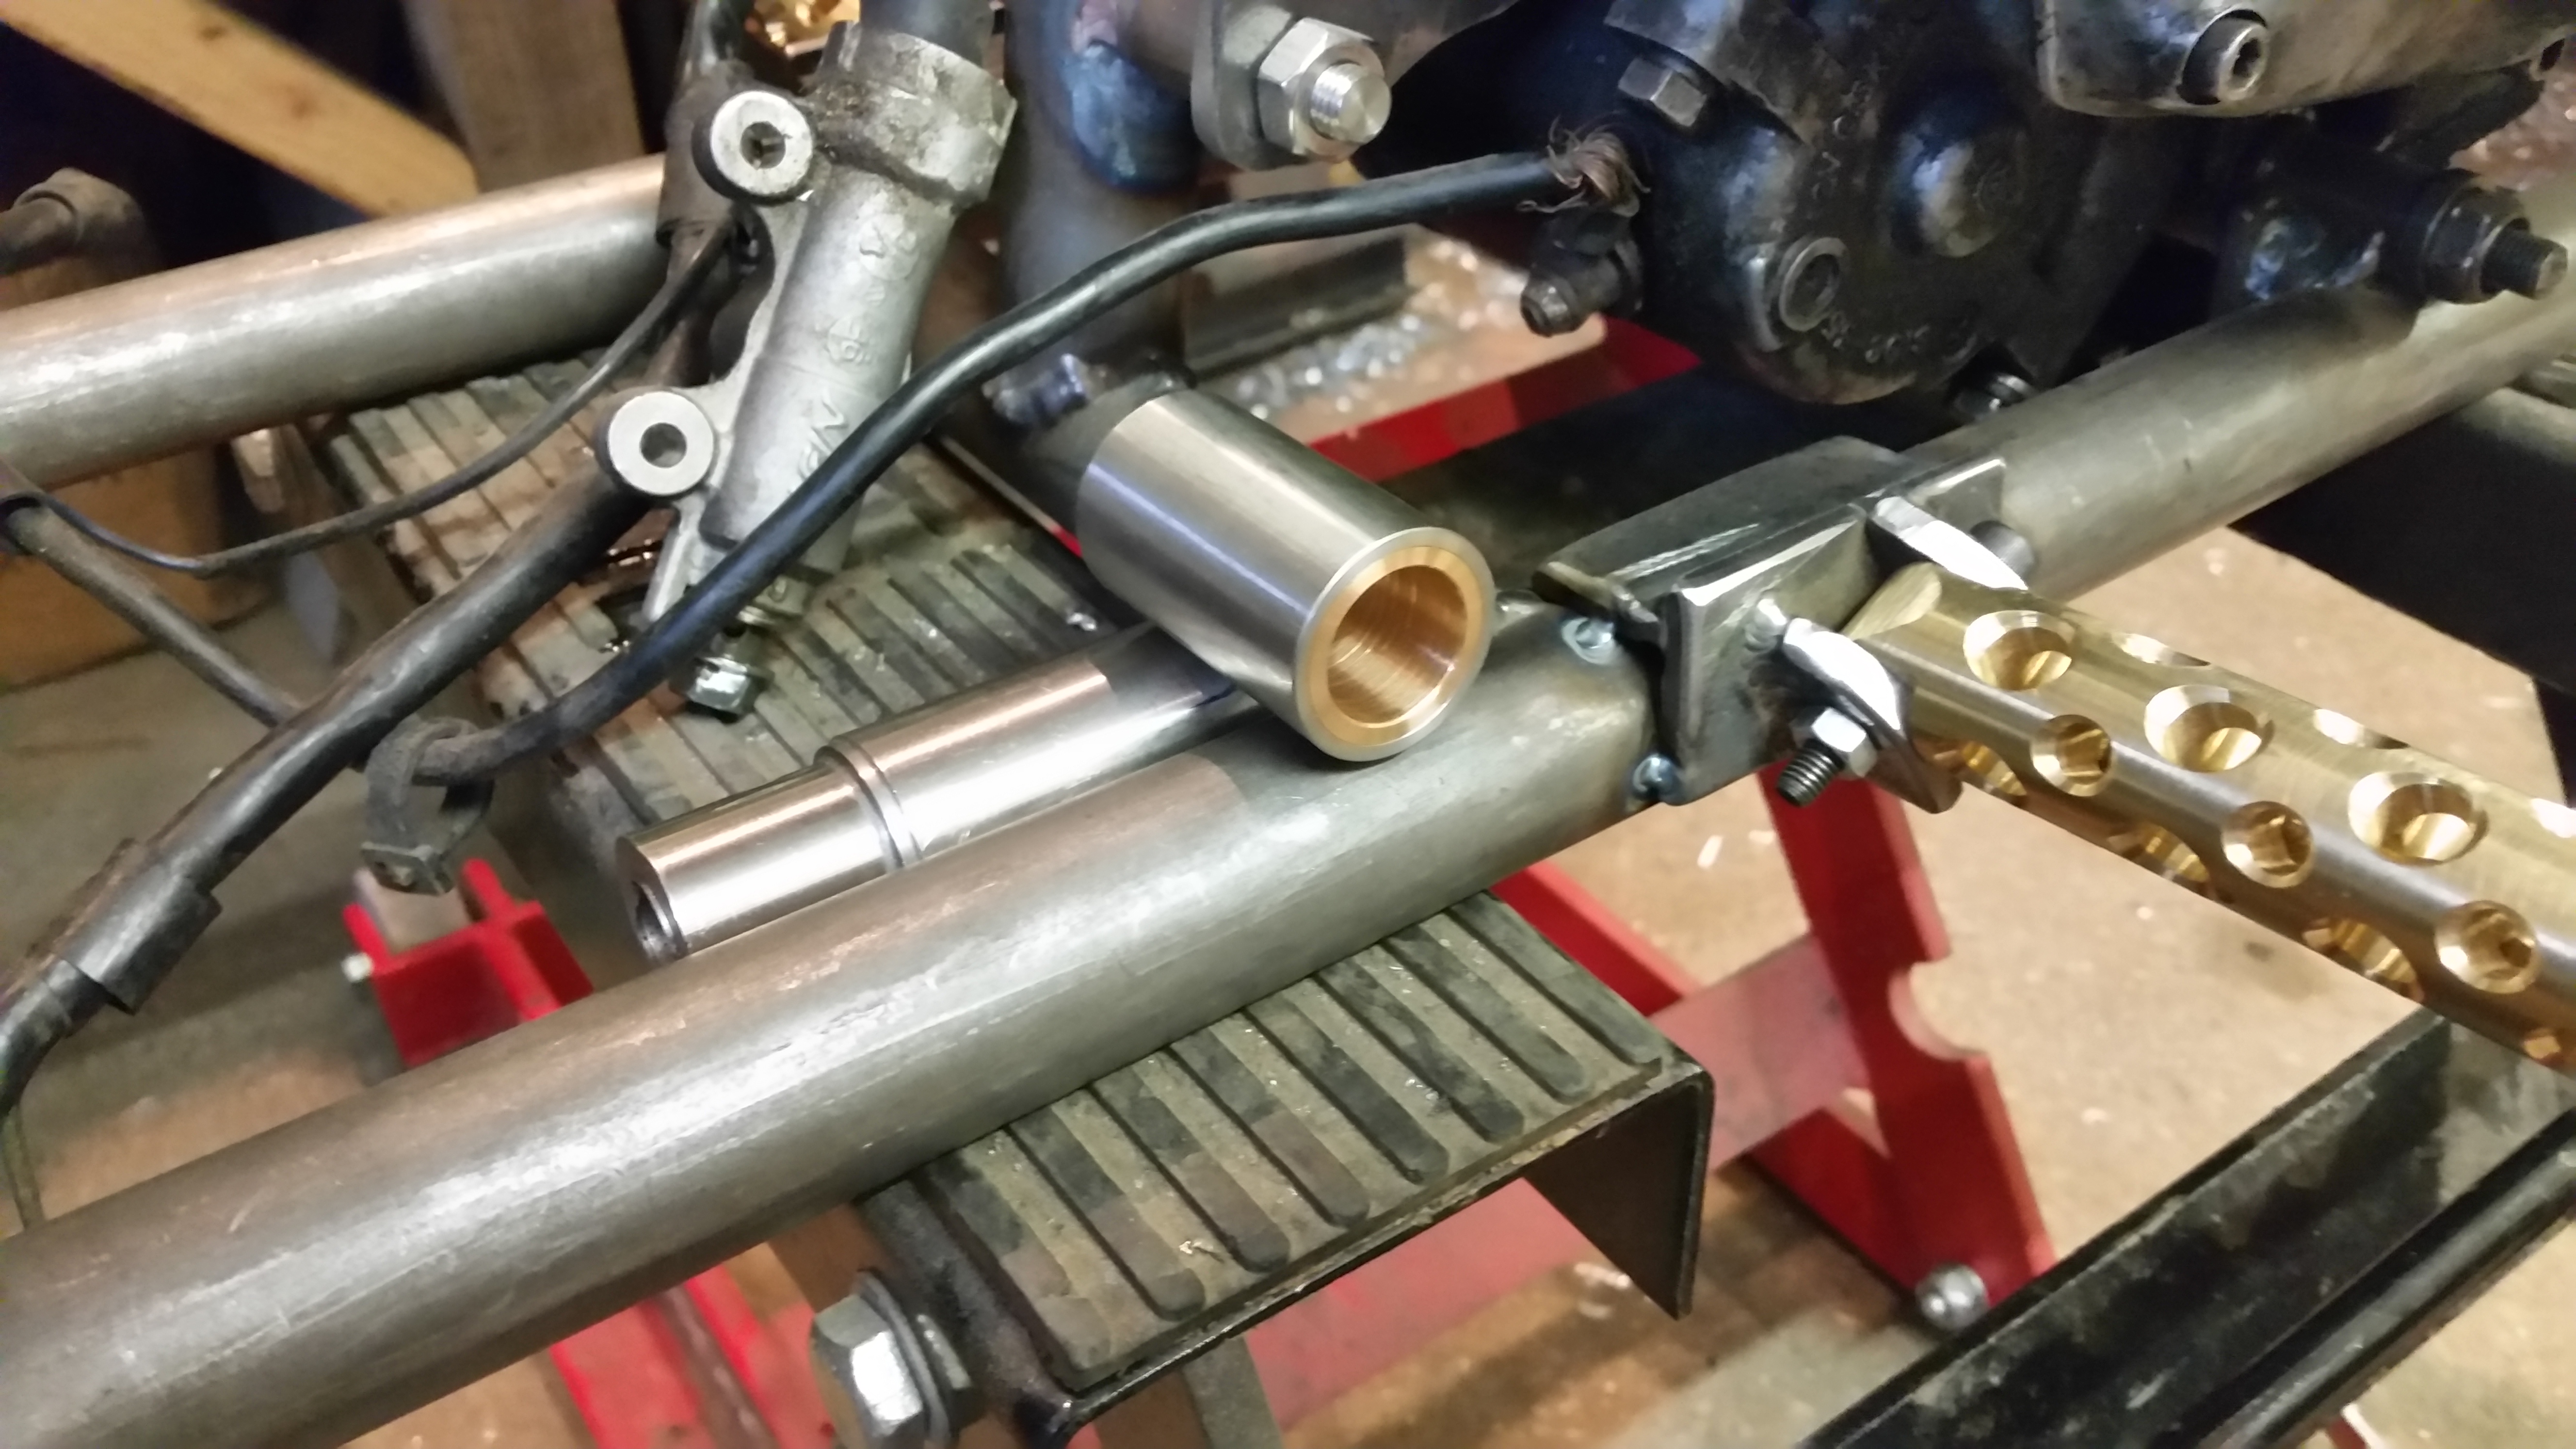
The rear brake assembley was something I have not made before, can’t even remember seeing this on American chopper so I guess I’m on my own….. first bored out some stainless bar to accept a bronze bush.
Used a reamer to get a nice fit.
Thats not my real hand, I hired a chap from a ‘stunt hand’ agency to cover for me as I was making a cup of tea, I think he did quite a good job.
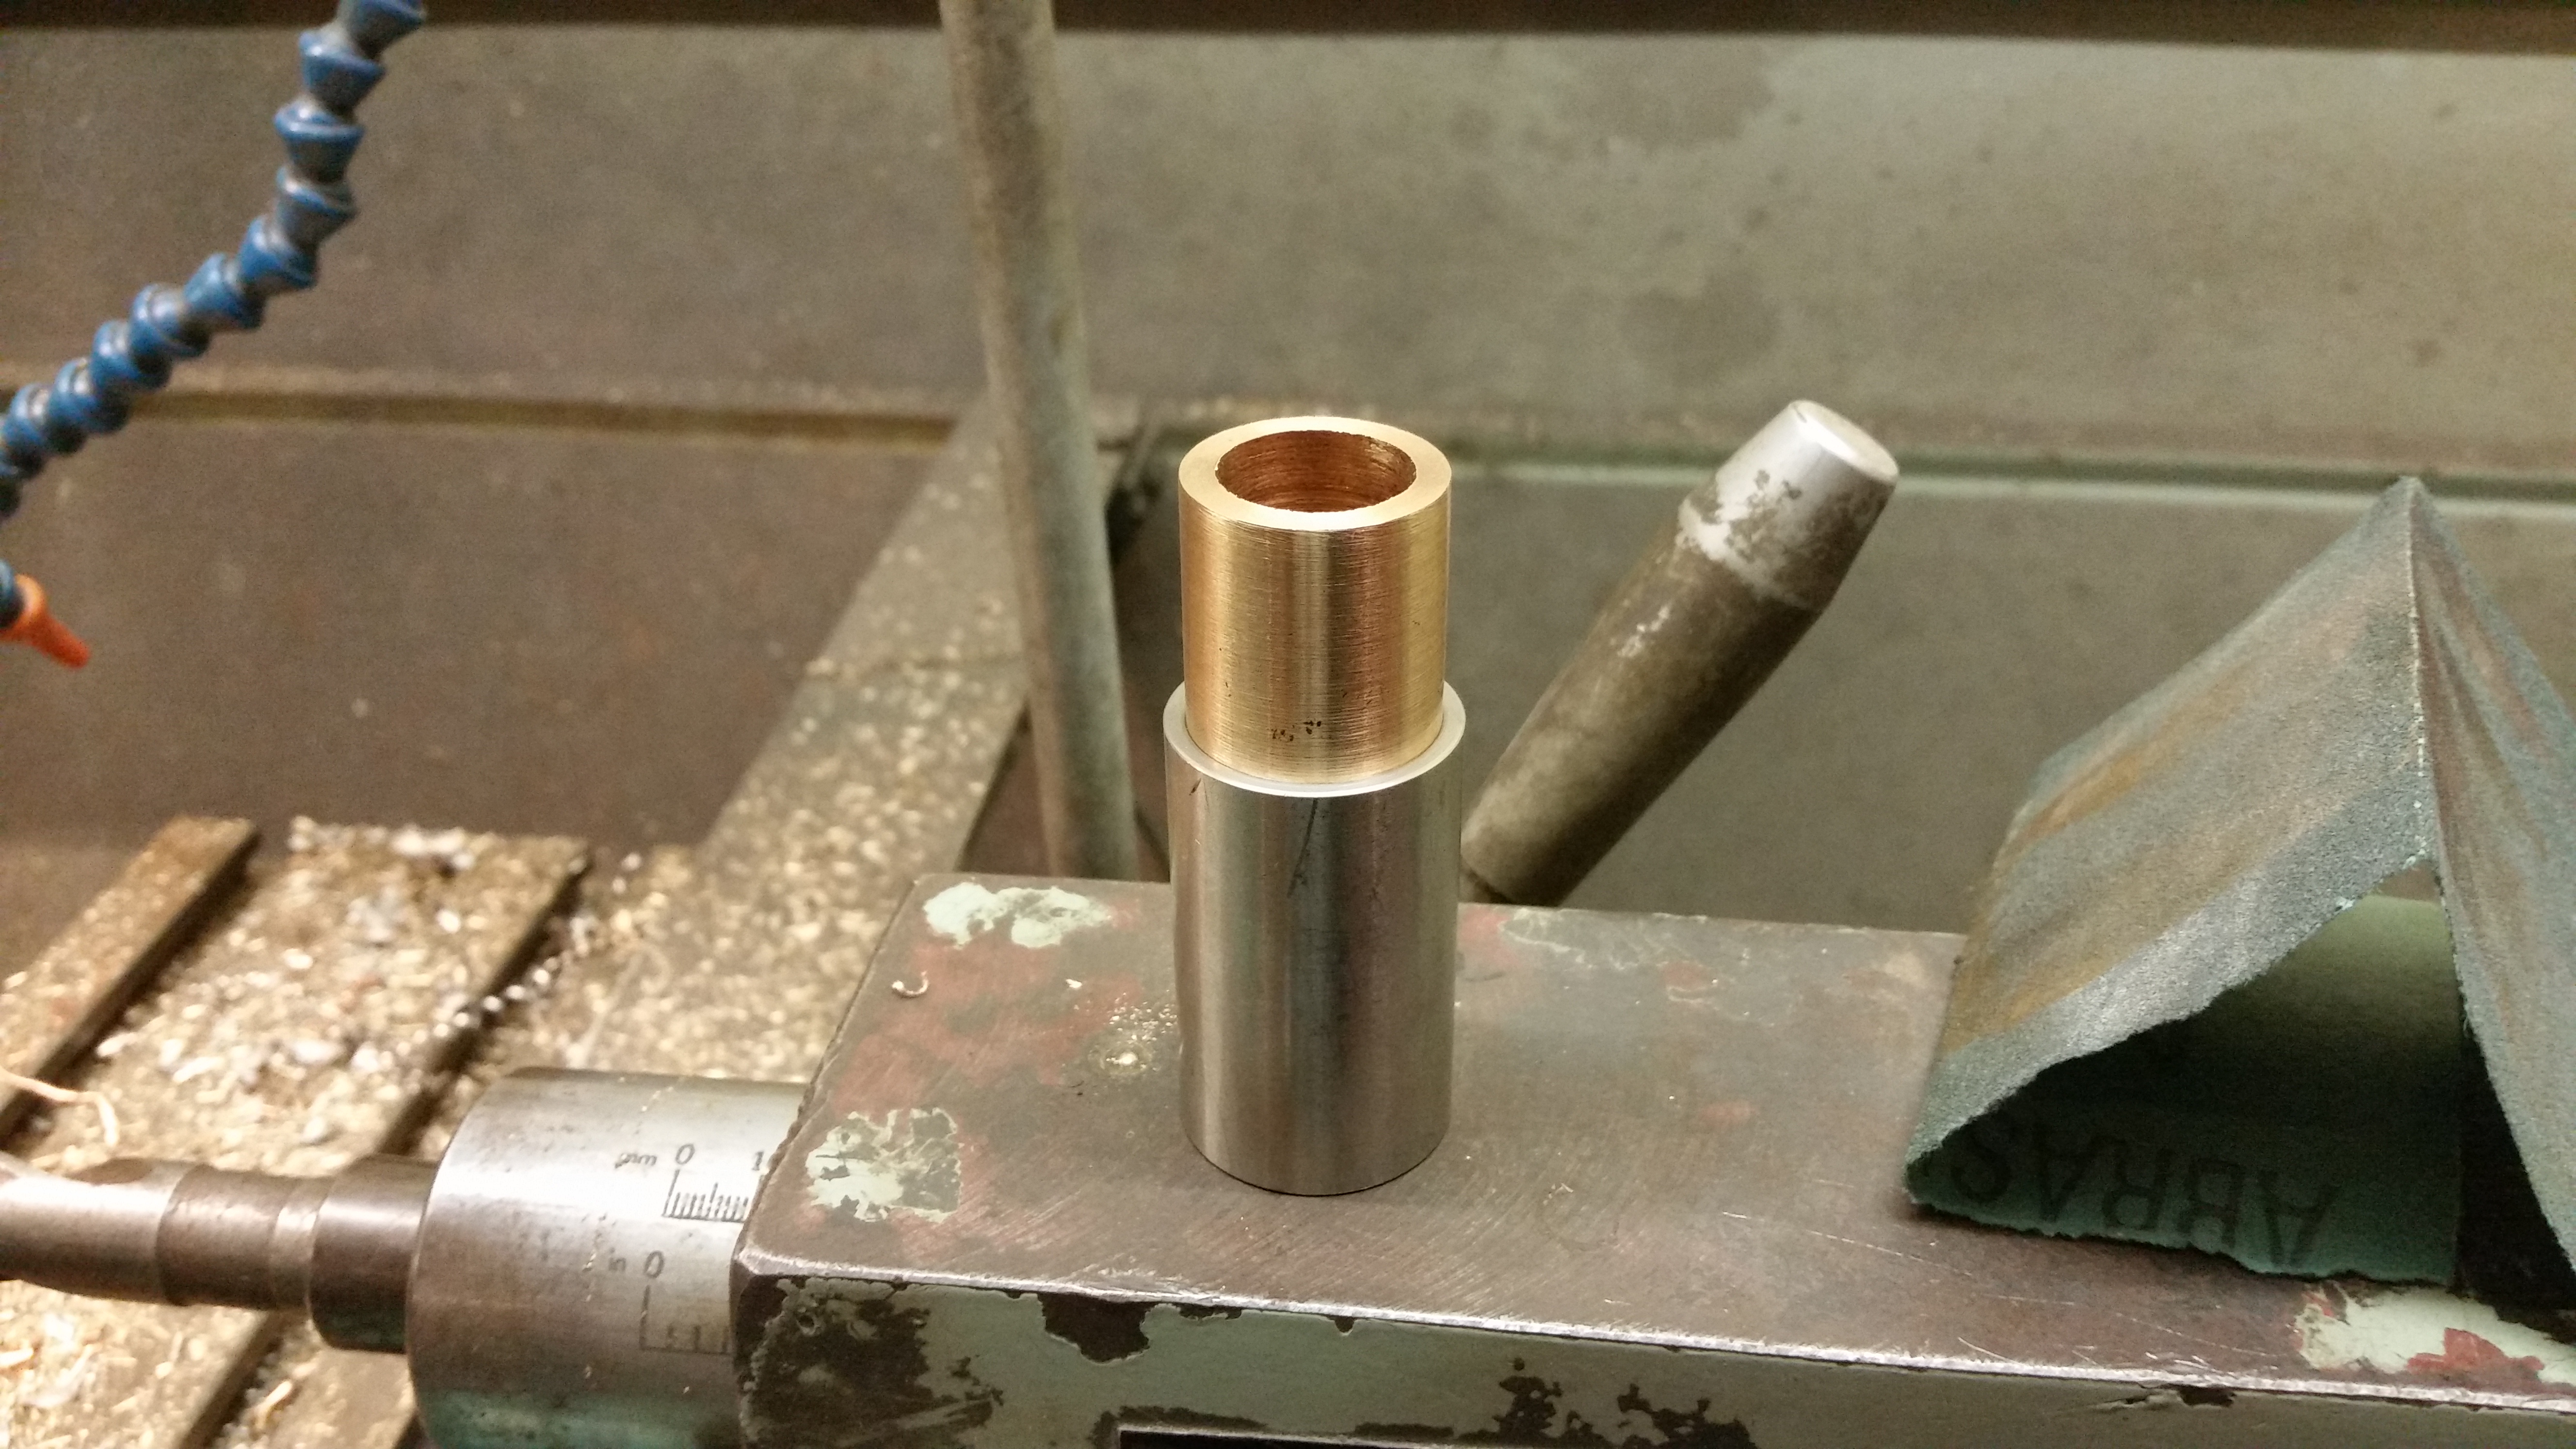
Luckily I keep a small amount of bronze in stock so I was able to swiftly turn out a bush, I really hope the judges admire a nice bush.
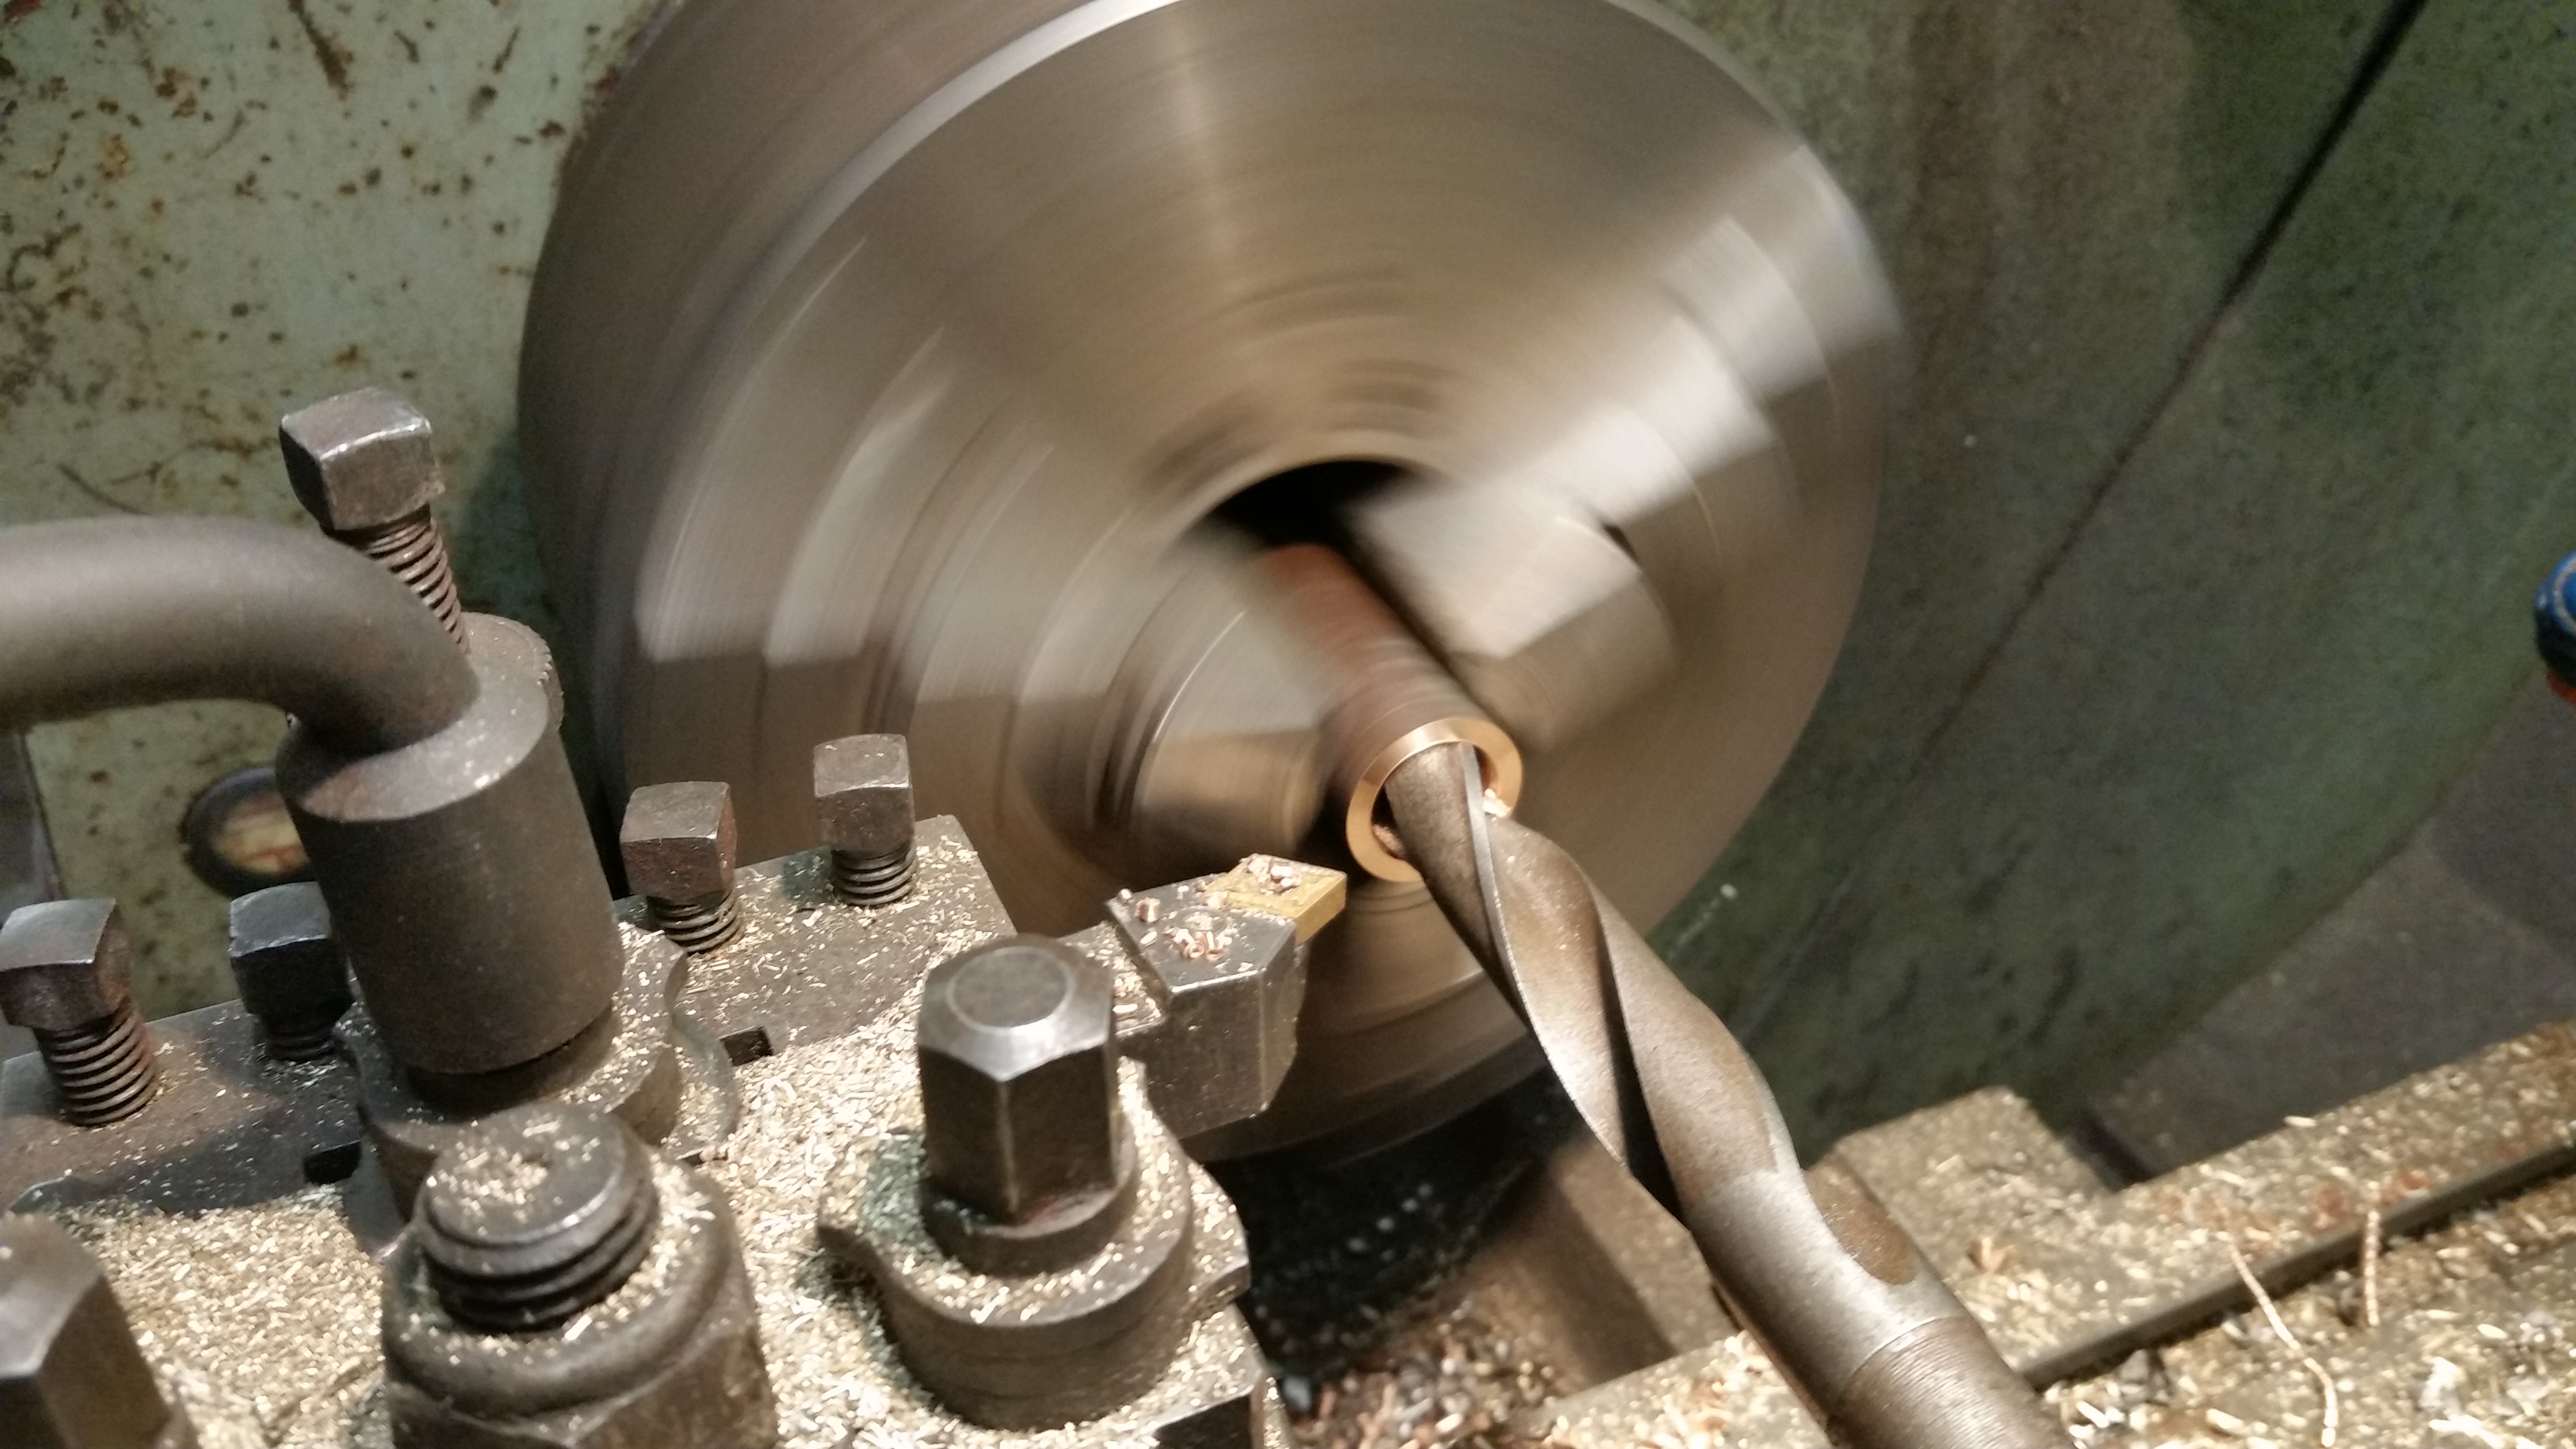
Next the bush needs pressing in to the stainless outer.
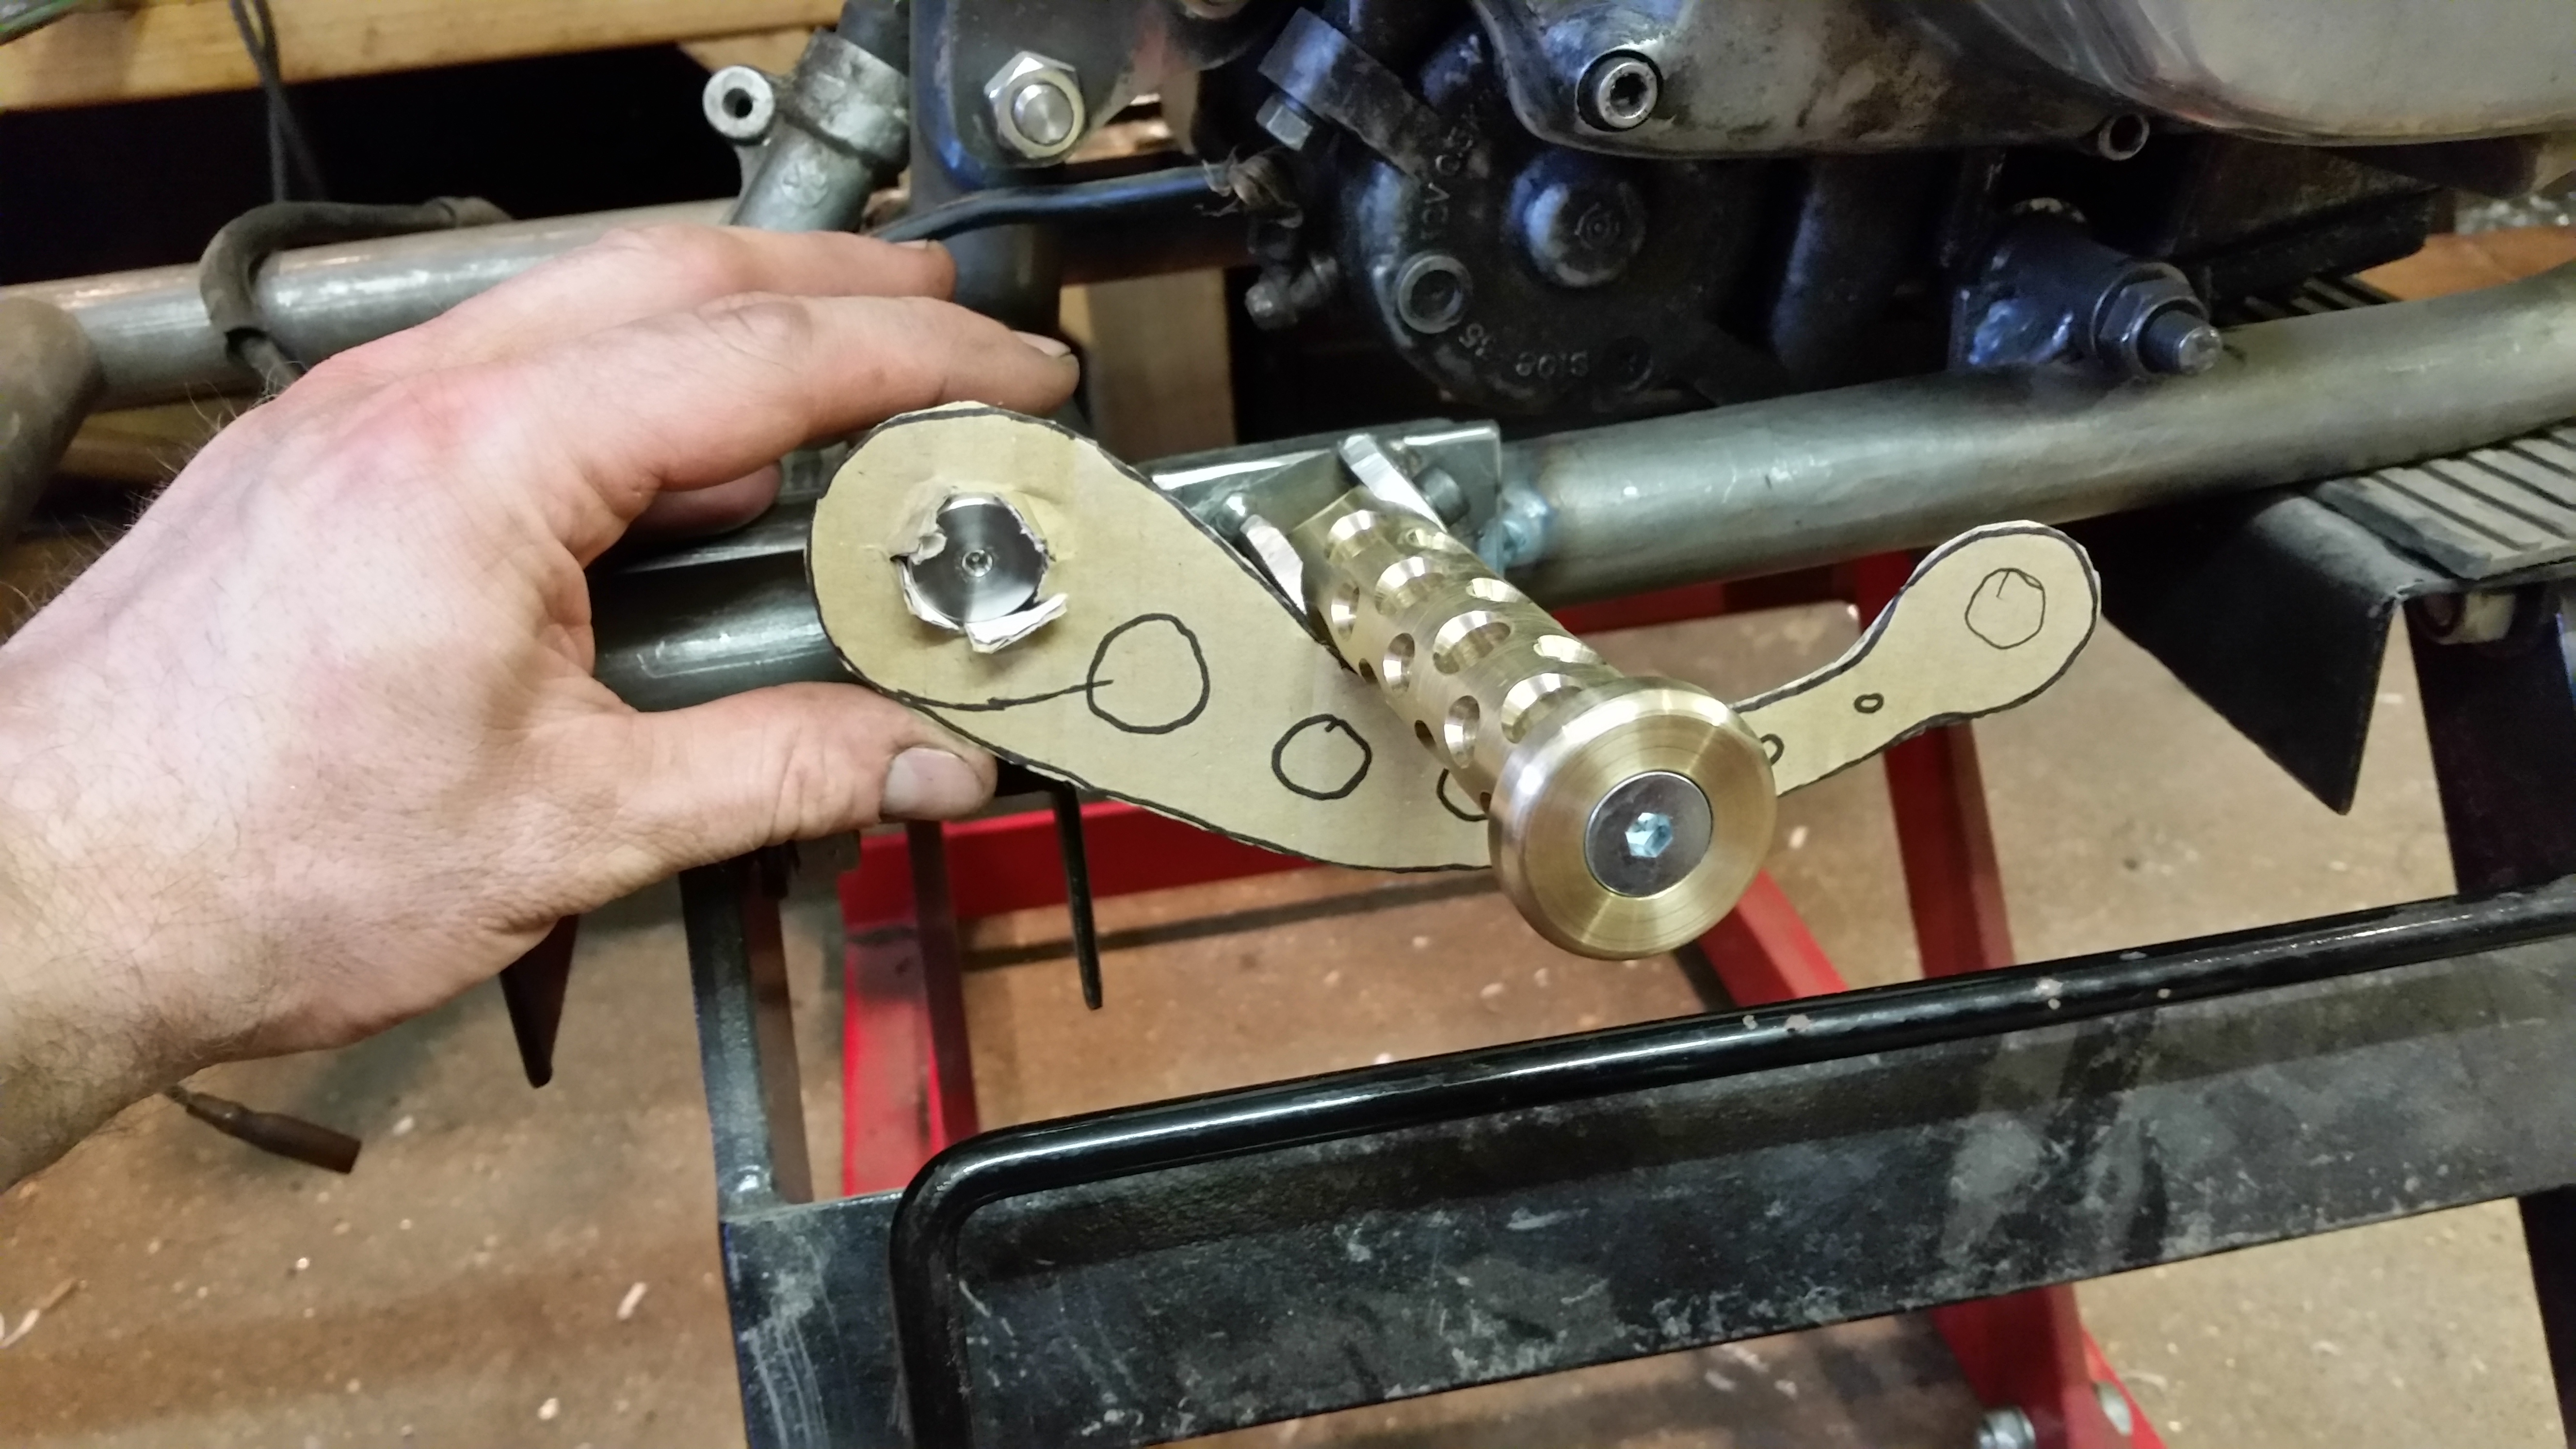
So this is the assembly so far, roughly in place so I can see how to make the lever.
Here’s the stunt hand again, I was busy campaigning for world peace and helping orphans cross a busy road, I really hope any judges reading this don’t mind me using a stunt hand, (did I mention I also love dolphins, ponys and anything else stupid enough to end up in Tescos). Free Tibet!!
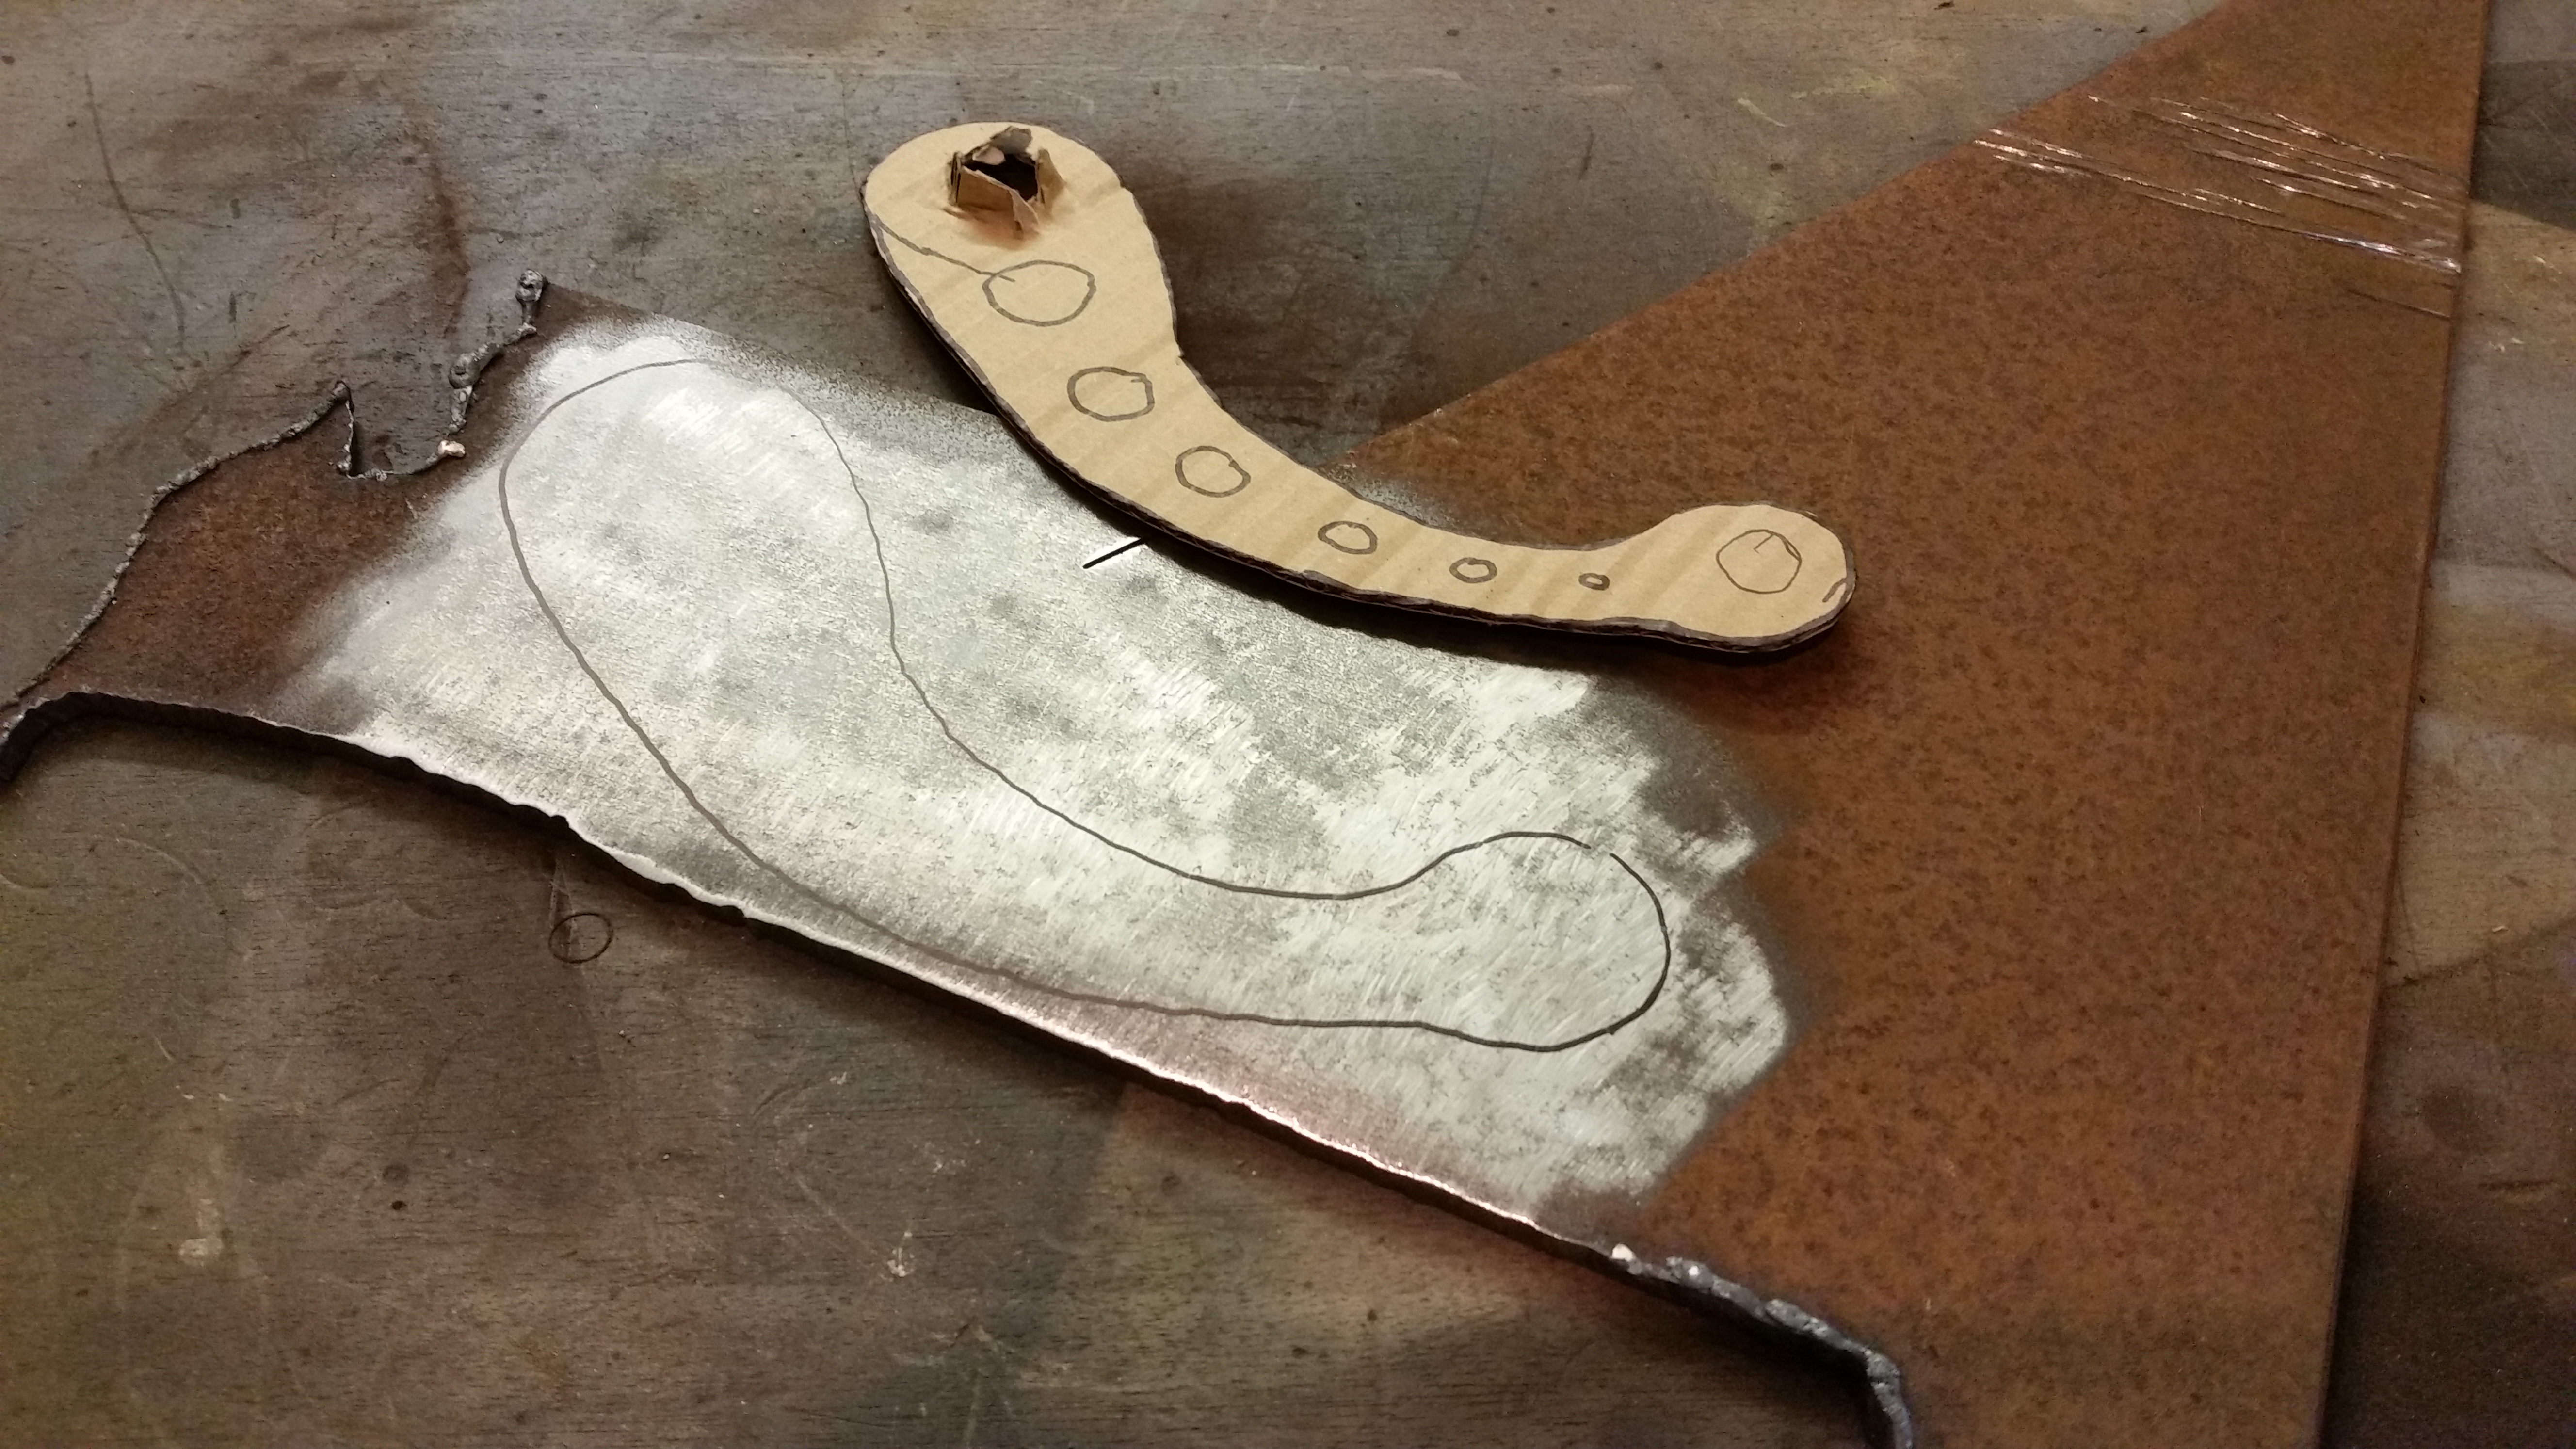
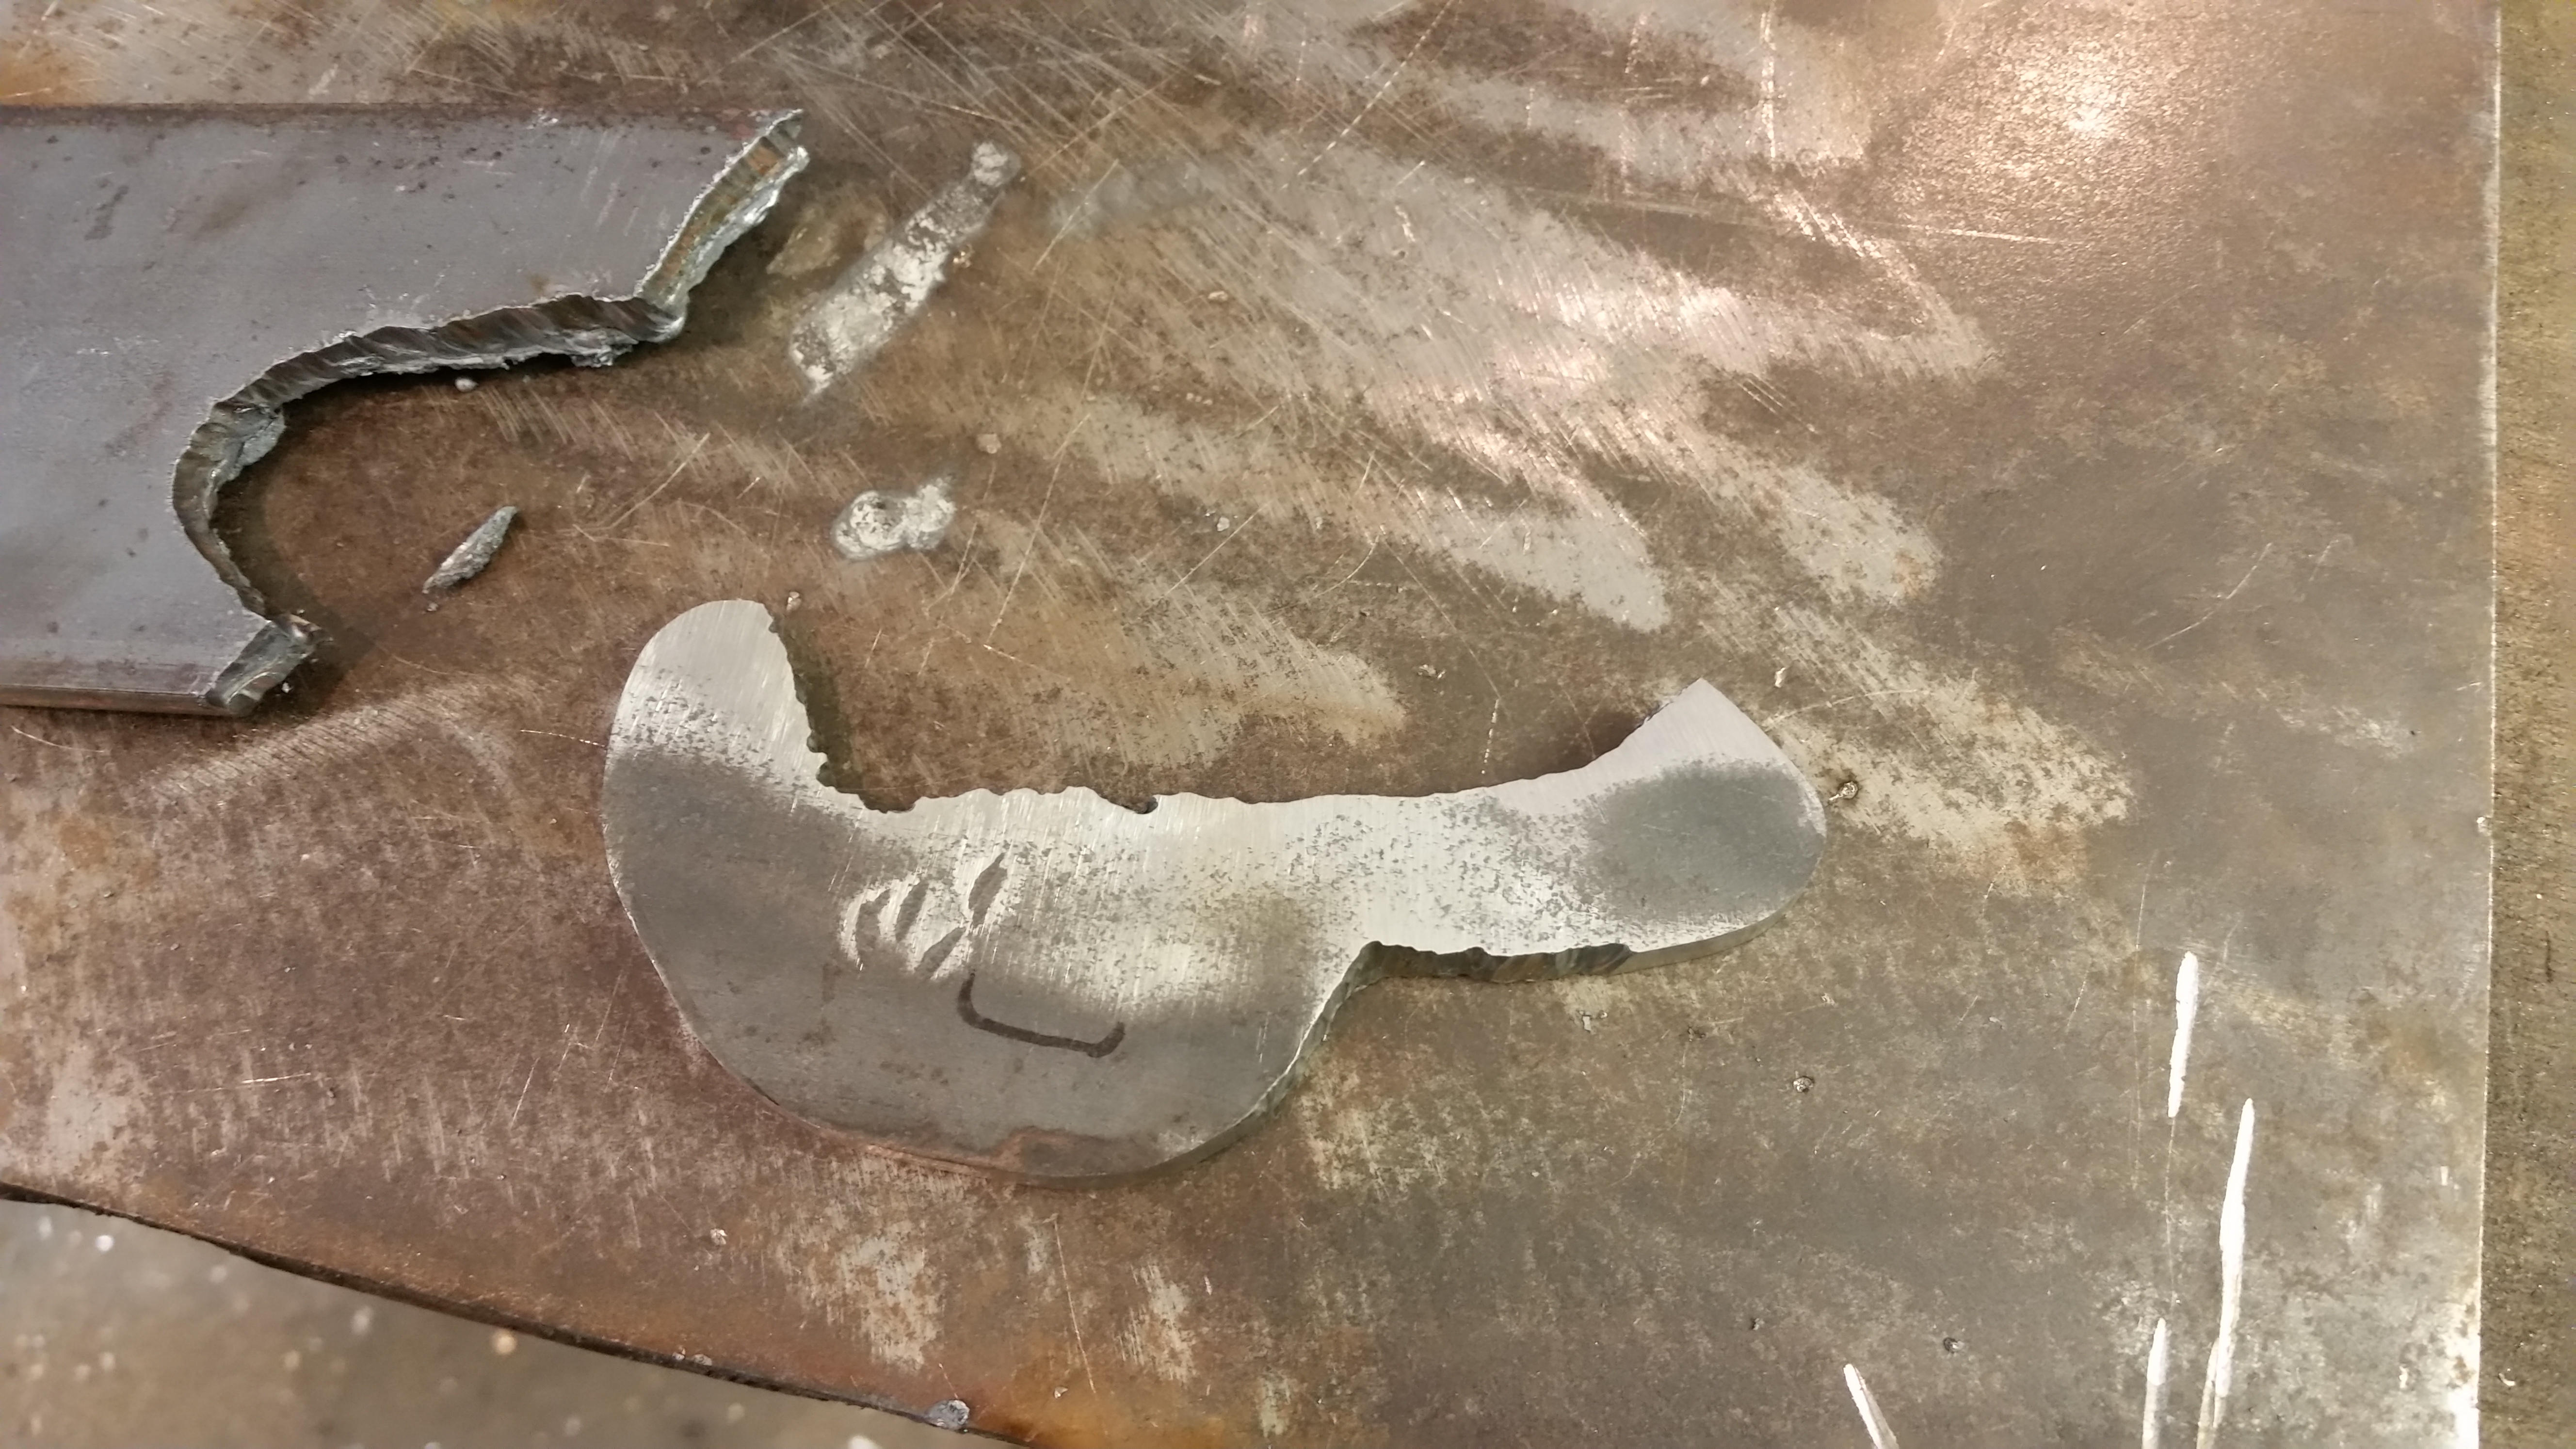
Using some ‘engineering’ cardboard box I cut out a Blue Peter brake pedal, seemed about the right size and ratio.
I cleaned up some 5mm plate and marked it out ready for cutting.
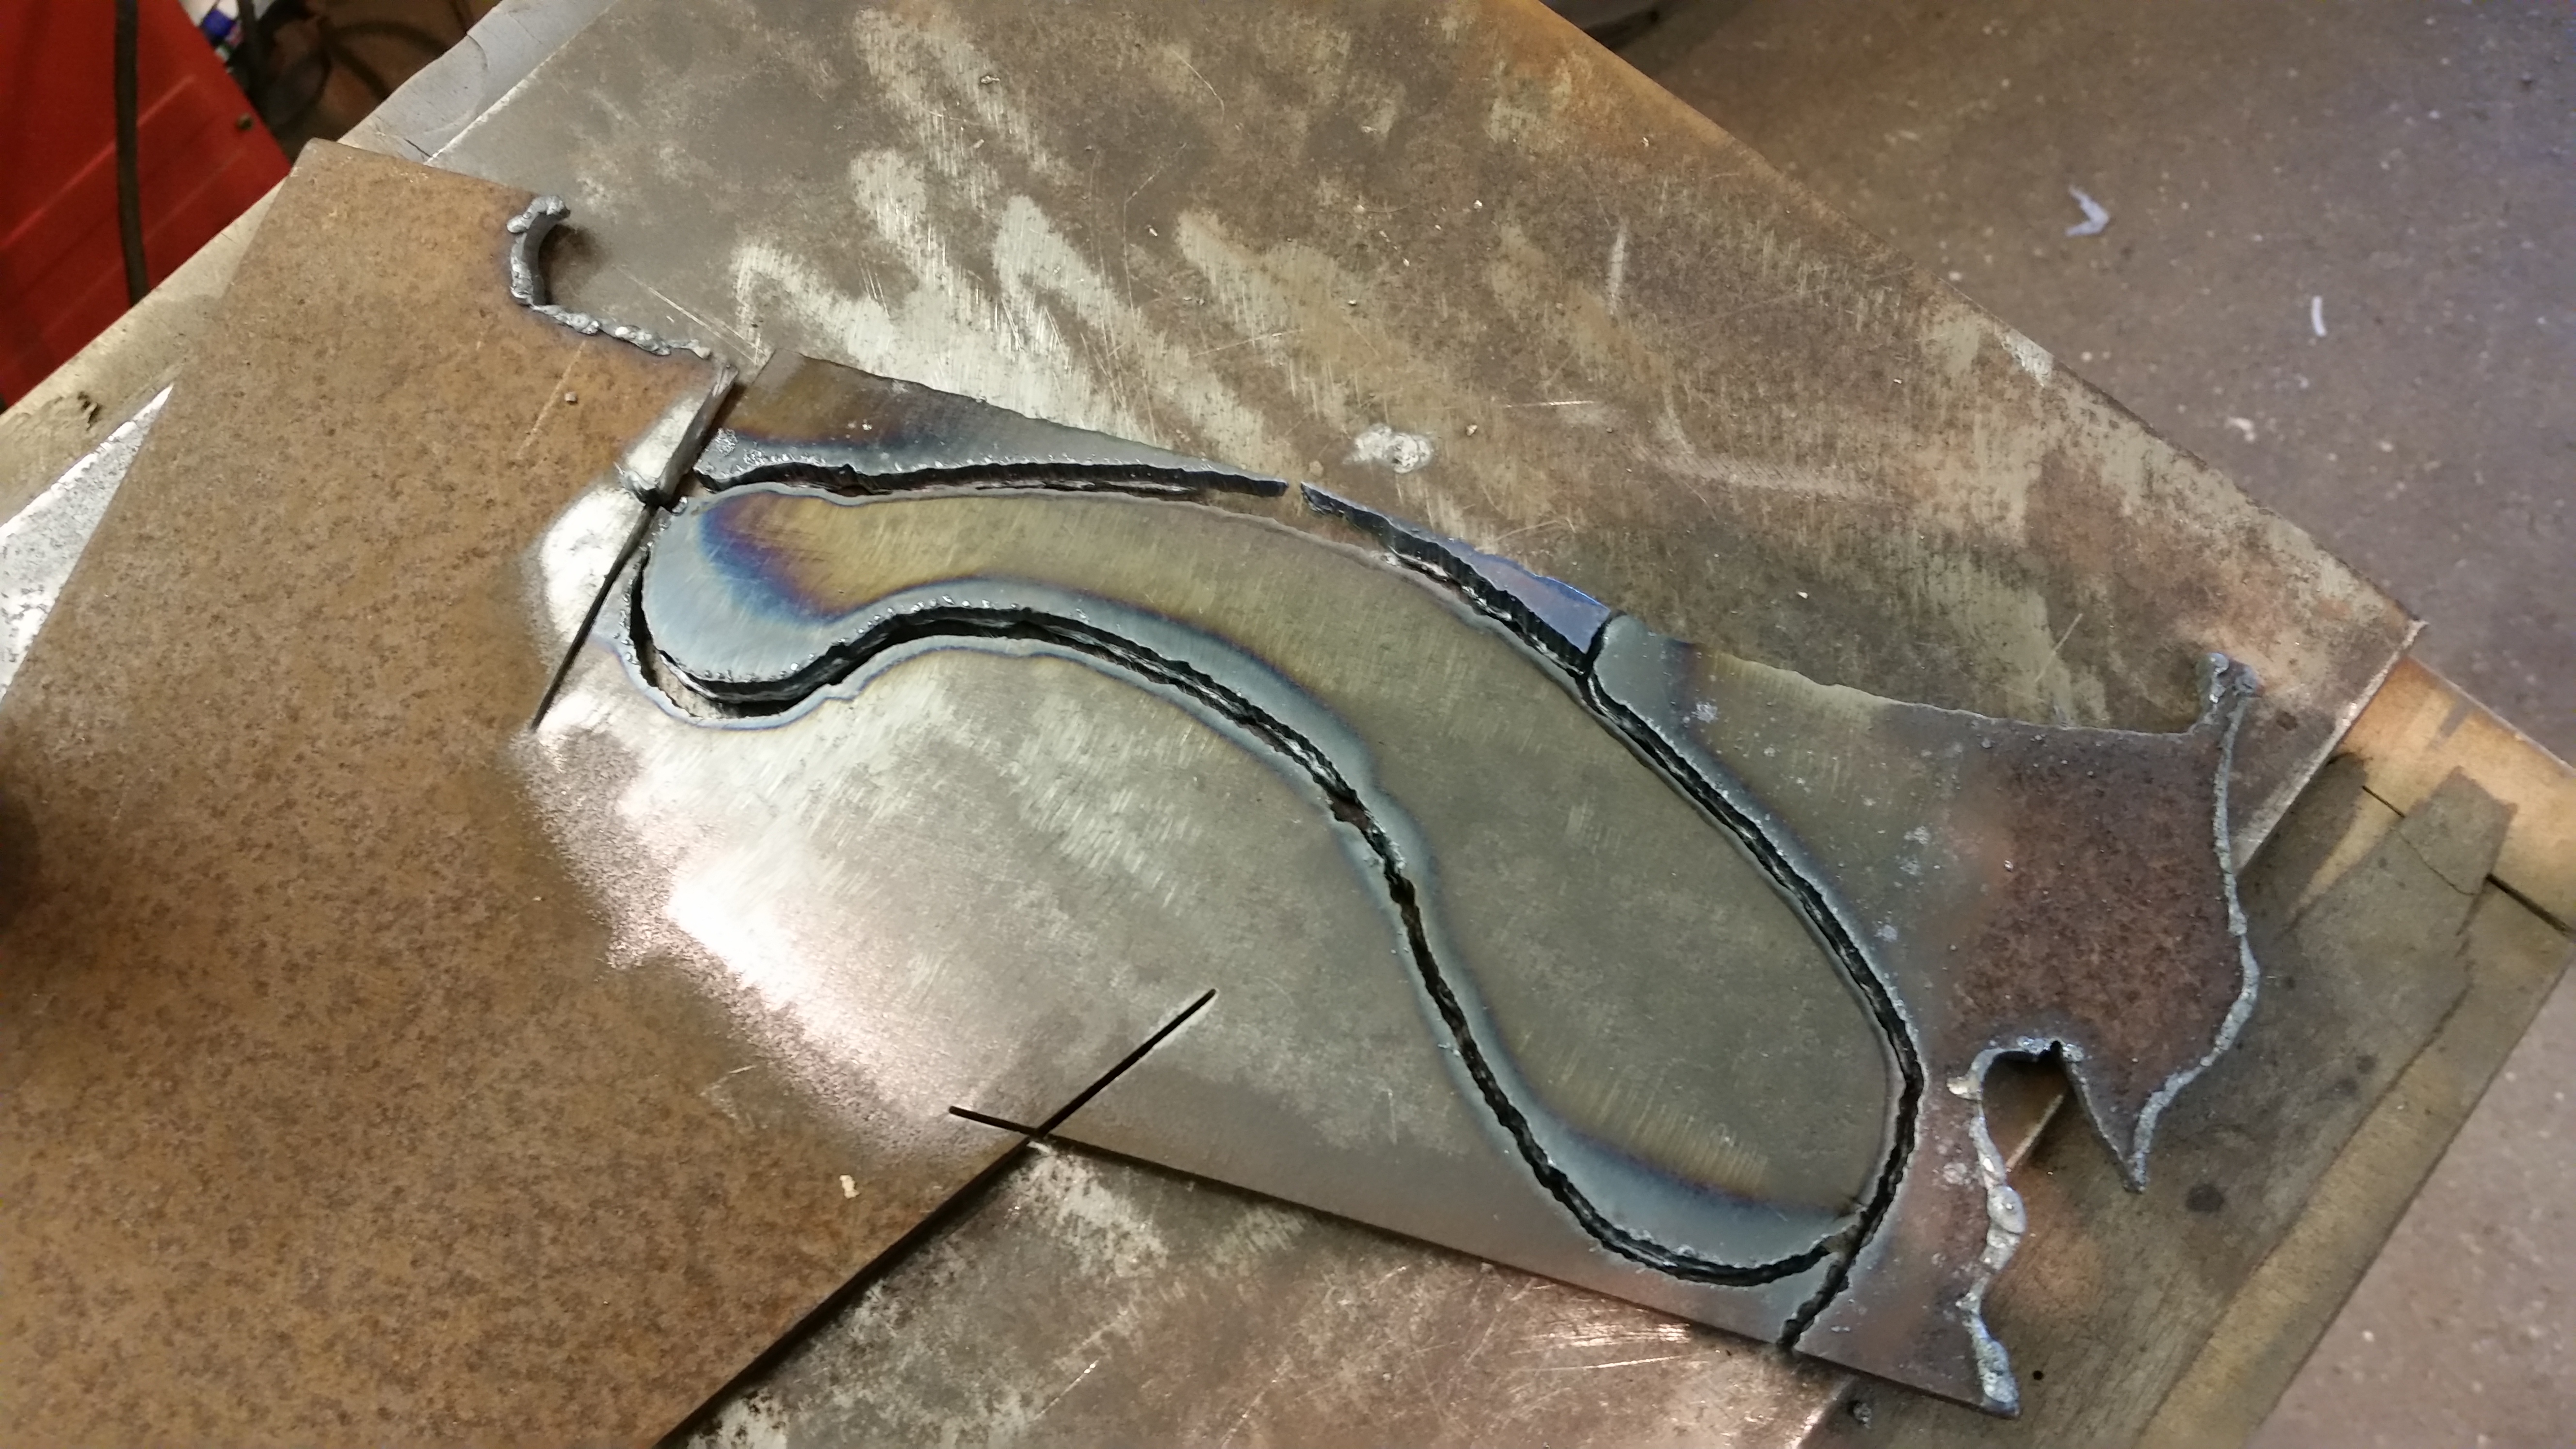
Using the plasma cutter I cut this out in no time and trimmed it up on the linisher.
Next I made a stainless pin to accept the brake lever with a couple of circlip groves
I welded the pin to the brake lever and added a brass bit in the same style as the rest of the sparkly bits.
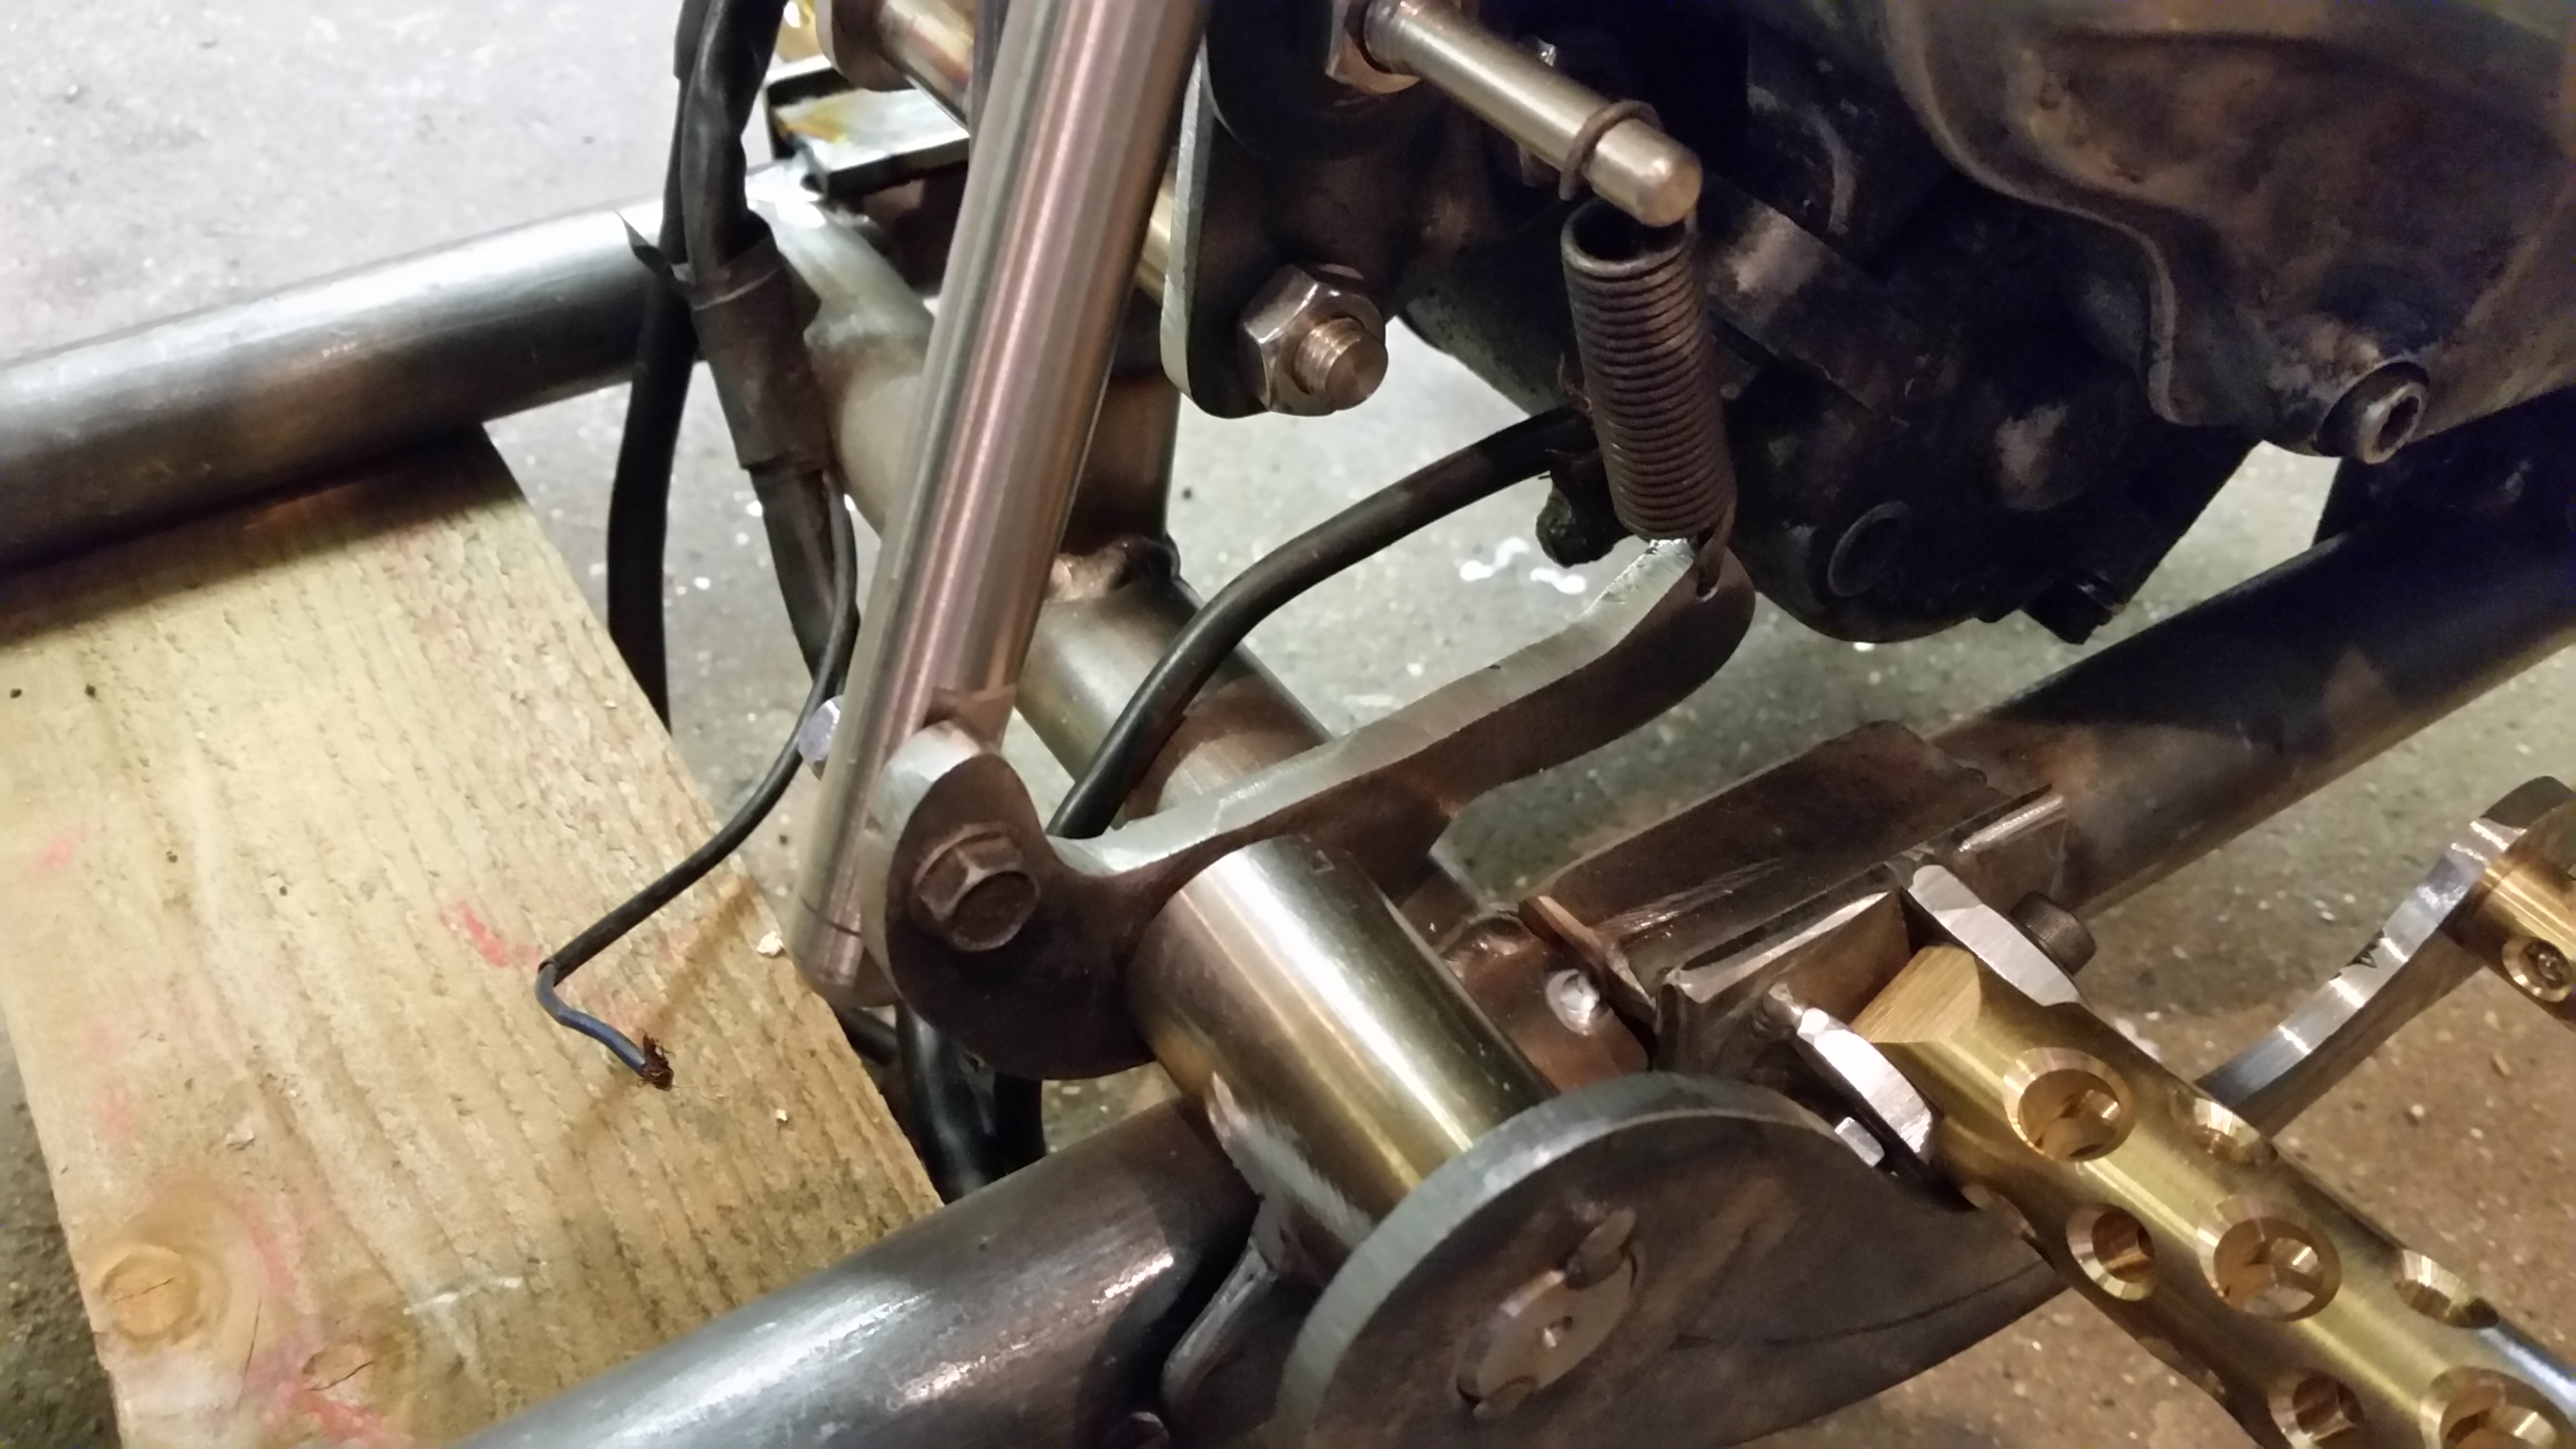
The lever is a bit tucked away under the engine and a bit close to the footpeg so won’t offer a lot of leverage but as I don’t like to use the rear anchor I’m not too bothered.
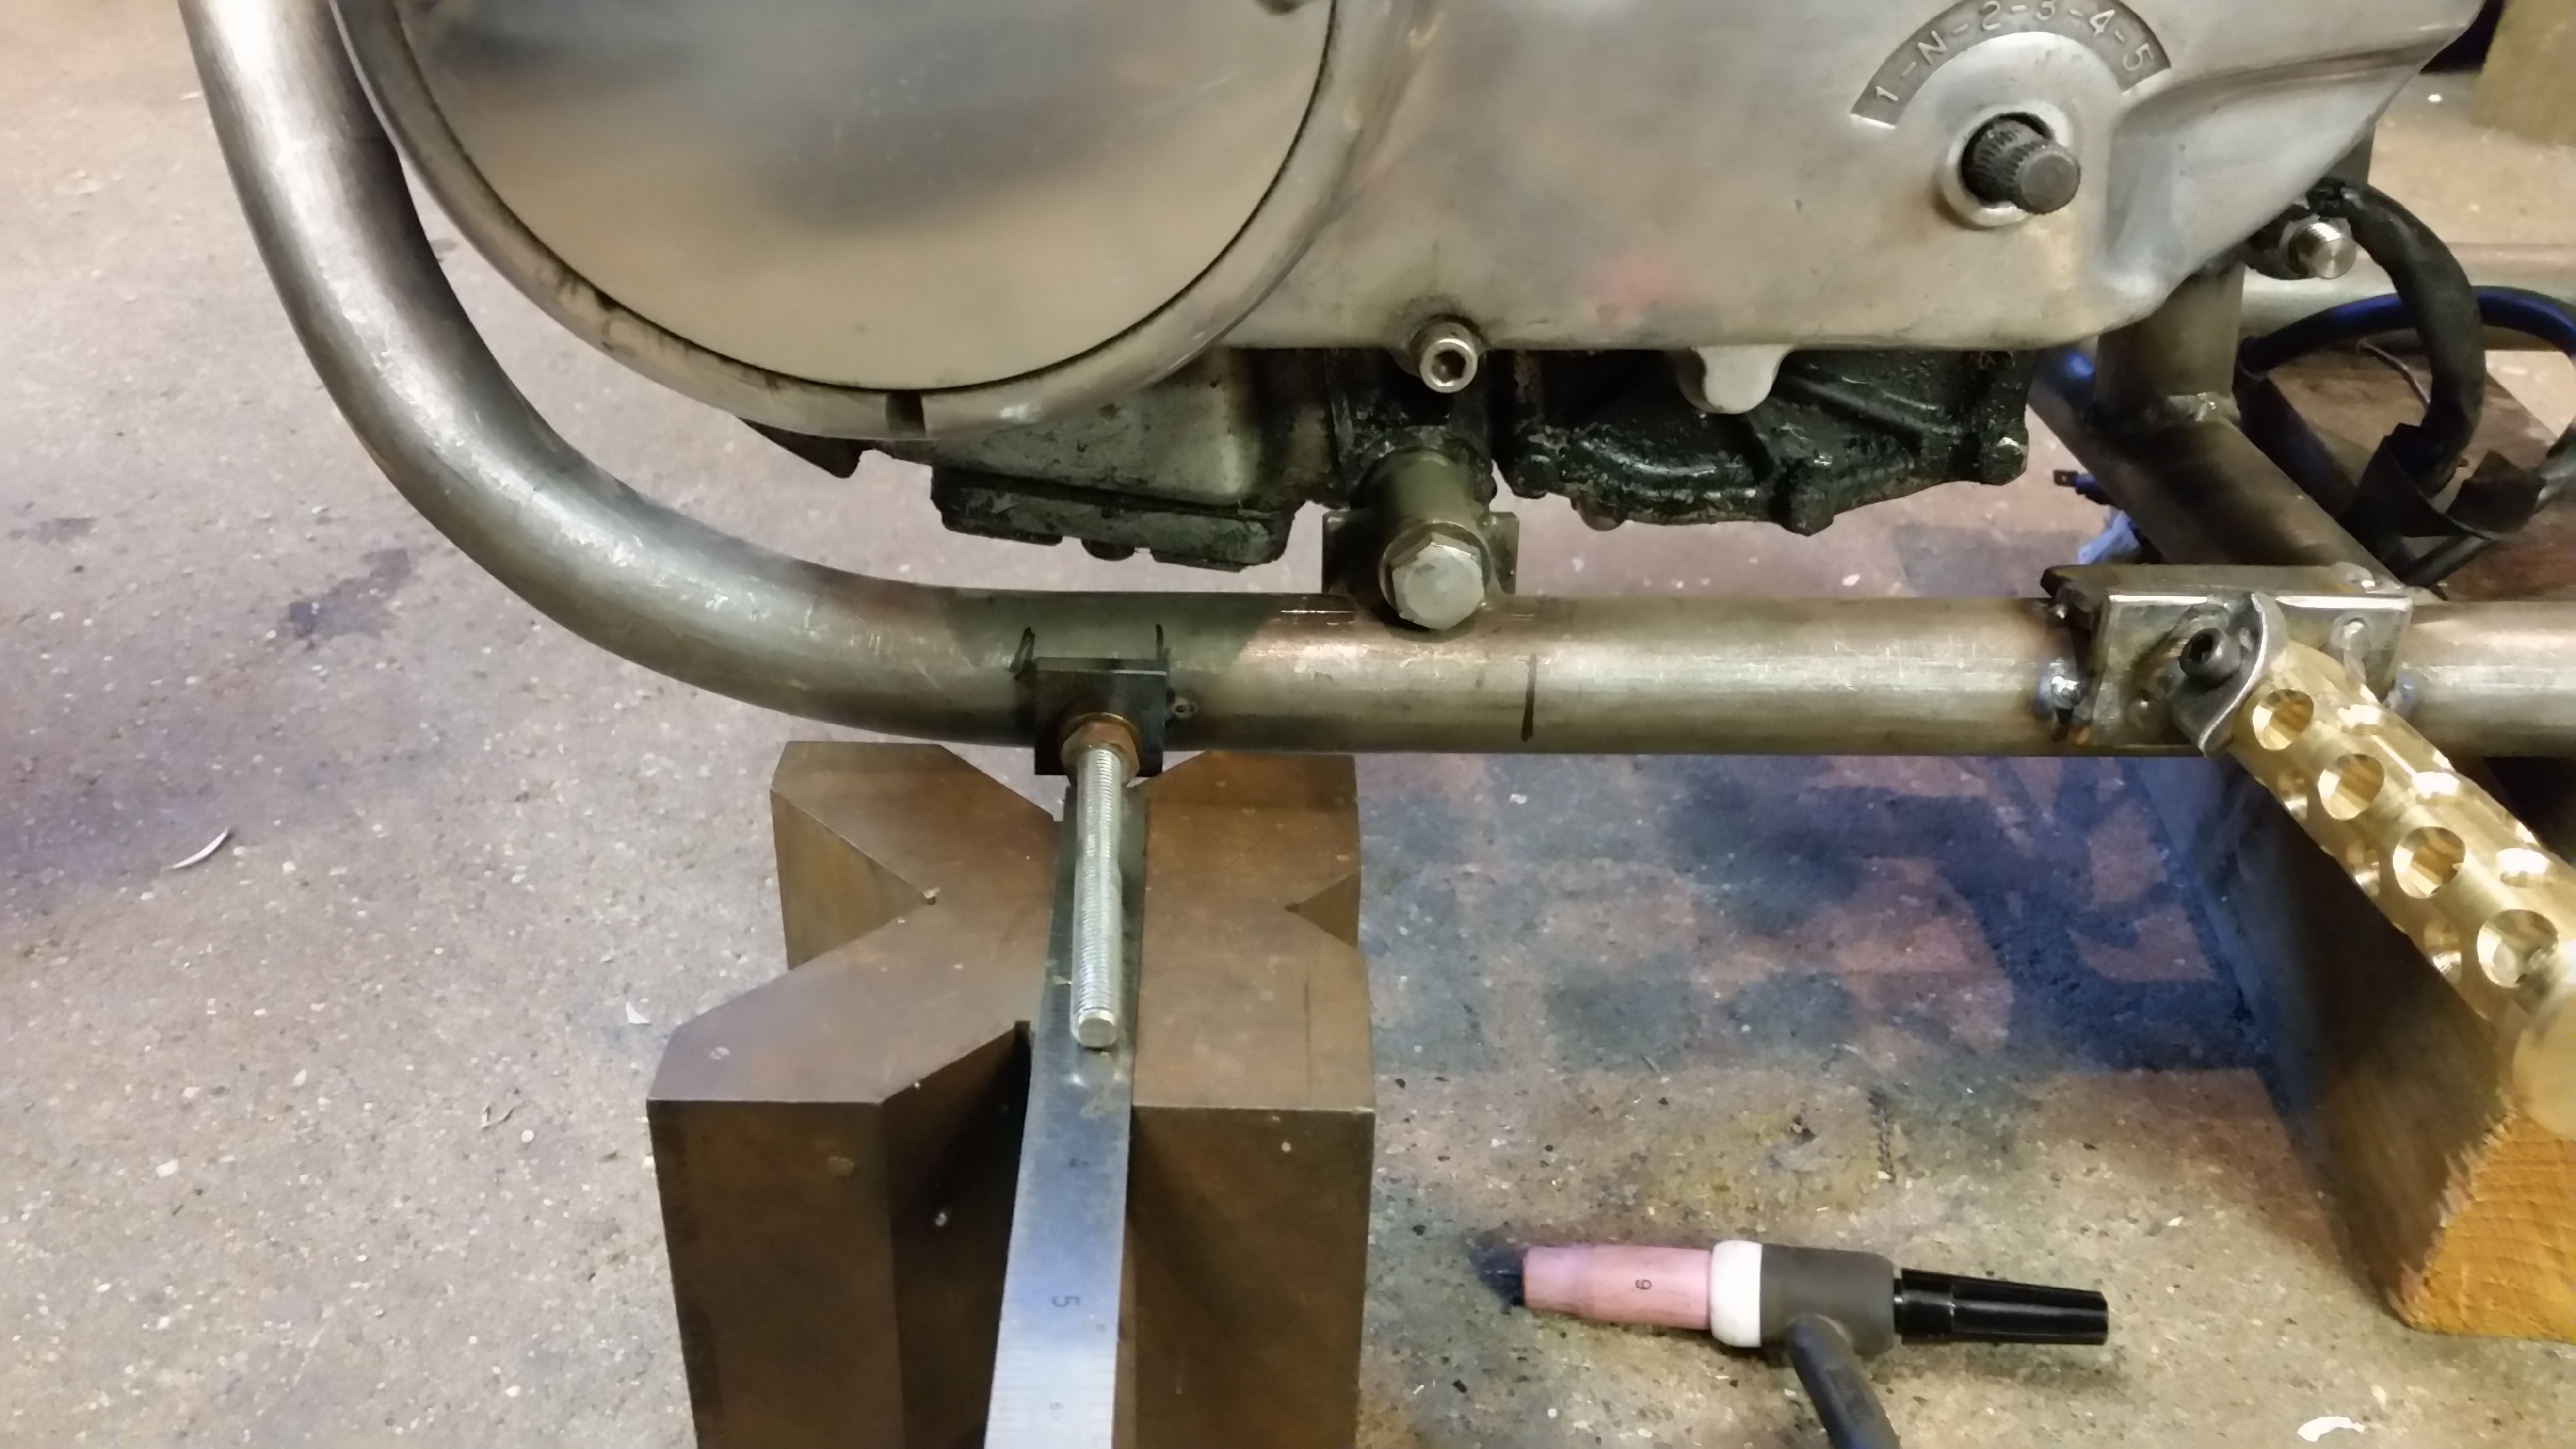
Next is the little lever that oporates the master cylinder, rough cut from steel plate, I’ll add a hole that slides over the brake pin and can be held in place by one of the circlips.
So here’s a shot of how the lever looks in position, note the addition of a return spring cunningly added on to one of the engine mount bolts.
Now attached to the rear master cylinder pump, I have a reservoir in brass made but need to take a pic.
Thats all working now, not pretty but working so next was the gear change, I made up a small square with a pin and attached this to the frame, the pin is the same size as the inner diameter of a skateboard bearing.
Now it’s on the frame nice and square the excess is removed and a lever made to suit containing the skateboard bearing.
Next I bought a couple of rose joints from eBay and made the connecting rods, all seems to work ok so far.
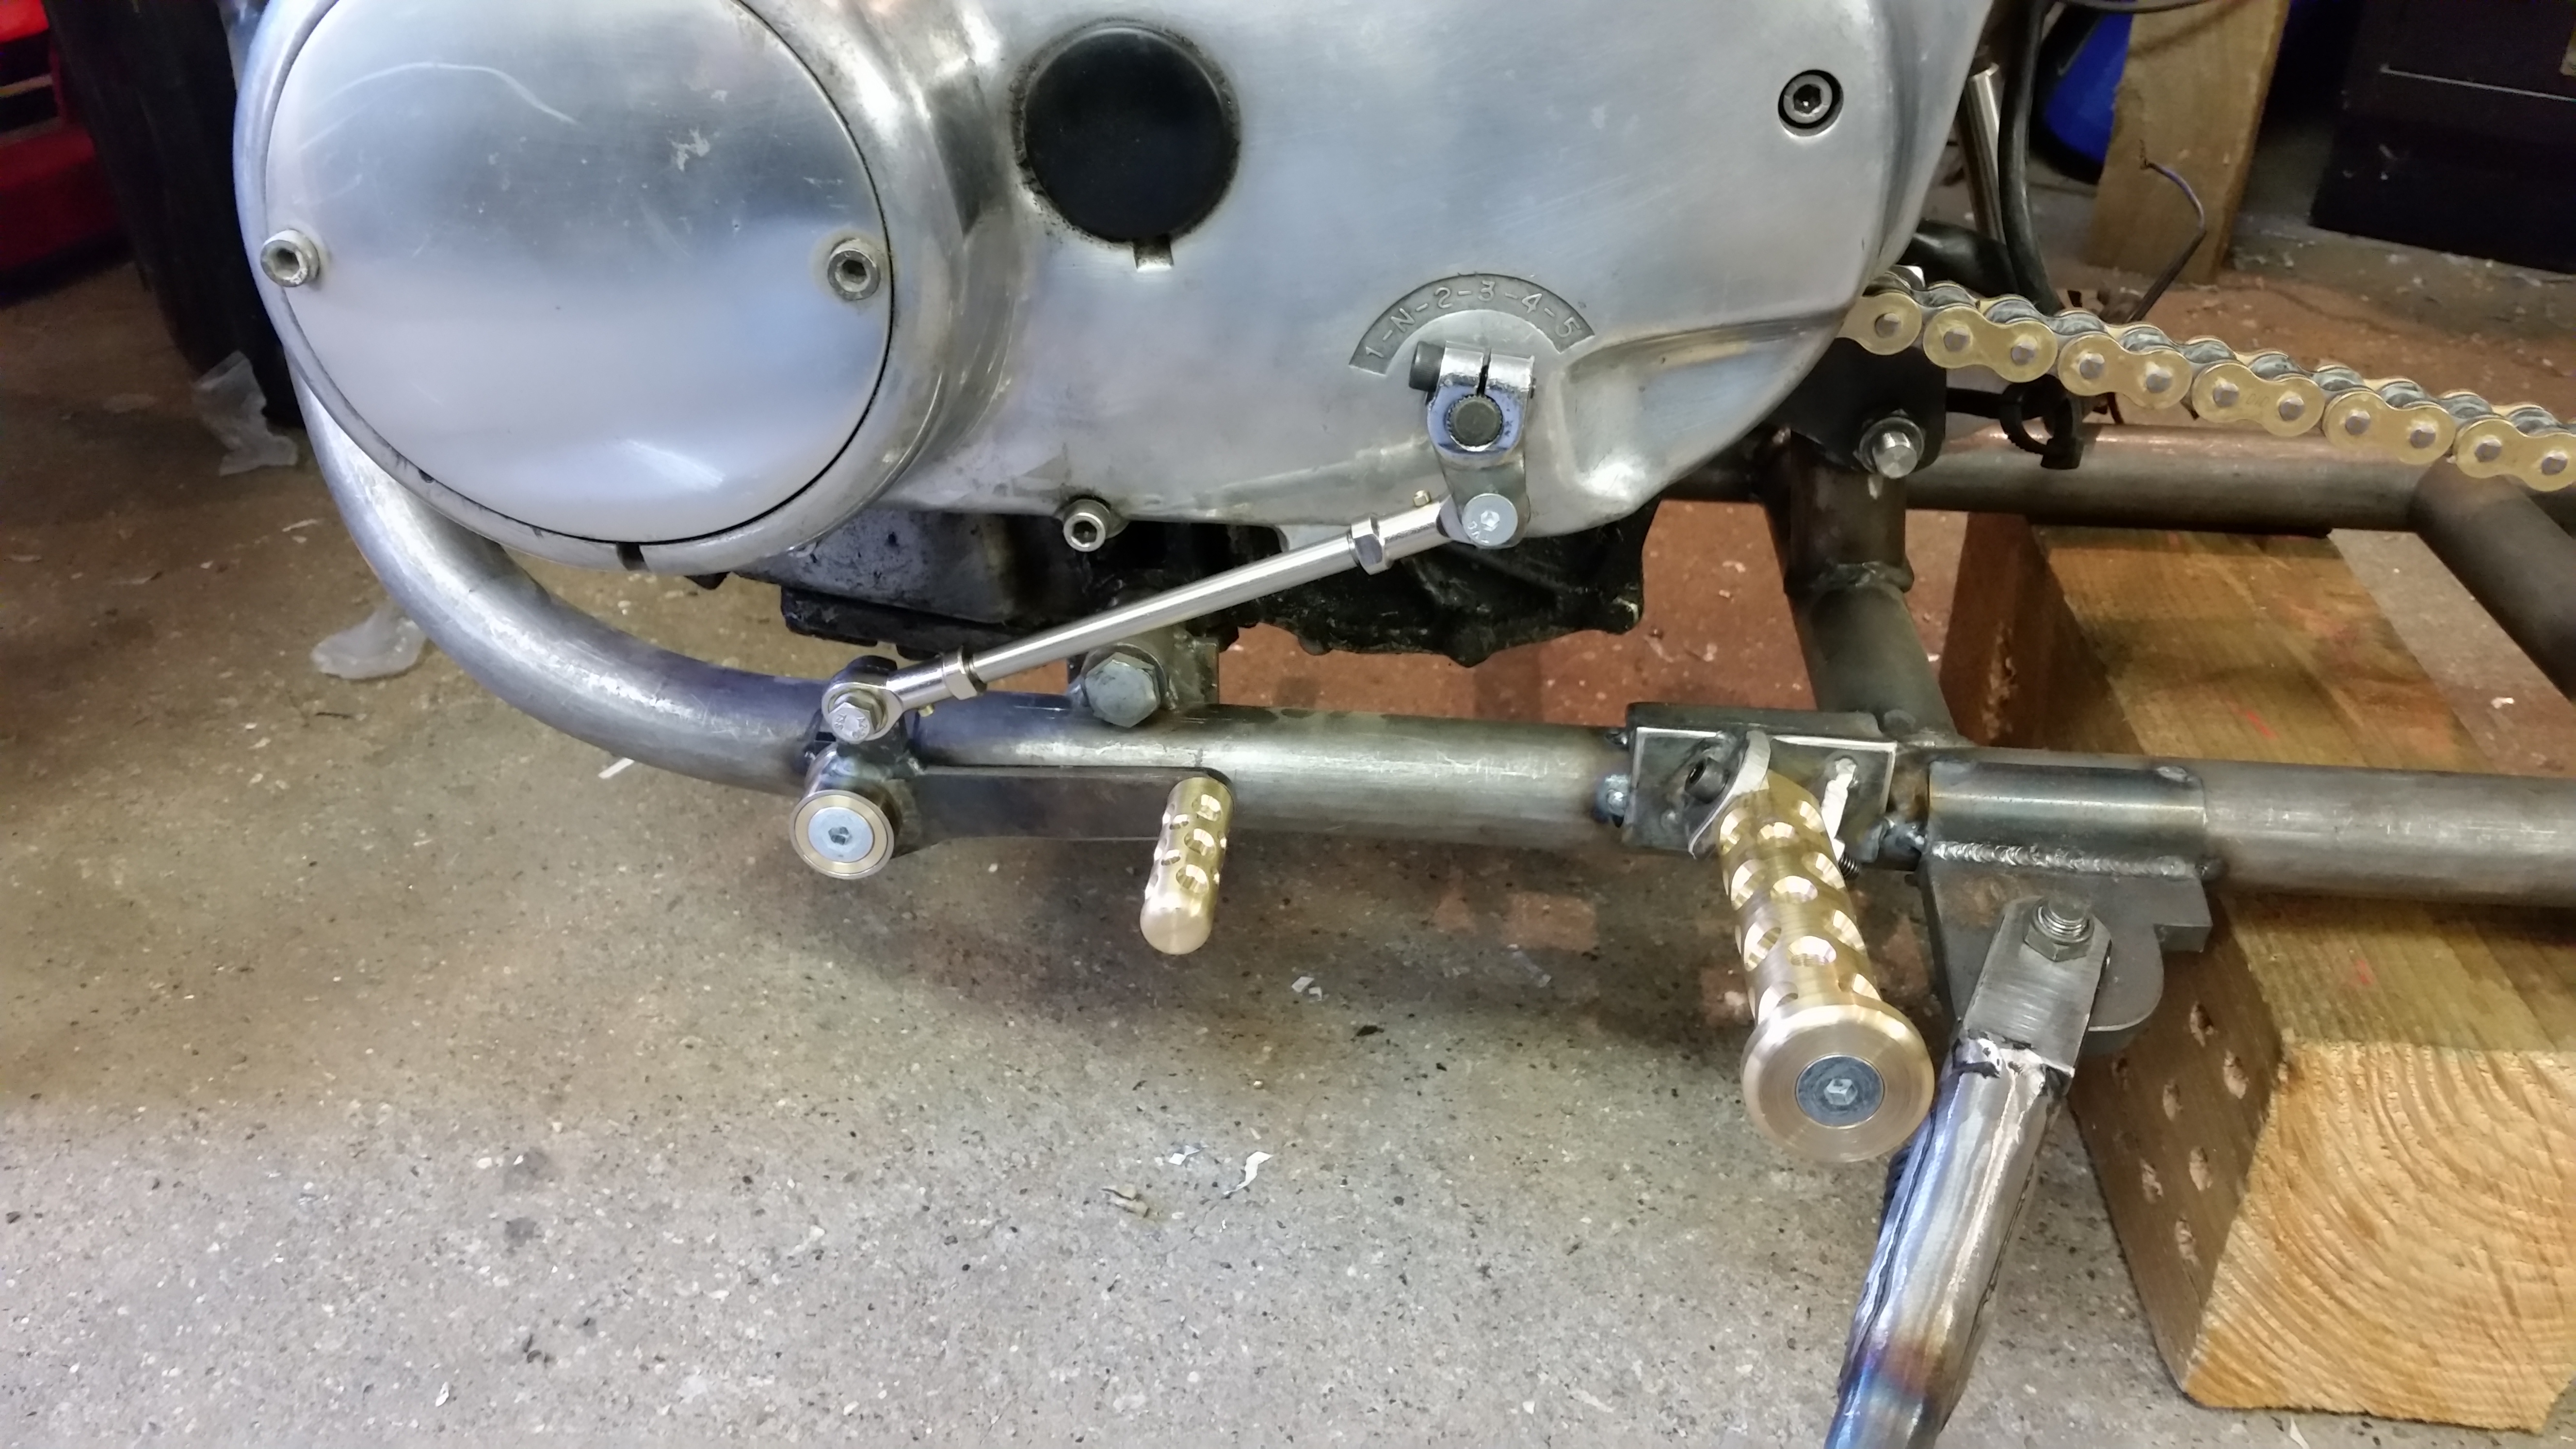
Made up a nice sparkly brass bit in the same style.


