So it’s decided, it’s now going to be a board track racer, was going to be a ‘Gentlemans bike’ but as macs ‘Arley is looking sooo tasty we need to pull out the stops.
The main difference as I see it is Gentlemans motorcycles have comfortable handlebars to sit you in a distinguished position astride your propelled velocipede, board track racers lean you over your finely tuned machine in the racing position, this position cannot be rushed as your wedding tackle must be arranged correctly to avoid watering of the eyes, even before this machine has reached it’s first shake down ride I already am quite careful to mount corectly due to an experience I wont share…
Now to build the petrol tank, this is my first so may not be the right way to do it but hey ho..
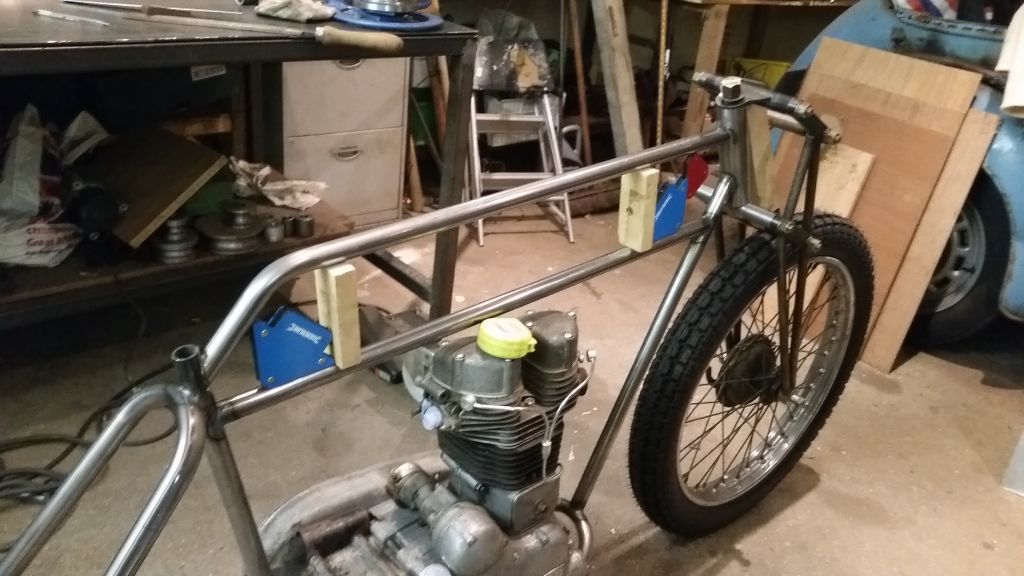
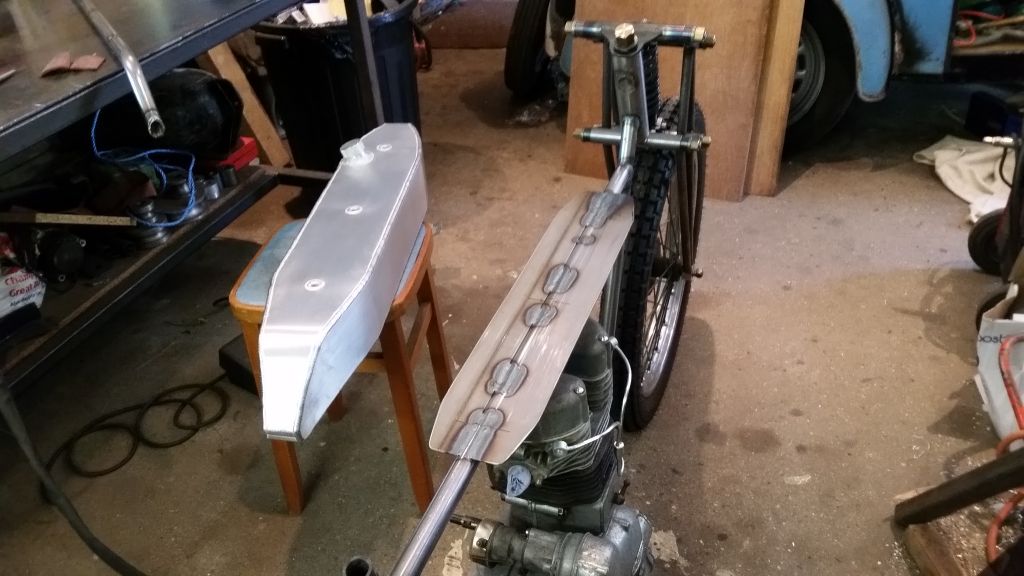
I needed to decide how high the gap would be to fit this contraption in so I used wood and magnets as I had these in front of me.
Now to work out the shape, I had a good look on google images to find a period shape and got the cardboard out and started cutting, very Blue Peter!

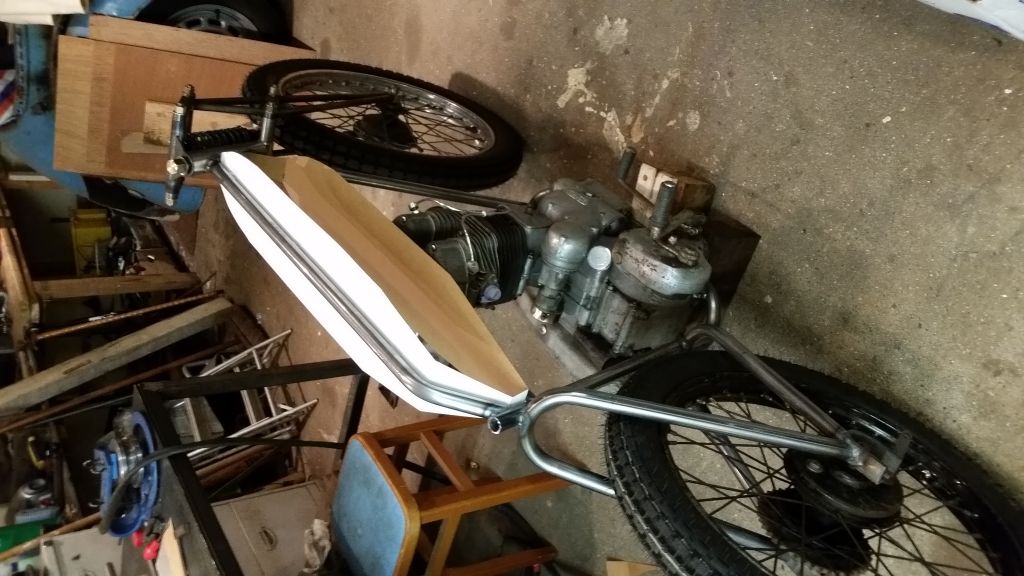
Got a shape I was happy with and transfered it to ‘Luminum..
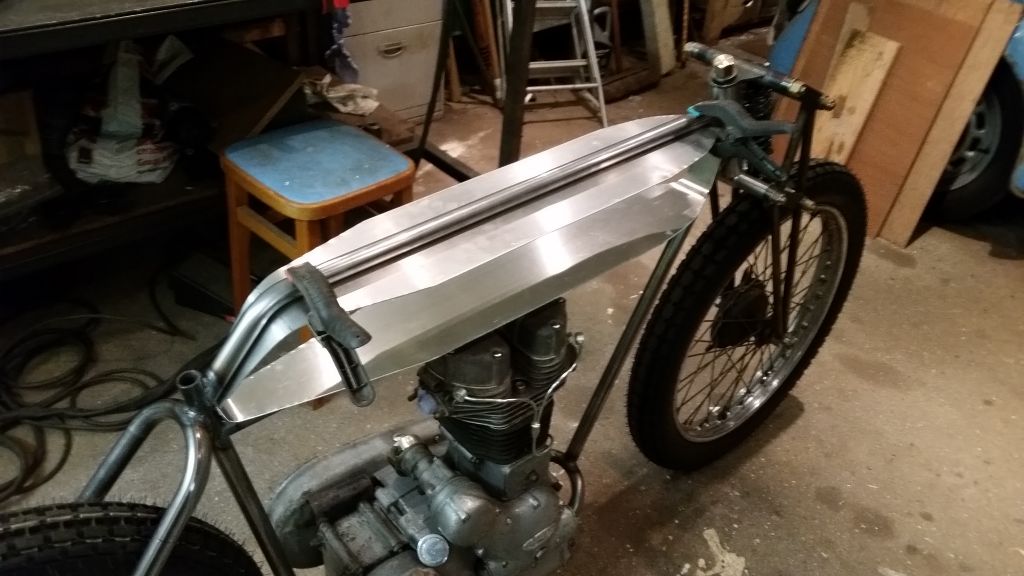
The great thing is at this point you can just sit on the bike with an angle grinder with a flap wheel and just sculpt it to look just how you want it. I made the bends using a precision bending machine, I certainly diddn’t bend them over an old fire extinguisher using my knee..! Ok so I did, you dont need bending equipment, just use what you have but tell people you have fancy equipment.

Traditionaly the tank is mounted using crappy mounts that look like conduit clips, I’m not keen so I came up with a plan, mount it using tubes that go all the way through the tank, what could go wrong…!
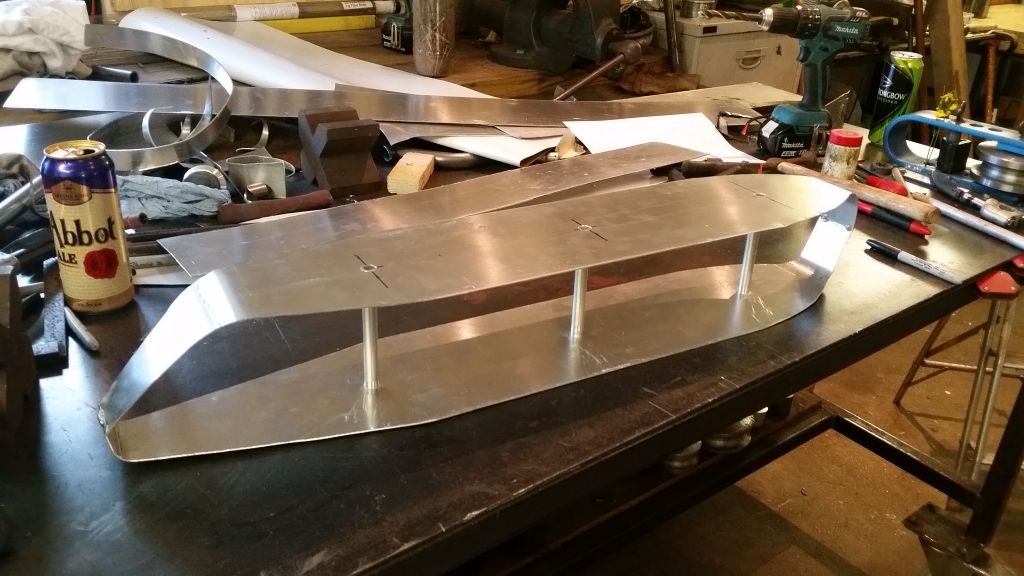
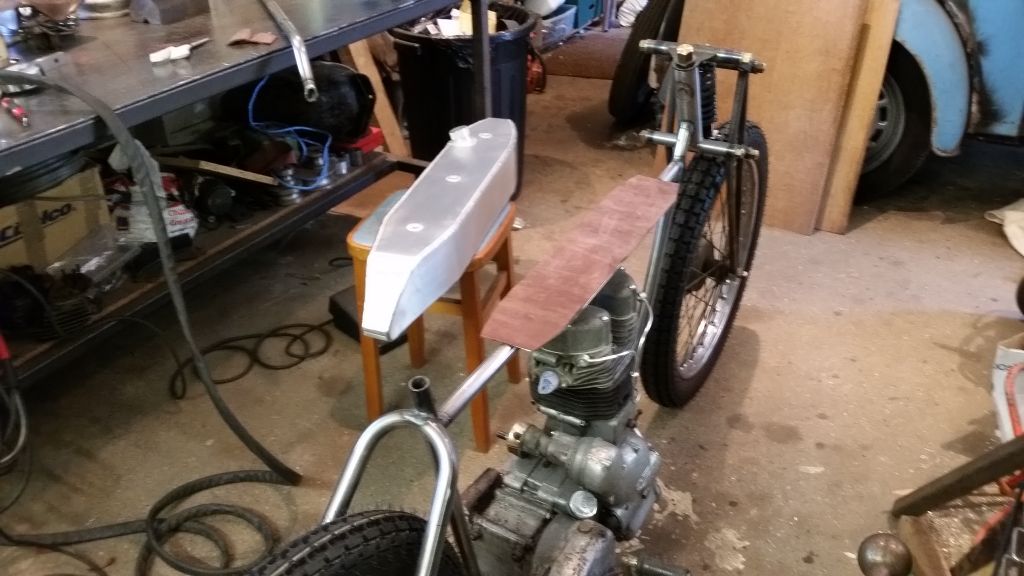
Easy peasy lemon squeasy so far but now we need some sides, break out some engineering cardboard once again.
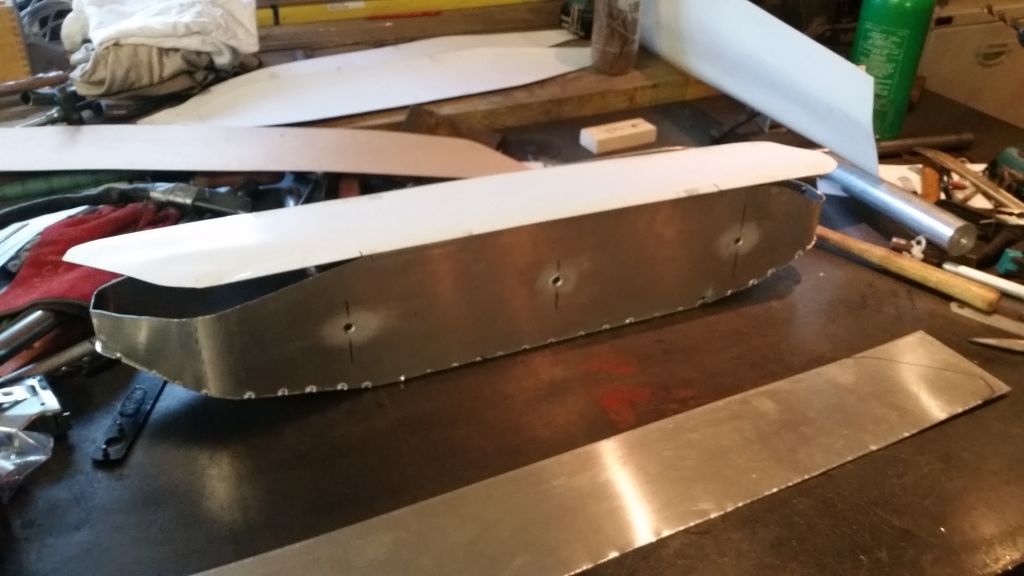
Just lay on a piece of cardboard too big, mark it out with a sharpie and trim to size.
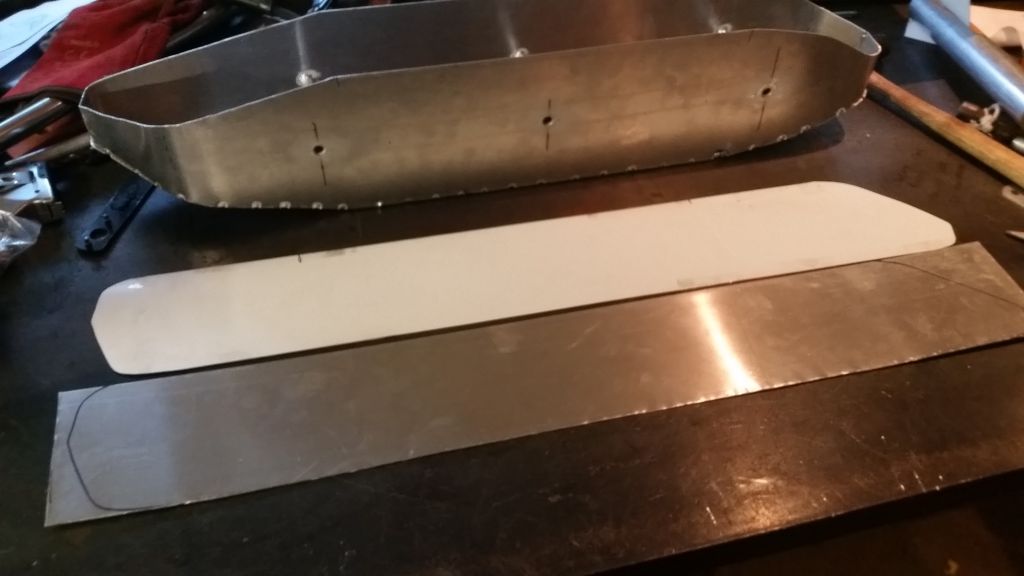
Transfer to aluminium sheet and trim with sheers.
Add some tack welds to hold it all in place, dont whatever you do weld up one side as it will distort more than you can imagine.
Starting to take shape, time to add the second side.
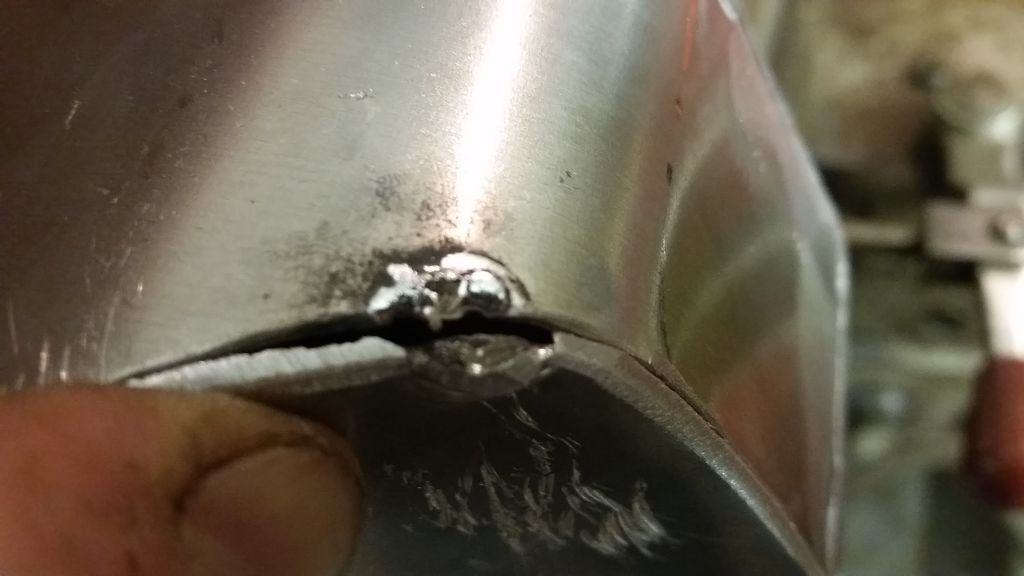
OK, so you can’t add the second side without somewhere for the heat to go or the weld just blows back at you and makes a mess, lesson learned..
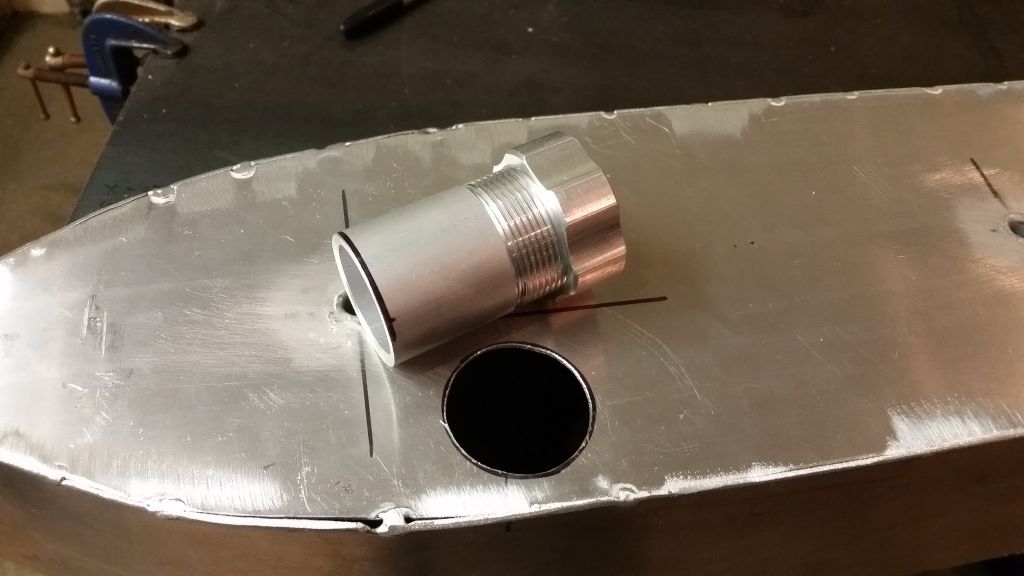
Cut a hole for the filler to allow the heat to escape, works wonders!
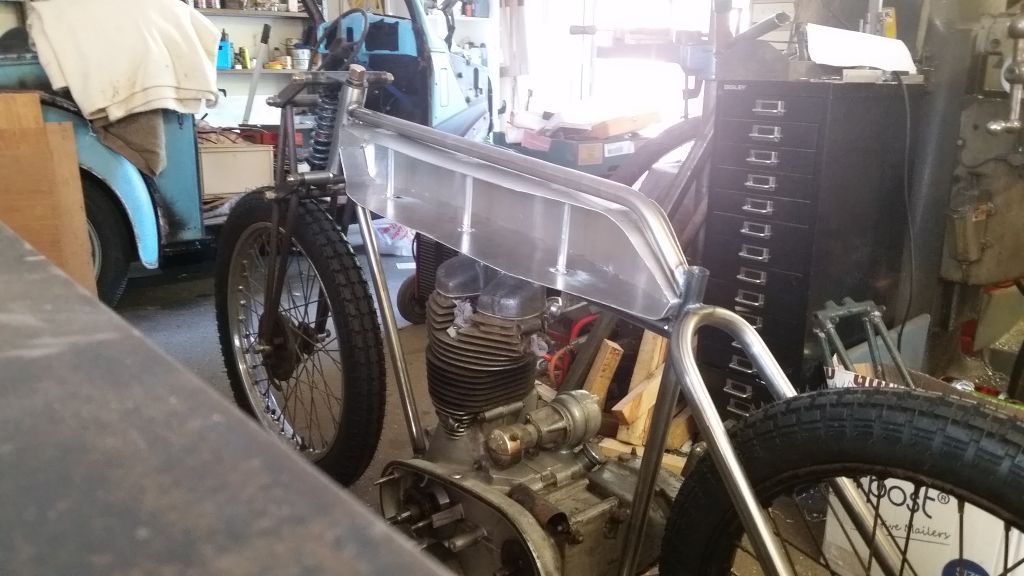
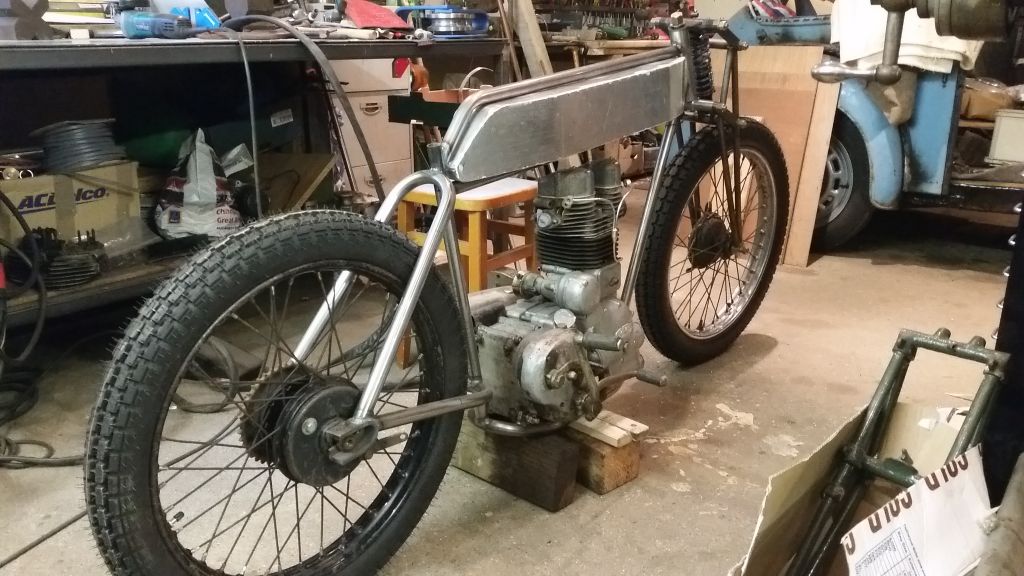
Once you are happy with the fit and shape you can seam weld it up and make a platform for the tank to sit on.
I made up a leather gasket to hopfully reduce vibration.
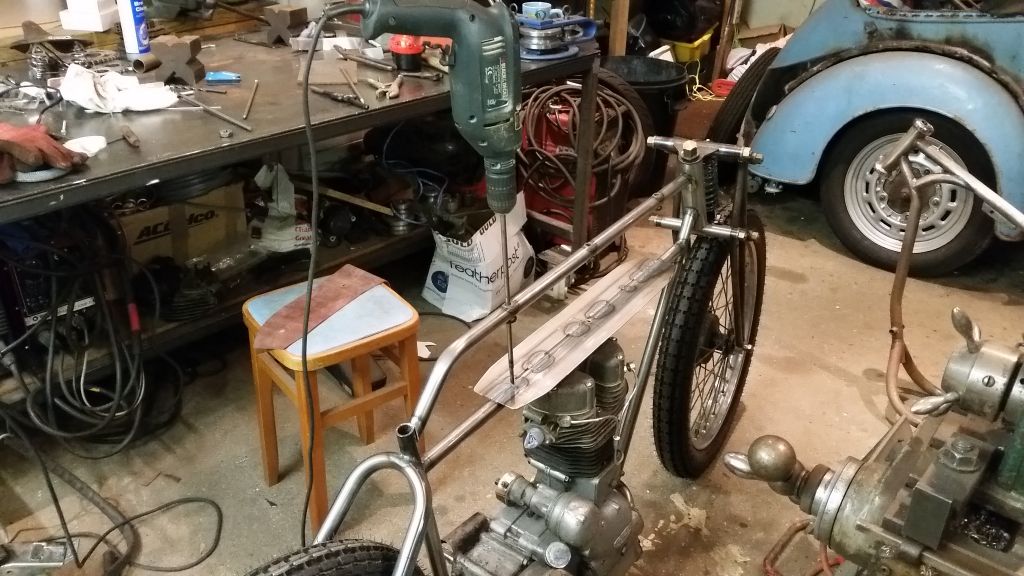
Time to make the mounting rods, I welded a drill in the end of a 8mm rod so I could drill at a distance, it was a bit of a wobbly process but it worked well.
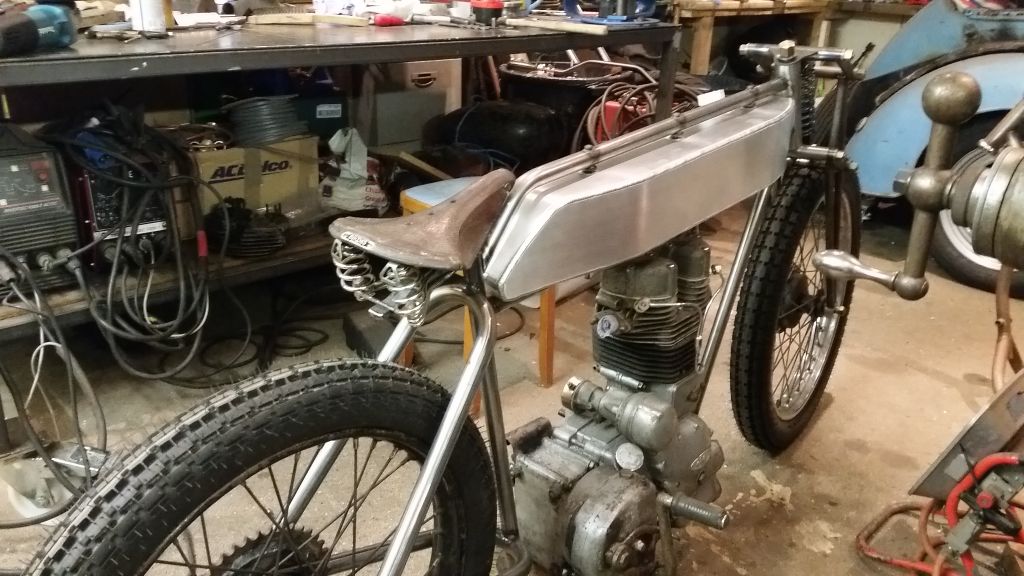
Don’t look too bad, it’s mounted quite secure and it looks alright, fairly happy with how this came out, next time I make one I will use thicker sheet as 1.5mm is just a bit tricky to weld.
No I’m not going to paint it, just a pin stripe the same colour as the frame, Burgandy red.


